
 Hello friends! I’m checking in today to share with you one of my favorite FAST quilting tips–because my lovely friend Amy Smart from Diary of a Quilter asked me to! And well, when someone that sweet asks you to do something, you just do it! Plus, she has a super fun book that’s just come out, and I wanted to share it. I had the fun of quilting two of the quilts in the book, and one of them even made the cover (so cool!).
Her book is called Fabulously Fast Quilts, and so she wanted all of us to share our secrets for faster quilting! So here’s my tip:
Super Speedy Quilt Borders Quilting Hack
Let me tell you–this little gem saves me SO. MUCH. TIME. Of course, it may be a little controversial for those of you who have been quilting for years and years, but hear me out. This just might change your life.
Here’s my confession: I don’t measure or pin my borders. Ever. At all. True story. No math, no measuring, no pins.
HOLD ON! Before you picture super bad borders with waves and puckers and stretching and all that horrible-ness, let me state for the record that my borders are square, and the perfect length. No waves.
Yep.
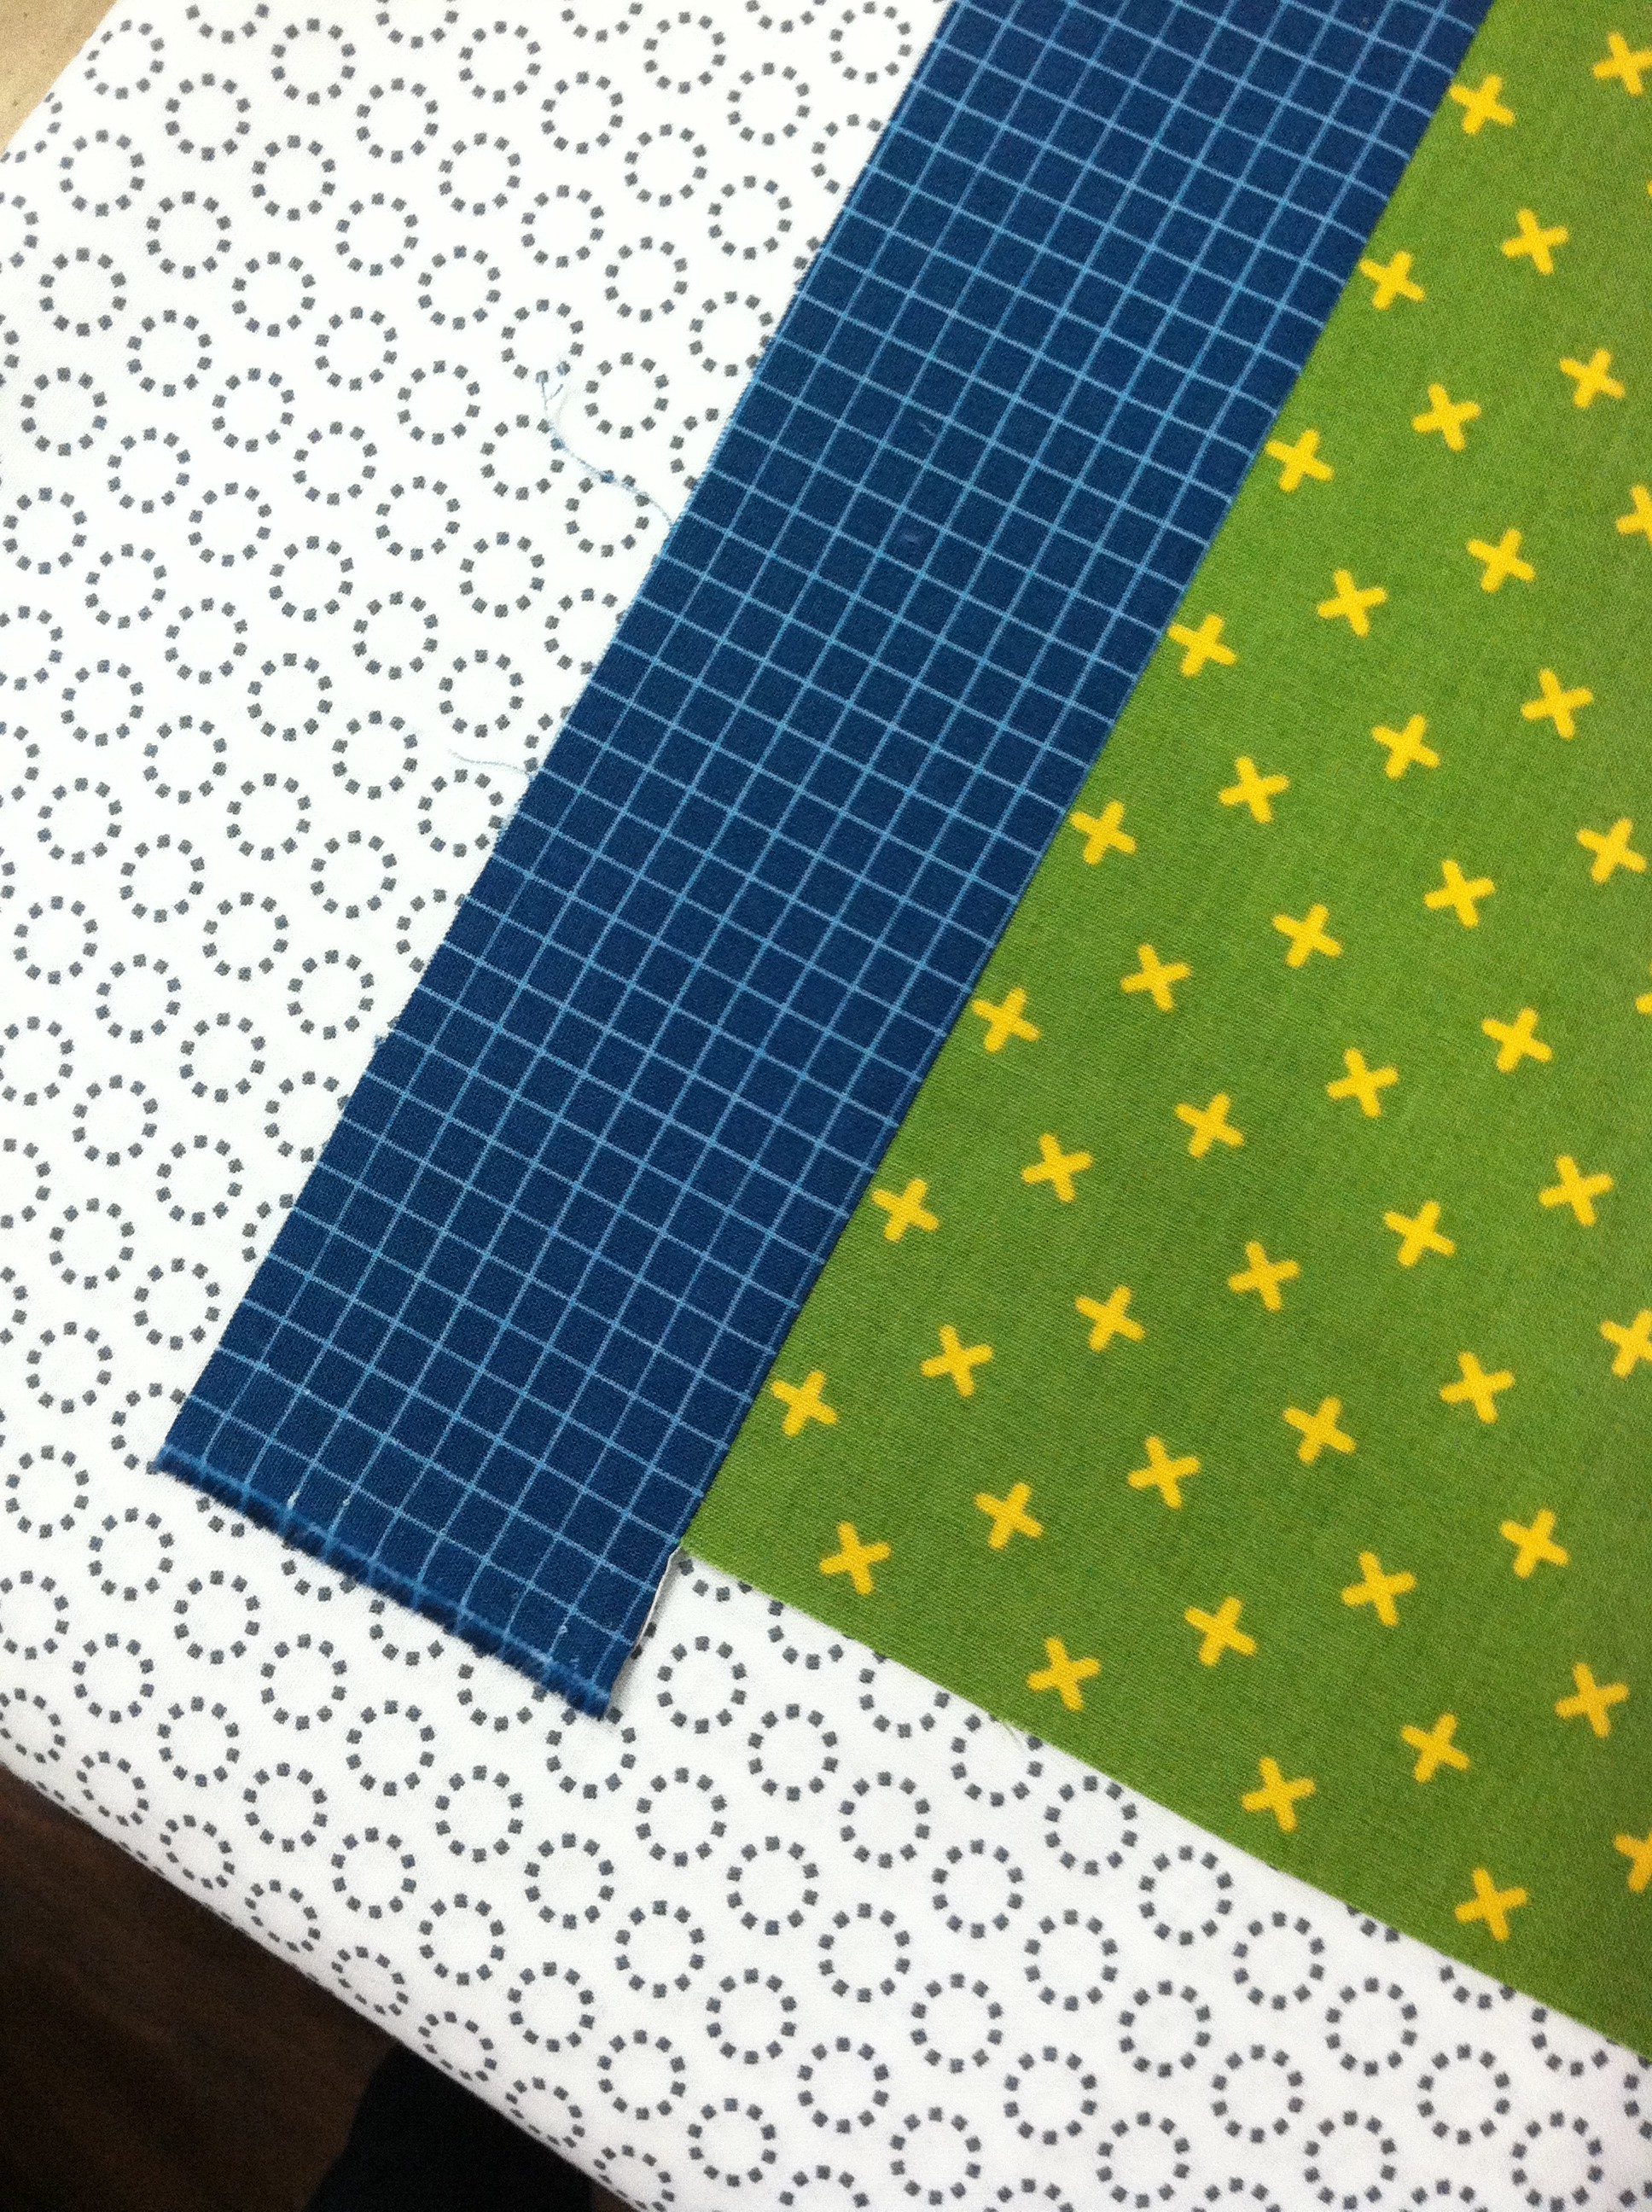
So here’s how it goes: I sew all my border strips together lengthwise to make one. long. strip.
 Then, I attach my
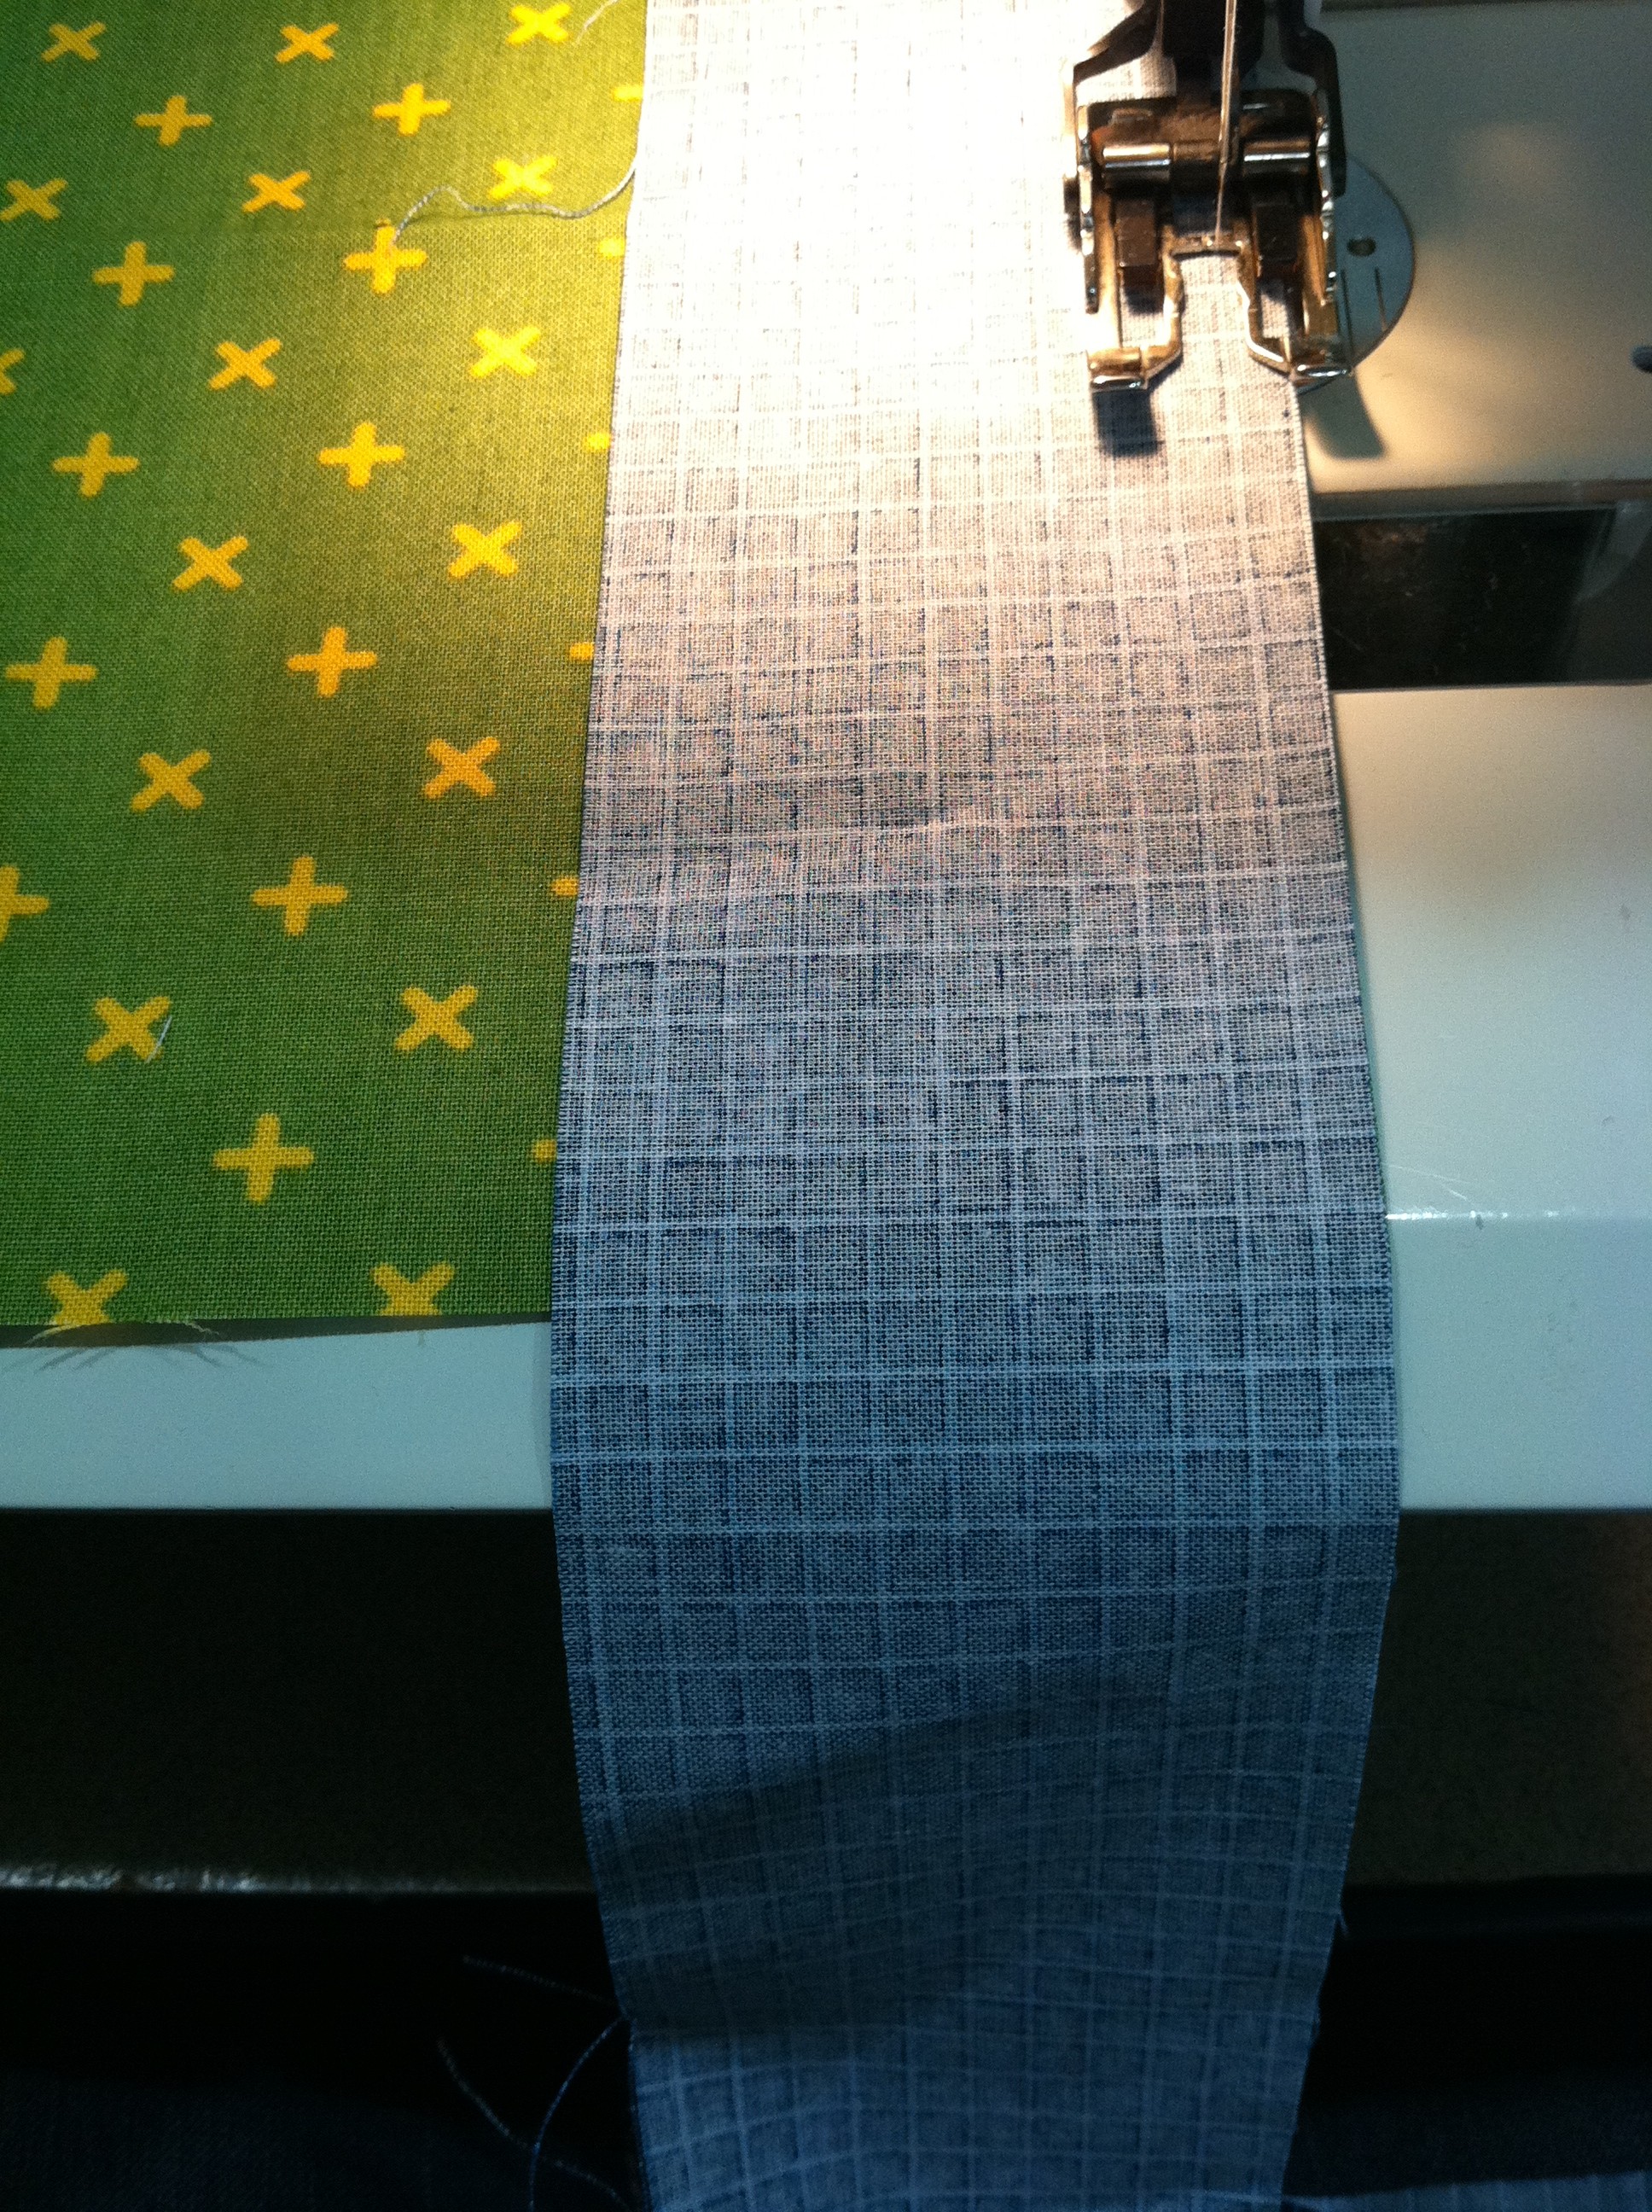
 best friend walking foot to my sewing machine.
 Then, I sew my border on. I give myself an inch or so of extra at the top, and when I get to the bottom, I give myself an inch or so there, too.
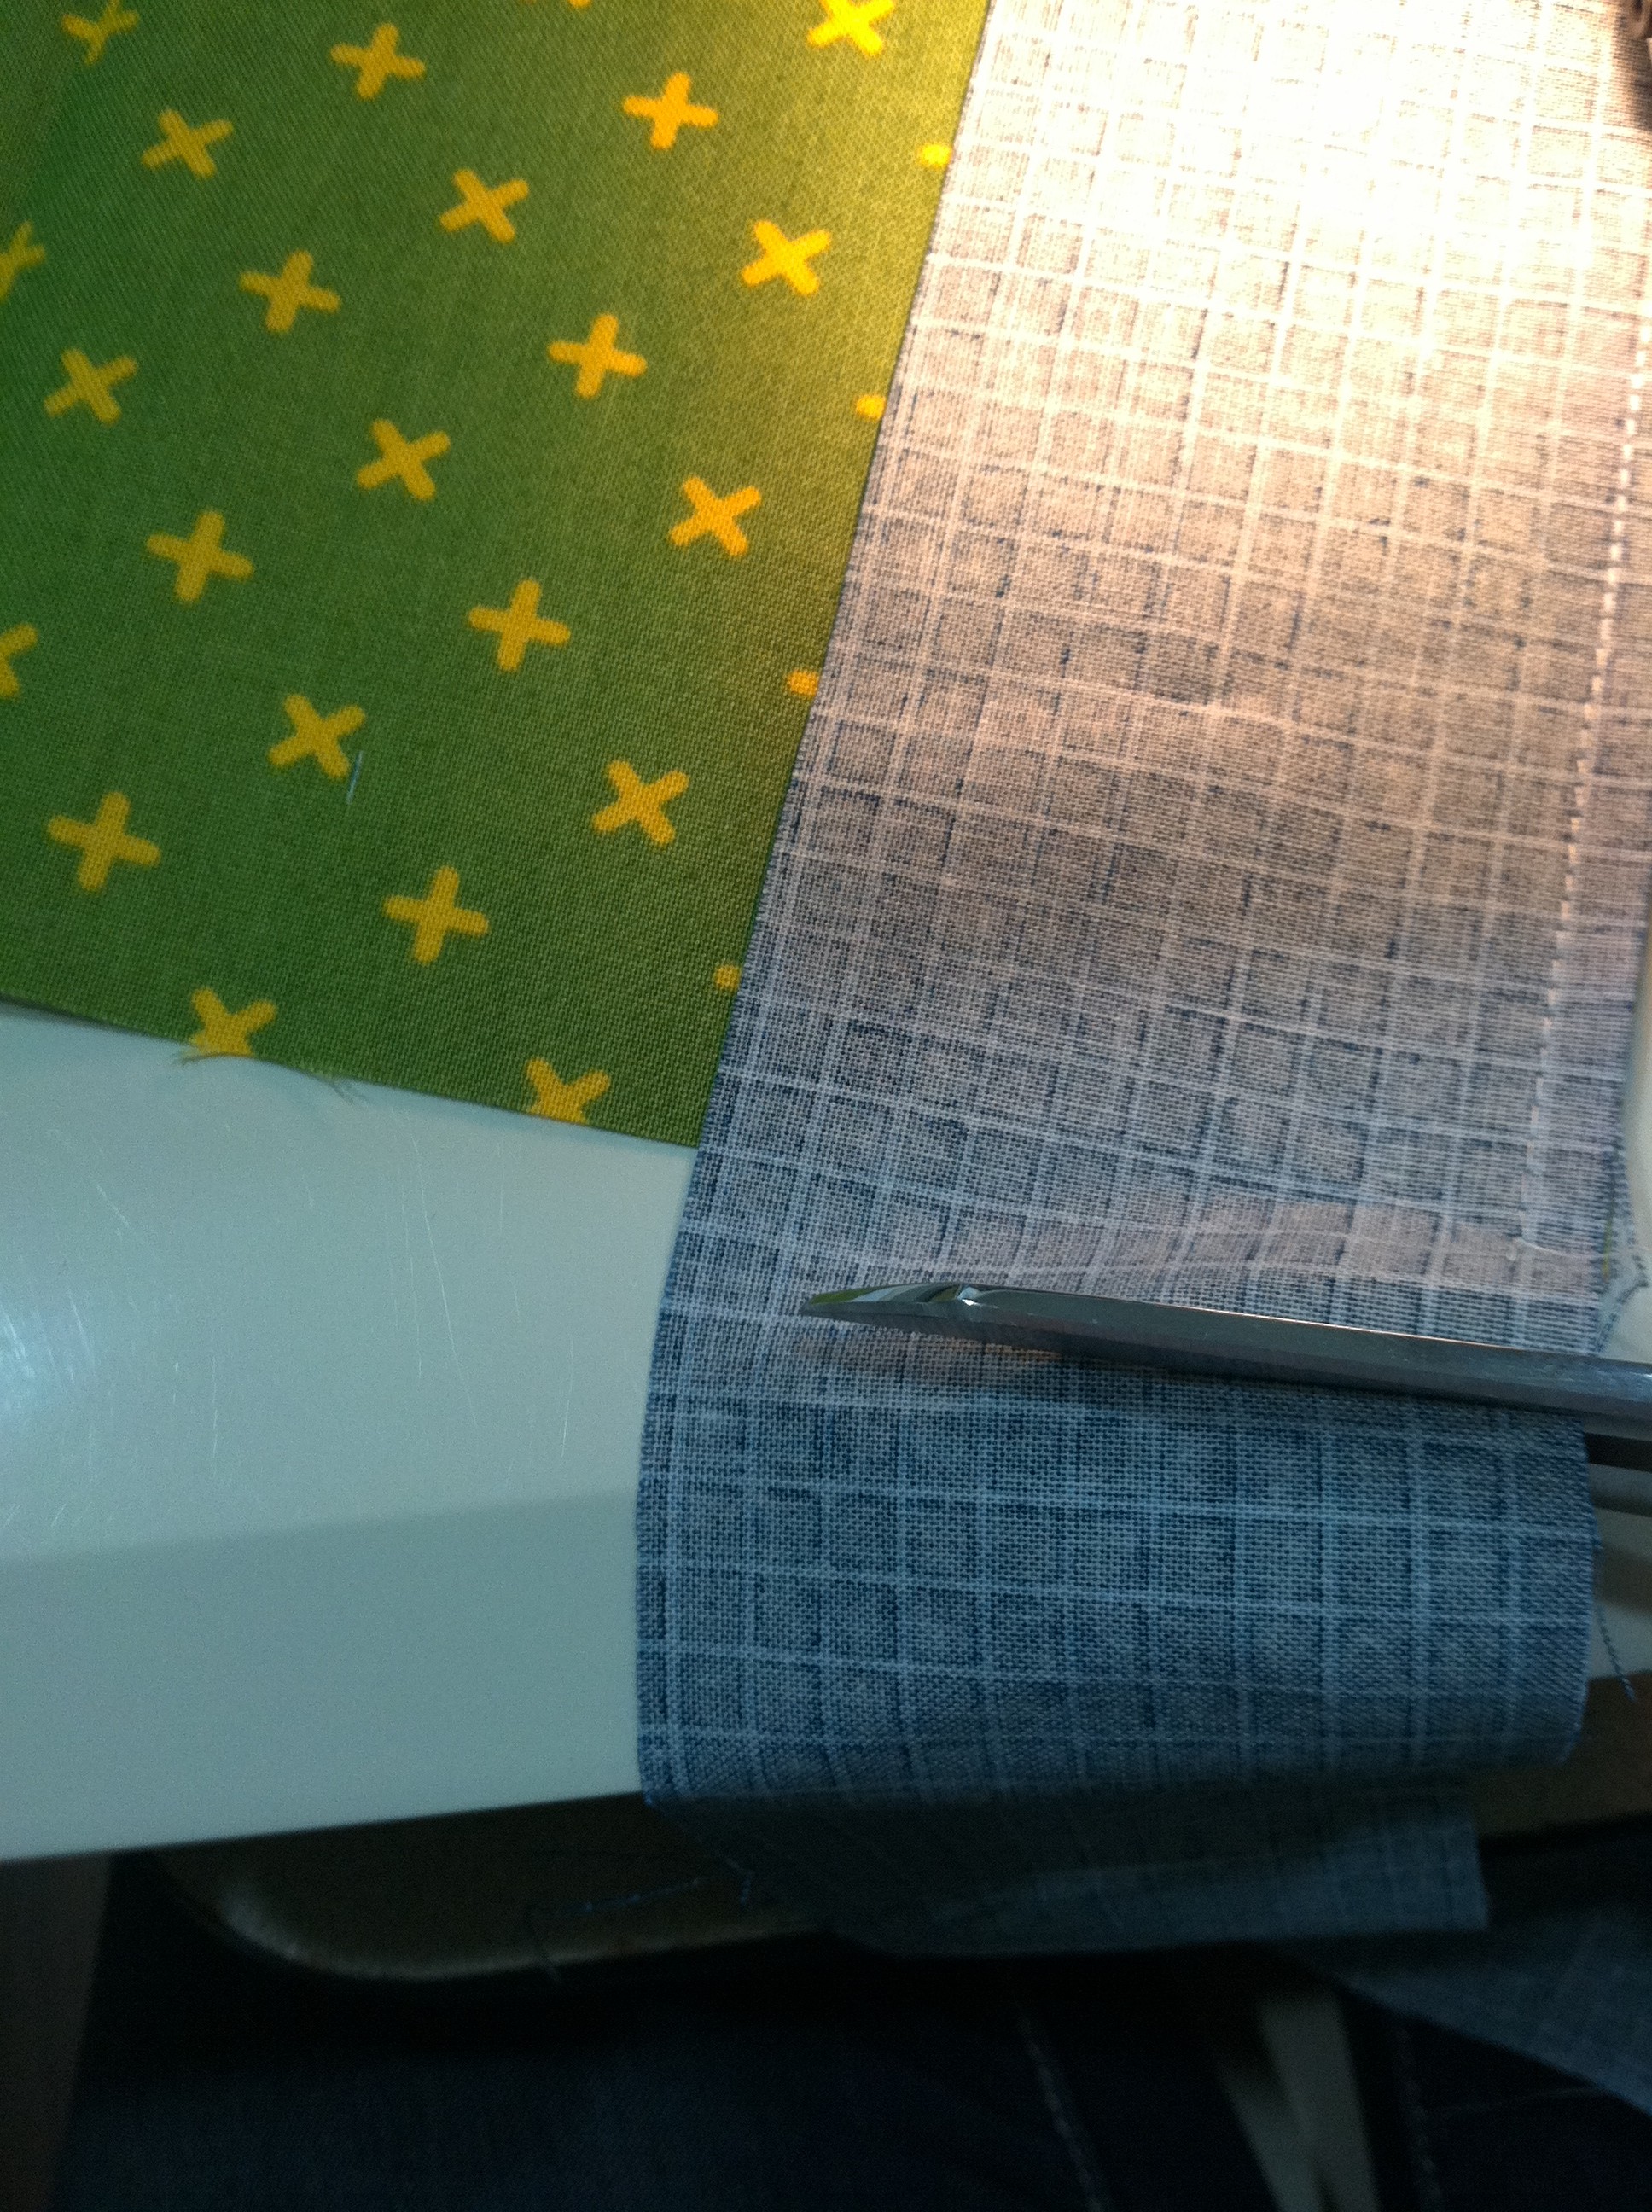
 I cut off the rest of the long strip, and set it aside for the rest of the border.
 I press my border, and trim it using my ruler and rotary cutter to make sure it’s square. Then, I attach the other borders. Usually I will do both sides before pressing and trimming, and then do the top and bottom.
 SO. FAST.
None of this crazytown measuring and fussing with pins, and averaging, dividing, and yuck.
Just quick, easy, square, FAST borders. Every time.
You should really get a walking foot. I mean it. (A walking foot is a presser foot for your sewing machine, that allows the top and bottom fabrics to feed evenly. It’s like magic.)
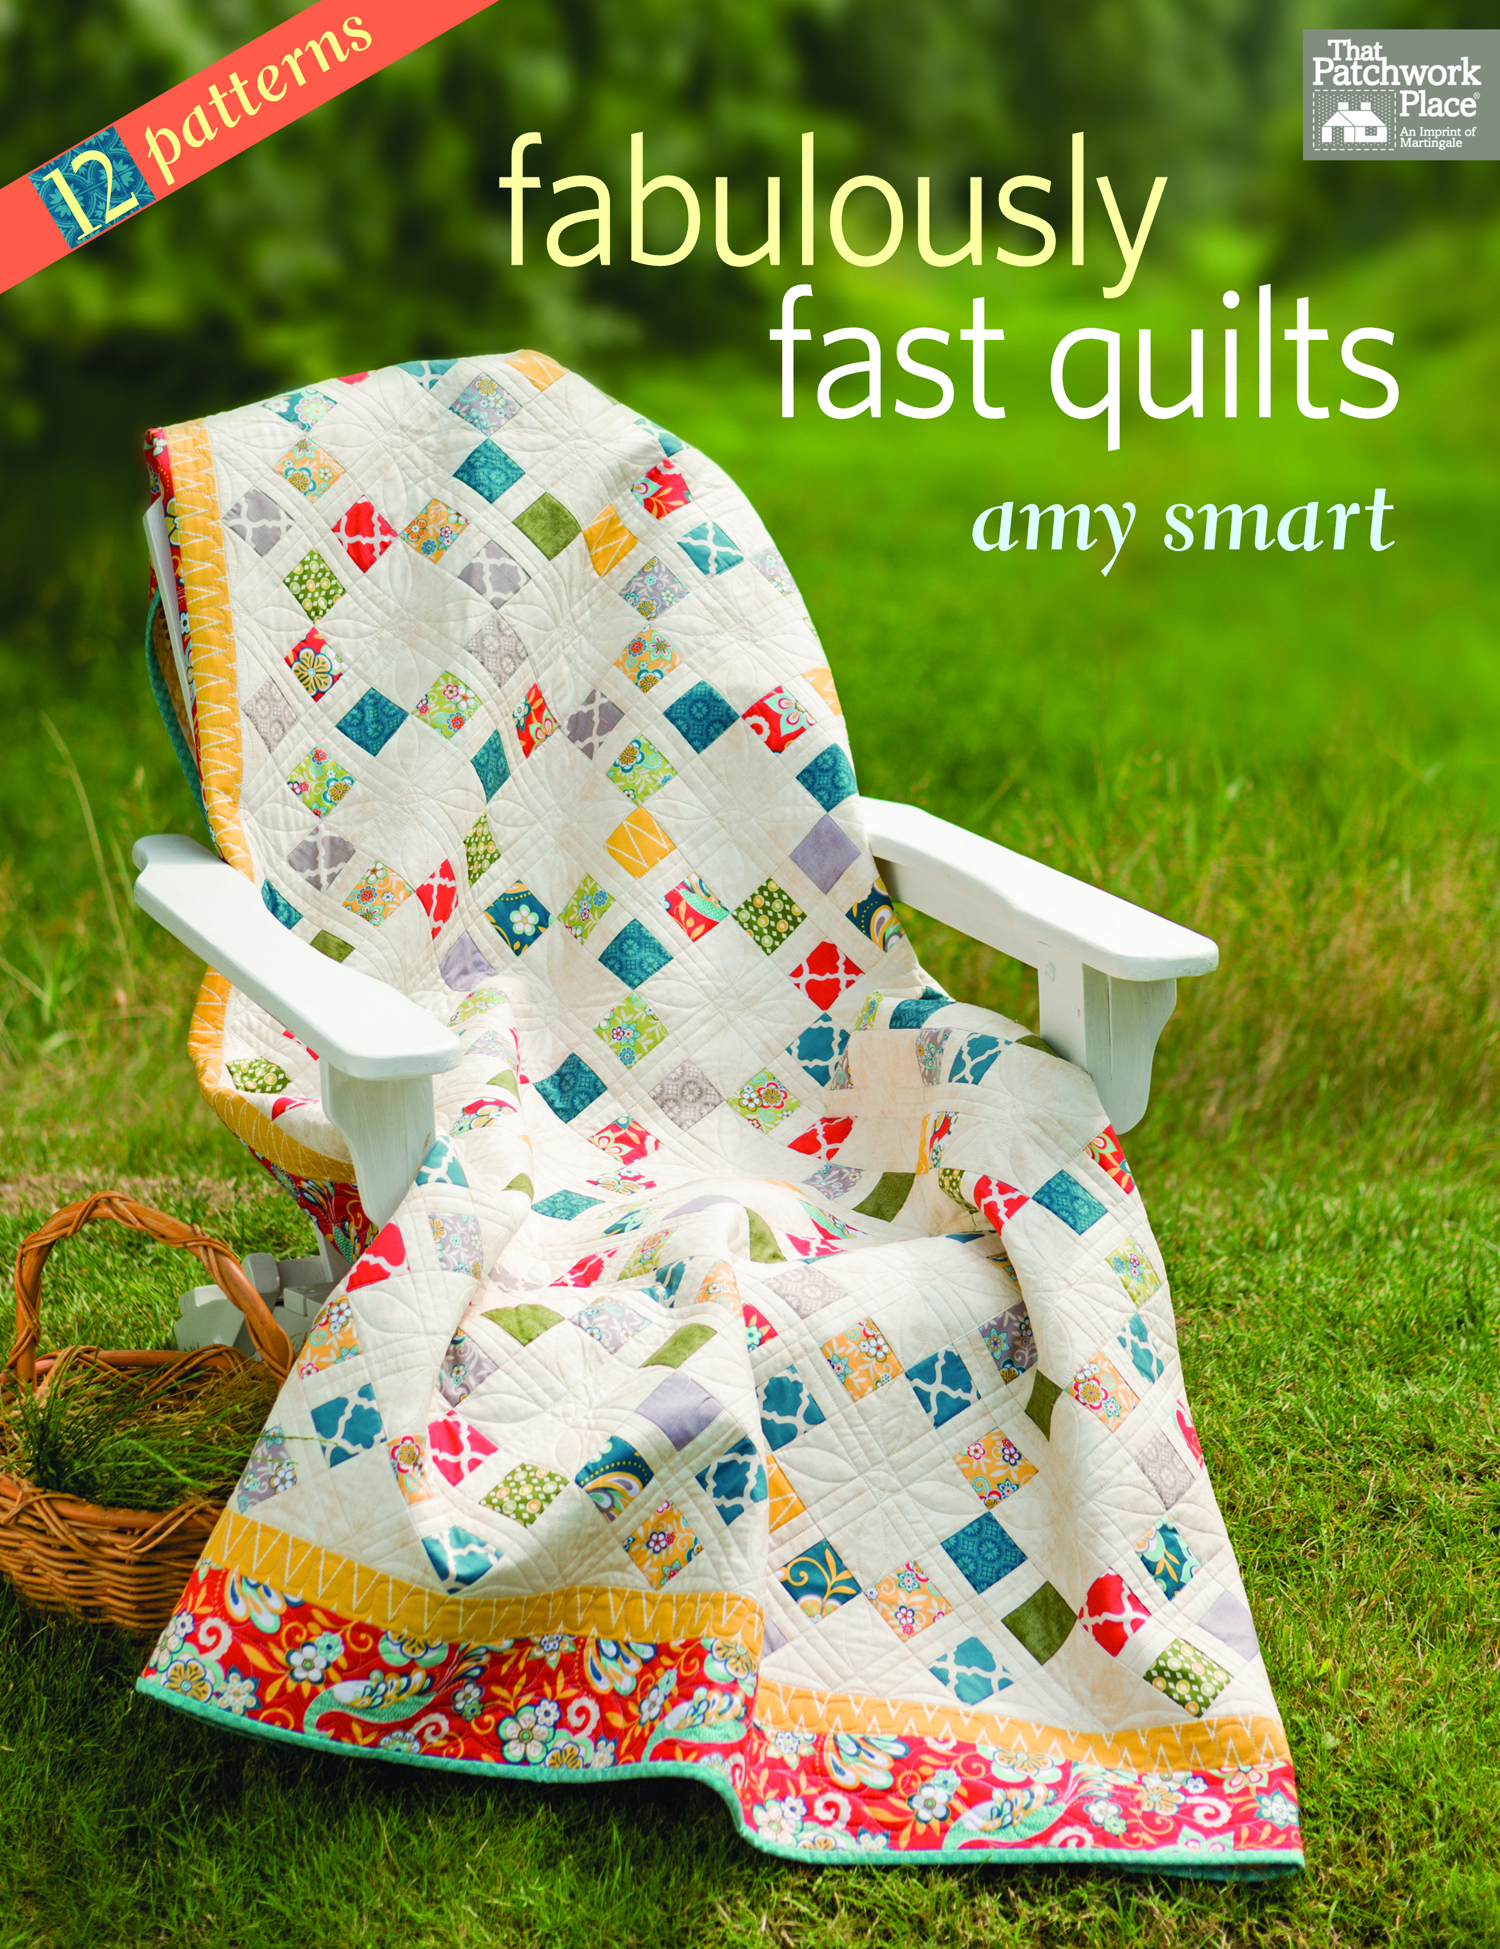
Also, you should really get Amy’s book. (It’s available here, here, and here.) She’s a doll, and her quilts and fun, and easy, and FAST! Win, win, win!
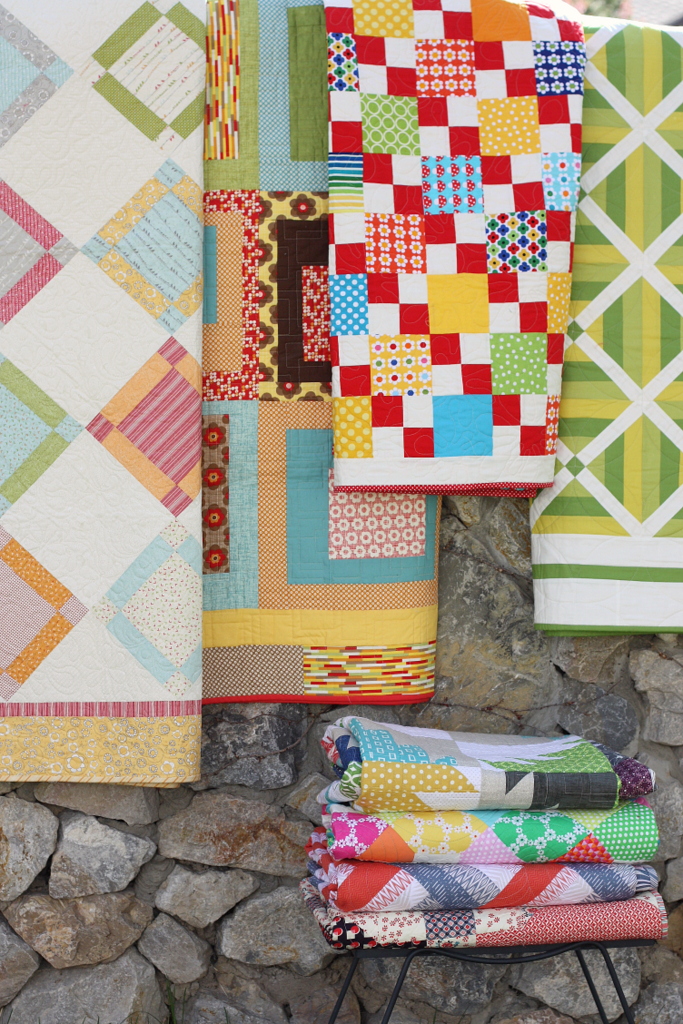
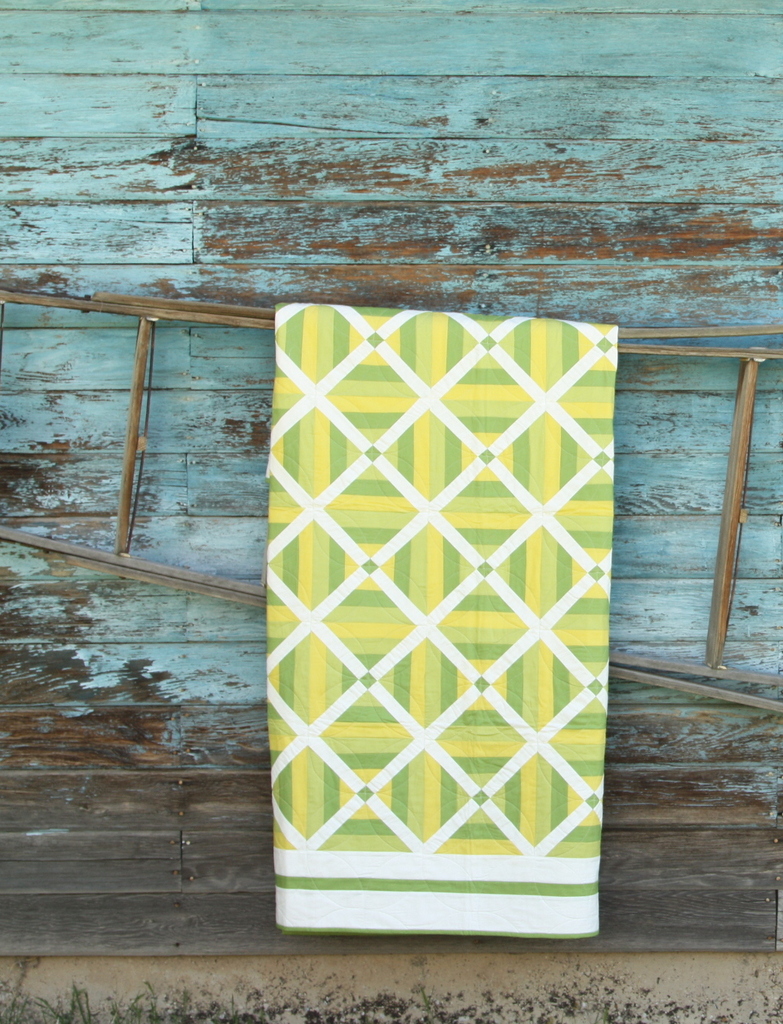
I mean really, check out these quilts! (I also got to longarm the pretty green one!)

So head on over and say hi to Amy, and tell her congrats and good job on her book–because hey, you’ll have lots of time to read blogs now that the borders on every quilt you make will be done in like 10 seconds.
xoxo
April
PS This post is just one of a bunch of fast quilting tips being shared by a bunch of awesome chickadees. You should really go follow along–your quilting speed will increase exponentially, I’m sure!
Love your border tip, April. It does sound so much easier and faster! Thanks for turning us on to Amy’s book!
Thanks Lorna! I’m happy to share Amy’s book! She’s a great quilter, and her book is great too! xoxo
I have done this trick at your suggestion. Love it! My borders look the greatest!
It’s fun, isn’t it?
Well I will be trying your trick out with my next border, looks so simple and fast. The quilts in this book are so beautiful, I am loving the one on the cover.
Amy did a good job, didn’t she?
You must be a very precise piecer to get your borders to be perfect like this!!! I tried this once…when I put it on my longarm there were waves like a hurricane was coming!!! I’m not a great piecer so I need to do the math to get my quilts to end up square!
Susan–you’re right! This technique wouldn’t work nearly as well if your piecing isn’t square! I do my best to keep my piecing precise, and This technique works for me–but I’m glad you’ve found a way to get your quilts to end up just right for you! xoxo
You are awesome April. Thanks for the great technique – plus I LOVE my walking foot. I wouldn’t put a border on without it!
P.S.
Amy’s book looks great. Will have to buy it!
Thank you for the tip – this is my type of sewing for sure!!
Yes, Amy’s Quilts are beautiful!
I don’t know who invented the walking foot but their name should be praised forever. Love my walking foot!
Can I get an “A-MEN!” :)
I confess. I do the same thing. Unless I see that my quilt is out of square, I just put them on. If the quilt is just a teeny weeny bit out of square, unless I was in a show, I just wouldn’t worry. If I can see it is all catty who pus, then I look and reset the problem areas
Judi– You’re right! It’s definitely helpful to use math to get a quilt closer to square, but where that’s not an issue, this is a great way to do borders! No worries!
While I was taught the “right” way I often do it your way-what the heck! Life’s too short to measure, calculate and all that figuring! Maybe because I taught school for 35 years, my patience for minutiae has been used up. Actually my patience for a lot of things has been used up-LOL! Thanks for the validation that this method is OK
Oh, it’s more than ok, it’s awesome. :) Thanks for commenting Rosemary!
How way cool! Thank you for this great tip! I am pretty new to quilting…and know this is going to be such a help!! :)
simply brilliant!
Ooh — Border Blasphemy!! :-) You know, as I’m thinking about it, I’ll bet that those mind-boggling traditional methods for measuring and attaching borders are more crucial when there are issues with the quilt top to begin with (inaccurate piecing, waves and puckers from stretching and mismatching along the way). If your quilt top is nice and flat and square to begin with, then your Headache Free border method would work just fine and definitely be faster and less stressful. Also, using the walking foot is HUGELY important — any time you sew long strips together without a walking foot you can get uneven feeding of the layers and wavy issues. Pfaffs and Berninas with built-in dual feed would be great candidates for your streamlined border method as well.
I’ve actually stalled out with a quilt project because, due to a design change mid-stream, I now have an appliqued center medallion, a bunch of 9″ square pieced and appliqued border blocks that need to be set on point, and about 5 1/2″ of space between that border and the center medallion that I need to fill with several other borders and my brain is hurting from trying to calculate the math for those in-between borders. Now that you’ve given me a “eureka” with your border tutorial, I think I might be able to adapt it to work with a mixture of pieced and plain borders to get them to all play nicely together AND fit the rest of the quilt properly. Thank you for sharing your technique!
I think you might be right. I’m glad all you smart ladies have pointed out how important it is that the quilt be square if you’re going to try this method :) I can’t wait to see your final quilt–you’ll have to share pictures! xoxo
LOVE your tip! And that cover quilt is my favorite so far! Beautiful!!!
Thanks for stopping by Maeve!
Thanks for confirming that the way I have been doing my borders is okay to do… I just started quilting and the other way to do borders.. With all that measuring and stuff just seemed really more work than needed… Now I know I’m not the only border rebel out there!! Thanks so much.. Sweet blog.
Pretty! This has been a really wonderful article. Thanks for
supplying this information.
Great article! There are so many ways to do things in quilting, none of them more right than others. When I first started quilting, I did my borders this way a lot because the entire process was overwhelming and this was quick. Some quilts turned out really great, others very ripply after washing. Now I measure my sides, average them out and then subtract a 1/4 inch from that number. I make my border that length and pin it onto the quilt. I’m not sure why it works, but I rarely get a ripple now. Whatever works!
Everything is very open with a precise clarification of the issues.
It was truly informative. Your site is very useful.
Thank you for sharing!
B J,CC JDTUKD UJDTYKD TUM