Now that you’ve learned a little bit about the basic types of quilts, the tools that are handy to have, and the parts of a quilt, you’re ready to get started–and I can’t tell you how excited I am for you new quilters to become just as addicted as the rest of us! Here are 10 tips to get you going on the right foot.
1. Choose a beginner pattern.
Start simple. Choose a pattern that only uses one or two types of simple blocks. Even better, choose a pattern marked “beginner” so you know there won’t be too many twists and turns. There are even a lot of free patterns online for small table runners or baby quilts.
2. Start small.
I suggest starting with something small. Small quilts and table runners are easier to maneuver, and quicker to finish. You will feel so much more confident with your first project under your belt! Also, they (of course) require less fabric which equals less cost on your first try.
3. Use high quality fabric.
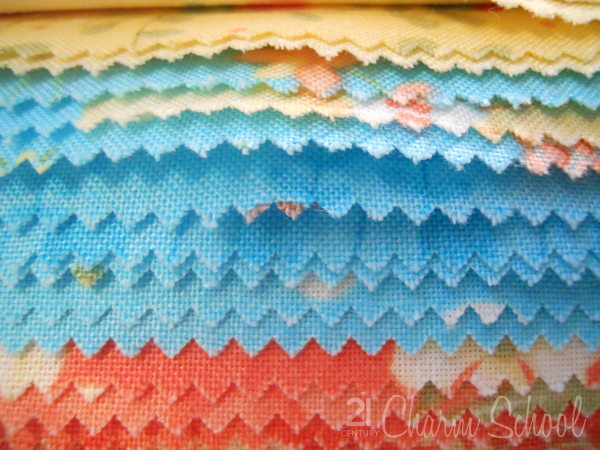
It will make a HUGE difference if you use high quality, 100% quilters cotton fabric. It is more expensive, but will save you a lot of grief and frustration. Higher quality fabric holds its shape better, feels better to the touch, retains color better, and is more durable. I promise it’s worth the extra price.
4. Read the directions, twice.
Seriously. Read each instruction in your pattern twice, and make sure you understand what it says before doing anything–especially cutting. You can unpick seams if you sew something wrong, but if you cut something wrong, you may end up short on fabric. As an old quilting saying goes: “Measure twice, cut once.”
5. Check your seam allowances.
Make sure you are really great at a 1/4″ seam allowance. Almost all quilting patterns use the 1/4″ inch, and if your seam is off it will make all your measurements off throughout the entire quilt. You don’t want that, I promise. So, take a little ruler, and make sure you know exactly how to sew that seam. Mark it with masking tape if you need to, or get a presser foot that is a perfect 1/4″ from the edge. Then, practice, practice, practice.
6. Keep your needle sharp.
Your needle should be changed every 8 hours of sewing. Why? A dull needle will make sewing your pieces really hard. The seams won’t be as straight or accurate, and your fabric can pull and pucker.
7. Press your seams.
Just press them. Don’t iron them. Pressing a seam means putting the iron straight down on the fabric, and not moving it. This helps the fabric keep its’ shape, and the quilt block from being skewed or warped. If your pattern tells you which way to press your seams, be sure to follow.
8. Choose appropriate batting.
If you’re going to try machine quilting your first quilt on your own, choose a thin batting. It’s easier to manipulate and work with, and will fit better under the arm of your machine. If you’re planning on tying your first quilt, you can use a bit thicker batting.
9. Use colors you love.
Lots of people will tell you different things about color–what goes together and what doesn’t, what not not mix, and especially what is trendy. When choosing the colors for your first project, choose colors and prints that you love. It makes a huge difference in your attitude and motivation to be working with fabric that you love to look at.
10. Don’t stress out.
Really, truly, just don’t. You will make mistakes. All of us do. Even the most experienced quilter rips out seams now and again. Take slip-ups with a grain of salt, learn from them, and move on. Keep a sharp seam ripper nearby, take a deep breath and jump in.
Starting a new quilting project is so much fun, I can’t wait for you to join the ranks! Enjoy the learning process, follow these 10 guidelines, and you’ll be whipping up beautiful projects in no time.


Great advice! Completely true on the good fabric. I just finished a blanket that was made from cheaper fabric and it was horrible.
Dumb question but… if you share a machine with someone else (read–you don’t know when ~8 hours of sewing has occurred for the needle) what’s the best way to tell that it needs to be switched out without doing it too soon/late?
These are some great tips for a beginner like myself, thank you!
thanks for this! i just started quilting and have no teacher….just something I threw myself head on into. i had no idea about changing my needles. thanks
I’m so glad it helped! I’d love to see your first projects! Let me know if you have any other questions.
Mwa!