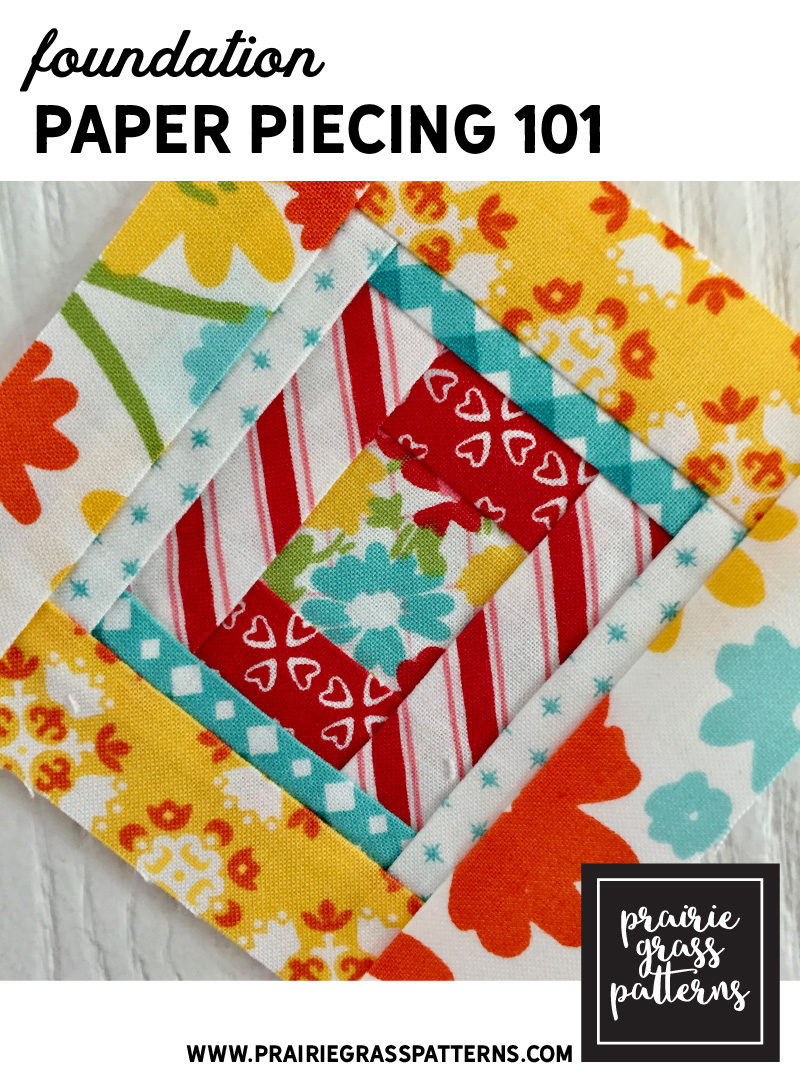
Paper Foundation Piecing, commonly called paper piecing, is a method of piecing quilt blocks using a printed paper for stitch lines. It allows a sewist to make blocks with small sized pieces or complex angles that would be difficult to cut and piece otherwise.
It sounds harder than it is, promise. Once you get the hang of it, you’ll fly through it without a second thought! Stick with me through making a unit or two, and you’ll get it :)
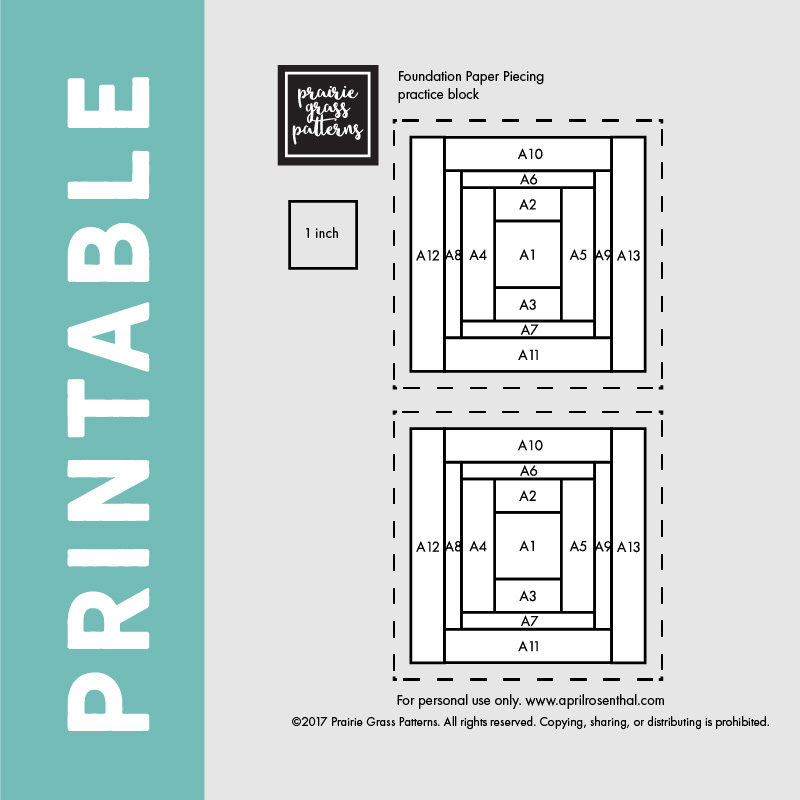
Take a minute and click on the picture directly below. It will open up a PDF file you can print and follow along with.
You will need a printed paper foundation for each block or unit you are making. Papers can not be reused. Also, pay attention when you print that the “Do Not Scale” box is checked on your printer pop up window, or however your printer pop up interface words it. You may have to choose “Actual Size” or something similar so that the file isn’t resized–this will make sure that your foundation prints at the right size. Many patterns even have a box marked “1 inch” so that you can print and measure this box with a ruler to make sure your print is the right size.
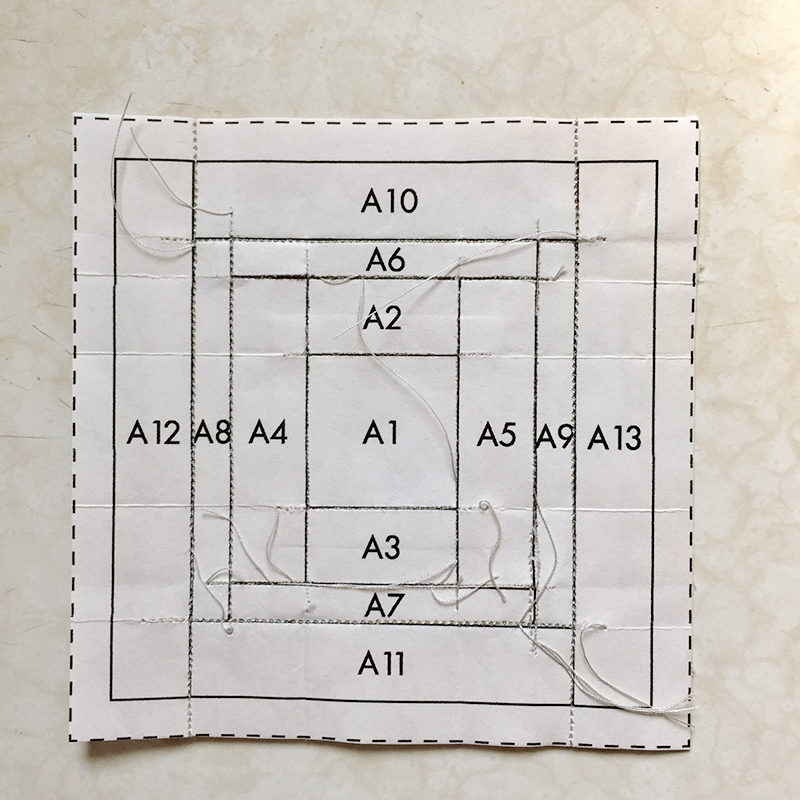
 Here’s a few things you’ll want to remember: The printed side of the paper is the “stitching side”. This means that anytime you sew pieces together, you’ll be doing it with the printed side of the paper facing up and your fabric facing down. Your fabric is always placed on the unprinted side. The numbers on the paper refer to the order you will sew the pieces together. The lines on the paper are where you will sew.
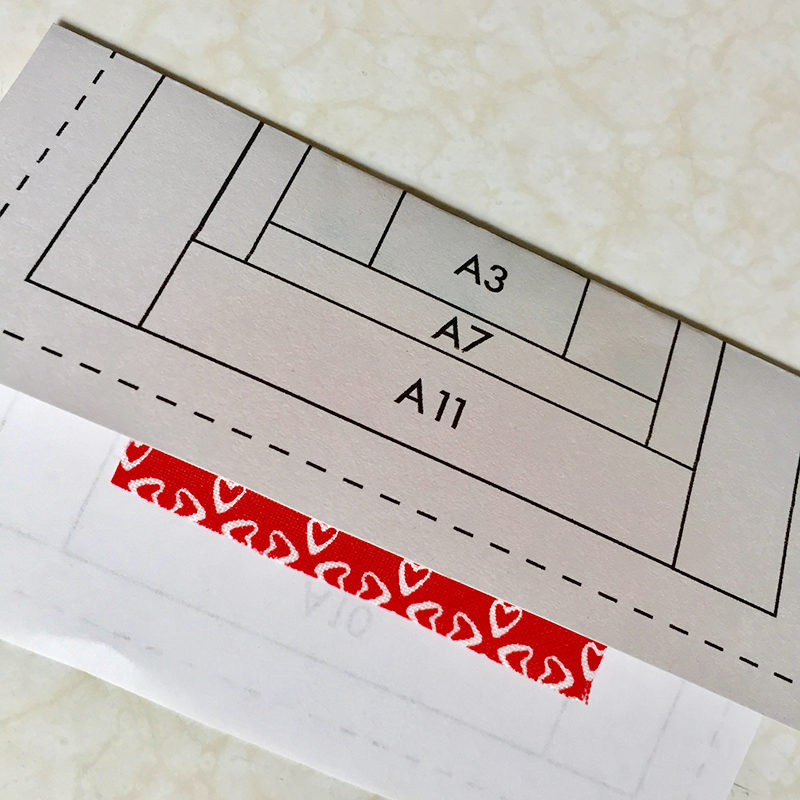
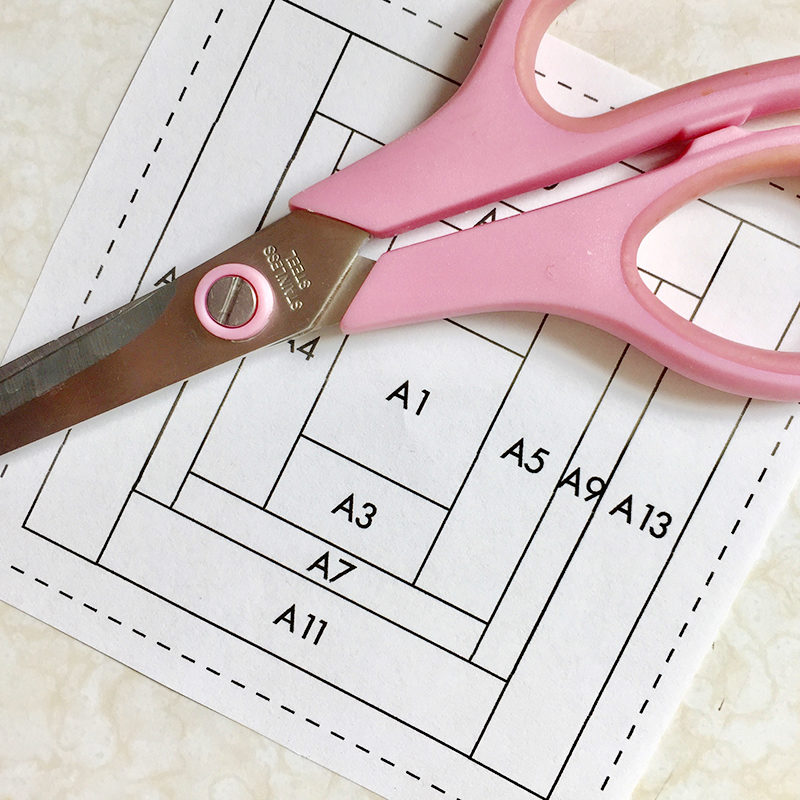 To get started paper piecing, cut out the foundation templates just outside the seam allowance edge (that’s the dashed line.) Make sure you’ve got a sharp needle in your sewing machine, and set your stitch length to small–I usually set mine to just larger than 1. The idea behind a short stitch length is that the smaller stitches will perforate the paper closer together and that makes it easier to tear away and remove later.
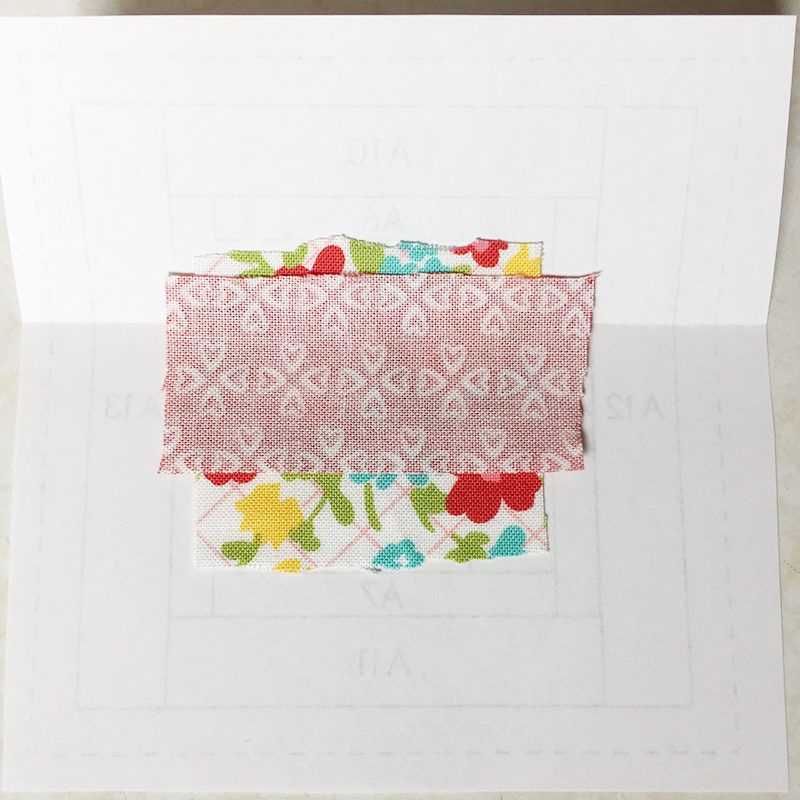
With the printed side of the paper foundation facing you, place the appropriate piece of fabric–with the wrong side of the fabric facing the unmarked side of the paper–over the area on the foundation that is marked as the first piece (A1, B1, etc.). You may need to hold the paper up to a window or light in order to place the fabric correctly. Make sure the edges of the fabric piece extend at least 1/4’’ beyond the stitching lines of the area. It’s okay if the fabric is significantly bigger than the area you are covering. You can trim away excess later. 
Pin (not recommended)or glue stick the piece in place, avoiding the stitching lines. In the picture below, you can see I used a very small amount of glue stick on my paper. Less is more here, lovies, you’re going to want to pull this off later so don’t overdo it on the glue.
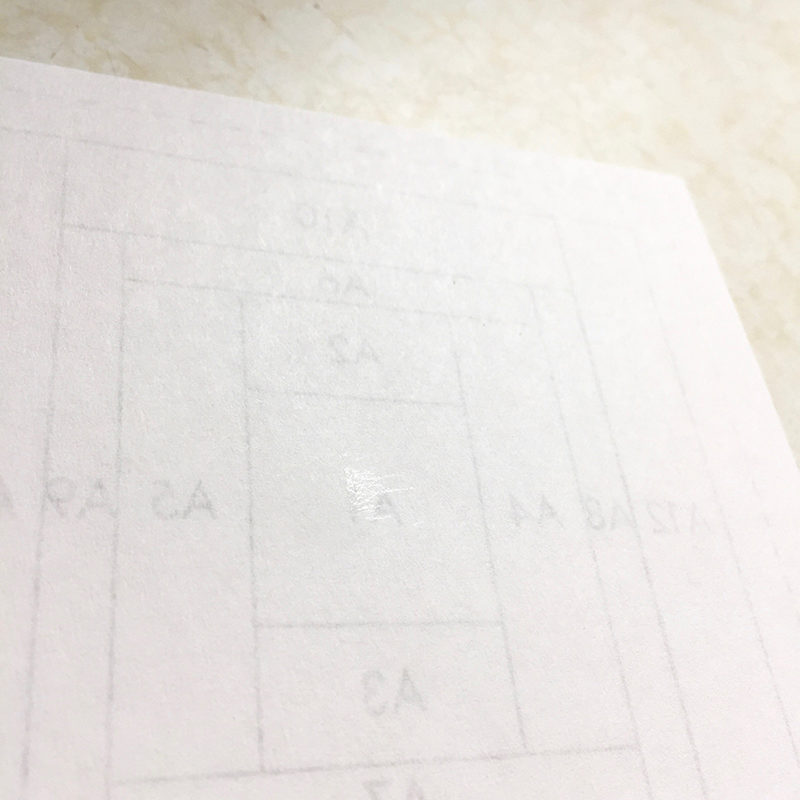
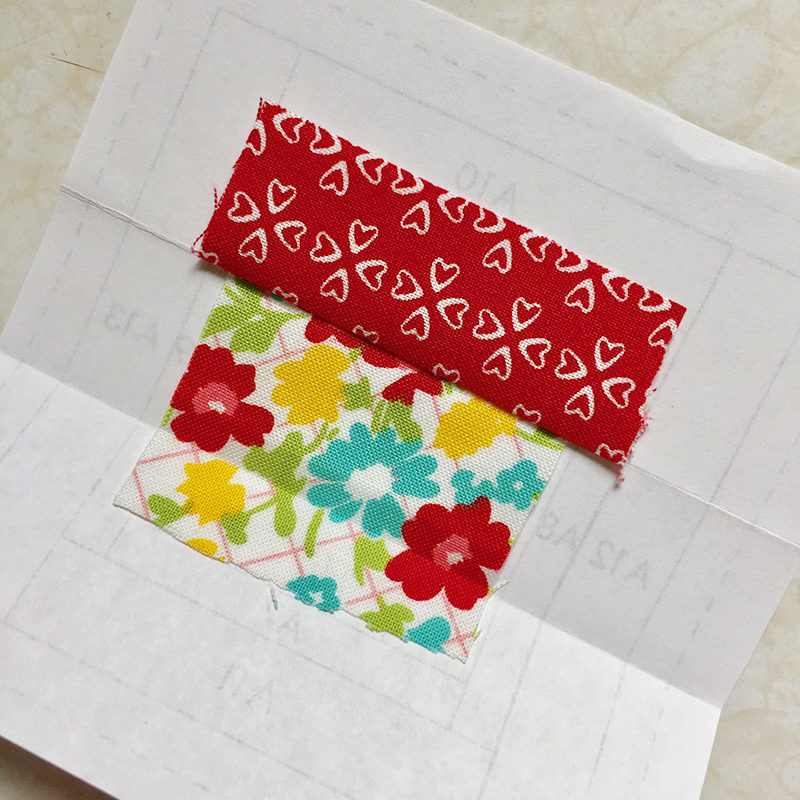
Choose a piece of fabric that is the correct size to cover the second piece (A2) generously, extending at least 1/4’’ or more past the stitching lines. Fold the paper and fabric on the first stitching line (the black line between pieces A1 and A2).
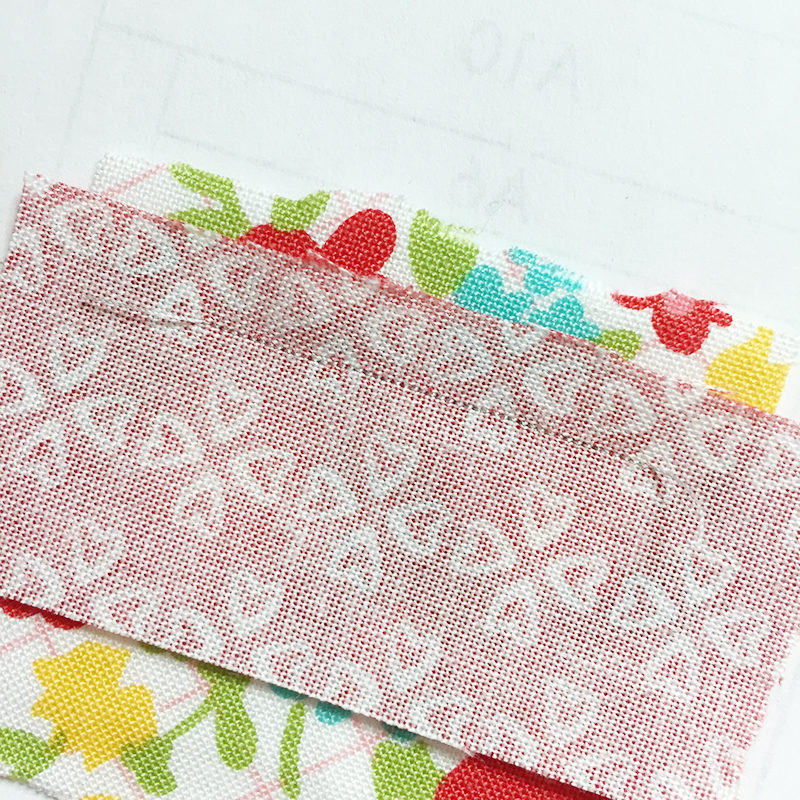
 Folding the paper and fabric shows you where the stitching line will be. This will help you see where you have to sew, and so, where you need to position the next piece. In the image below, the seam goes on the fold, so all the fabric above that fold is seam allowance.
Place fabric A2 right sides together with the first piece, making sure you have enough fabric extending over the seam line so that your stitch is stable.
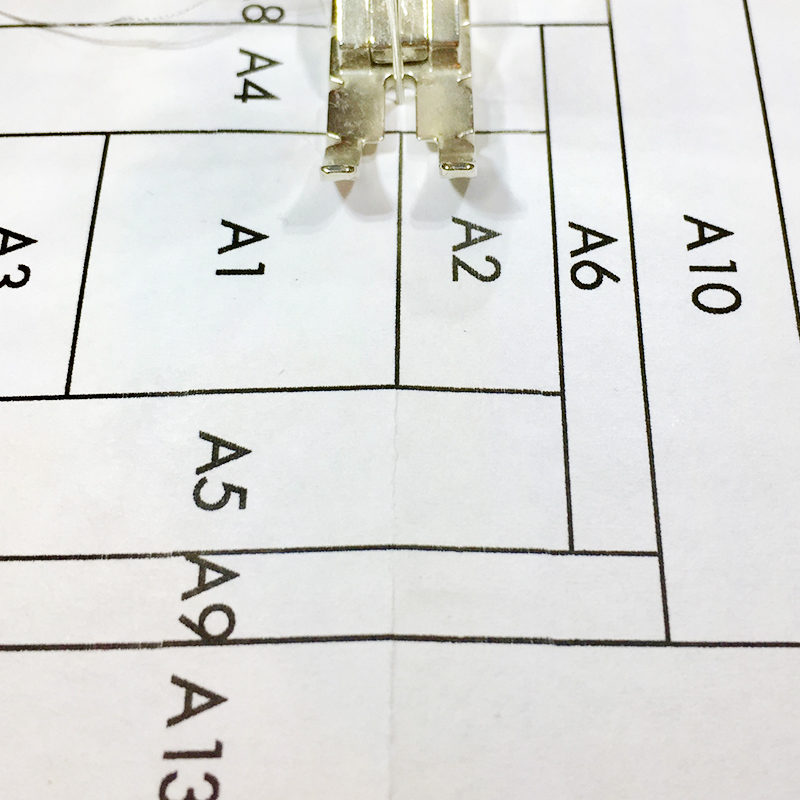
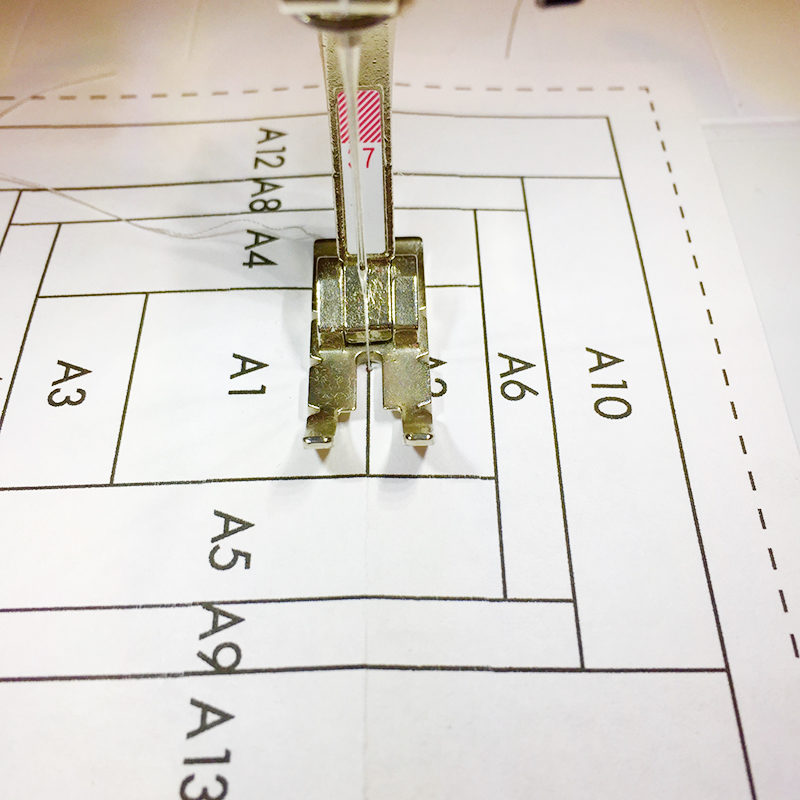
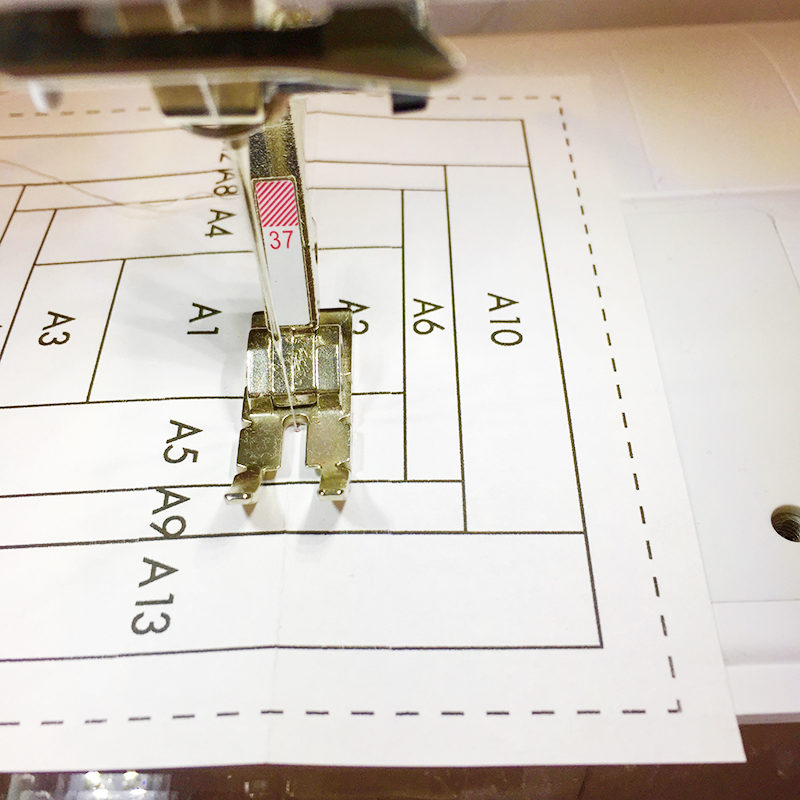
Hold the second piece in place, or use a little glue in the seam allowance (don’t get glue outside the seam allowance, trust me–and again, less is more.) Flip over the paper so that the stitching side (printed side) is facing up. Place under your presser foot, beginning the stitch 1/8″ – 1/4″ away from the stitch line.
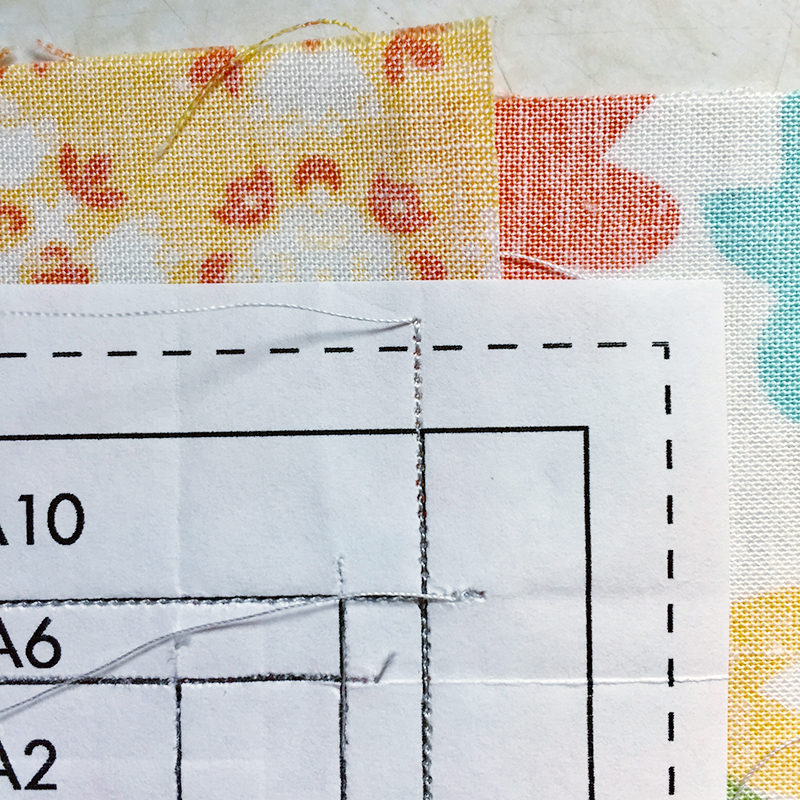
Stitch on the line between pieces A1 and A2.
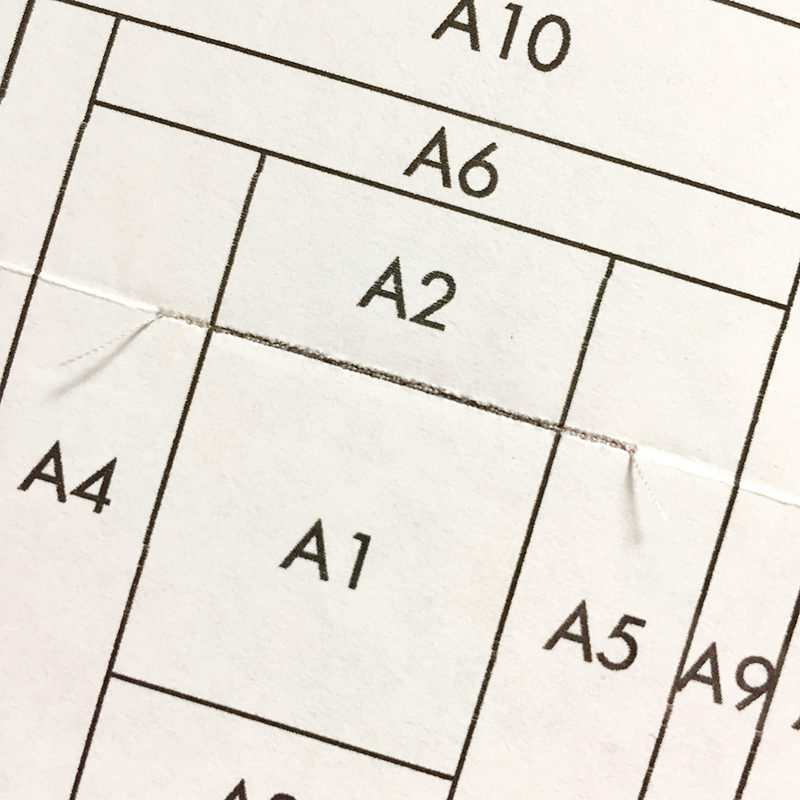
Extend the stitch 1/8″ past the stitch line.
Cut threads. (See how those tiny stitches perforate and nearly cut the paper?)
Flip over the paper and open the seam you just stitched, making sure your 2nd piece covers the entire 2nd area accurately, extending beyond the sewing lines at least 1/8’’. If it doesn’t, carefully unpick the seam and reposition.
If it does, close the pieced seam,
fold back the paper foundation,
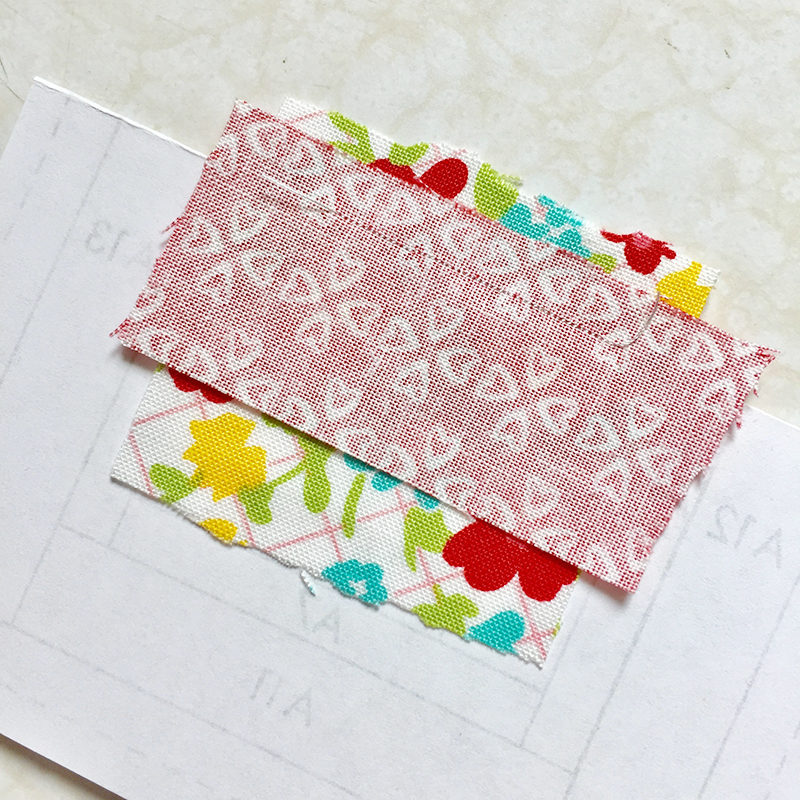
and trim seam allowance to 1/4’’. Be careful to avoid cutting the foundation paper.
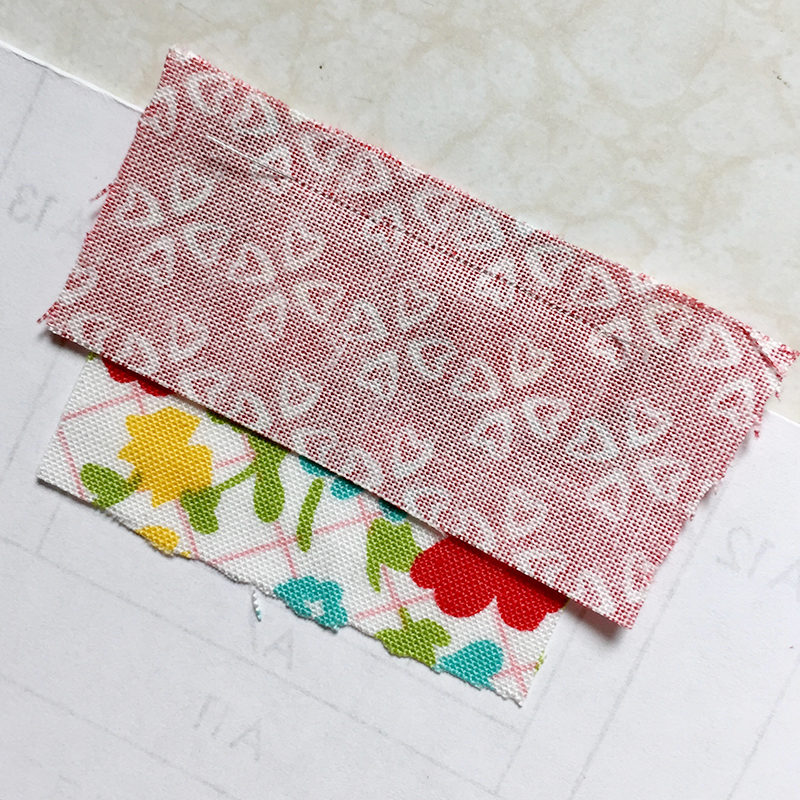 Reopen the seam and press in place with a dry iron–no steam. Steam will curl your paper and make it harder to work with.
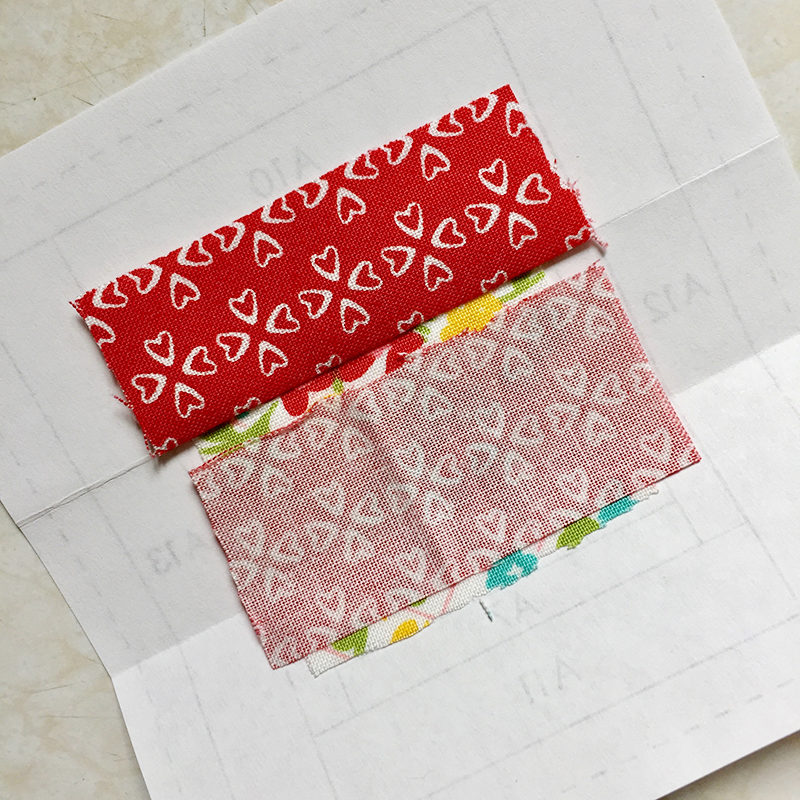
To place the next piece, repeat the steps above. Fold on the next seam line–in this case, A1/A3.
Open up the fold.
Position a piece of fabric cut generously to cover the area, maintaining enough seam allowance.
Hold piece in place, flip the paper over, stitch on the seam line, being sure your seam extend past both ends of the seam line. Open up, make sure the fabric covers the area appropriately with enough overlap to allow for future seam allowance. Close the seam again, fold back the foundation paper, trim seam allowance, then open up and press. Move on to folding between the next seam. Work this way from piece to piece, in numerical order.
When working on the pieces on the edge of the block, make sure when the piece is attached and folded out, that it extends past the dashed/dotted line. This is the edge of the block’s seam allowance, so you need the block to extend across that distance. Be sure your stitching also extends past that line.
Once all the pieces are placed, press the whole thing. It’s gonna look a little rough around the edges, but don’t worry. We’ll fix that.
Flip the block over to the paper side…
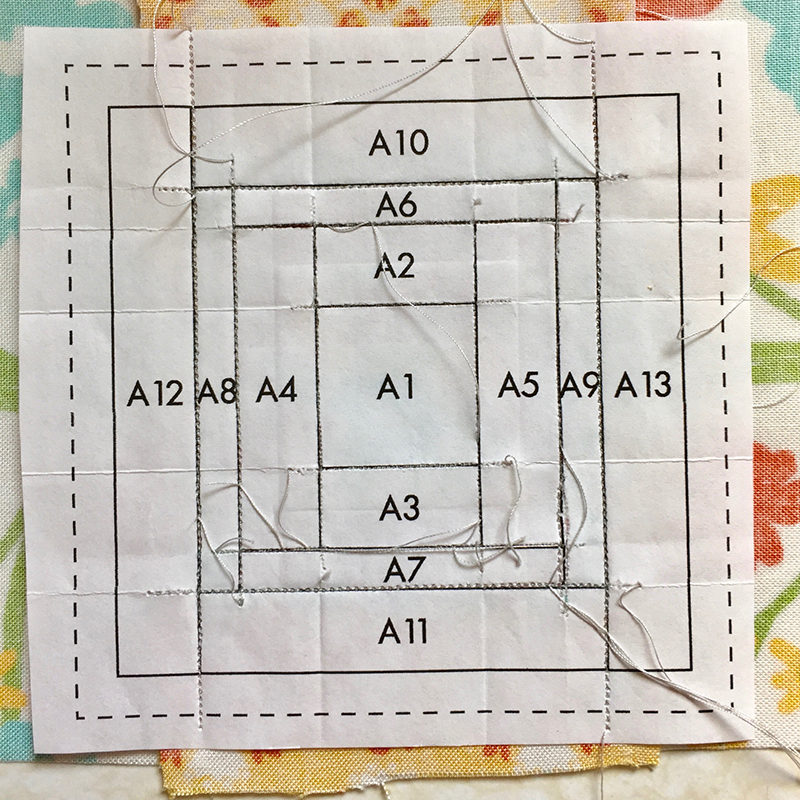 and use your rotary cutter, ruler, and a sharp blade to trim just outside the printed dashed line. Be careful not to let your ruler slip on the paper.
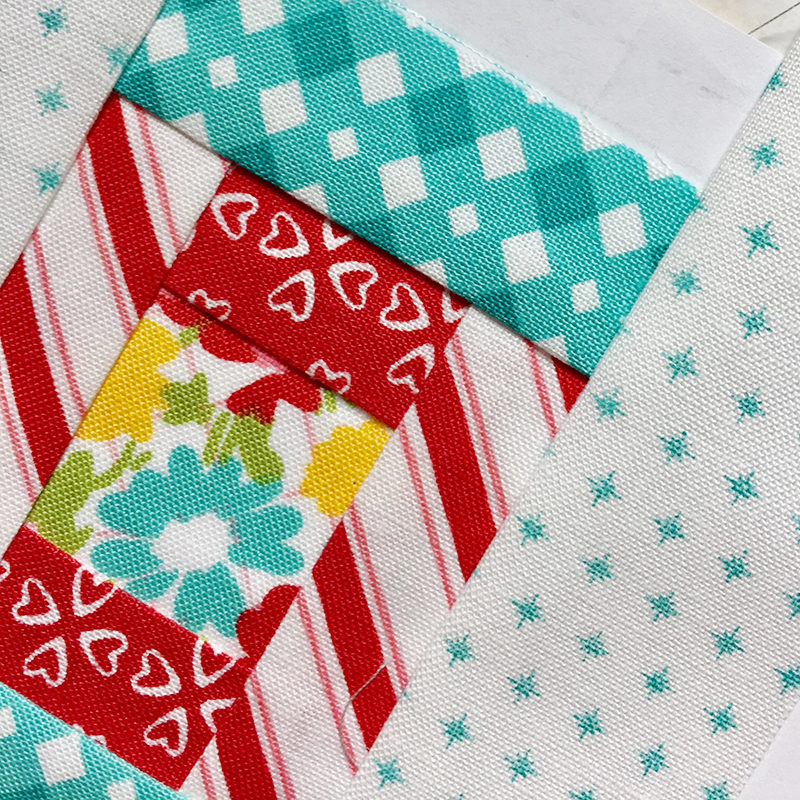
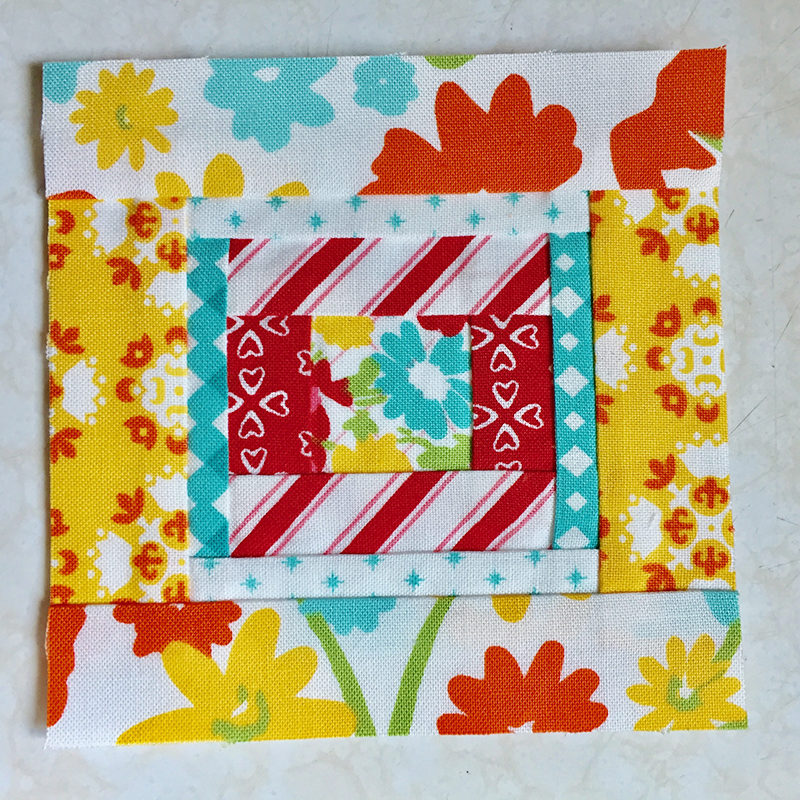
There, doesn’t that look better?
Paper should NOT be removed if the block will be sewn to other paper pieced blocks. Once Paper Pieced blocks or units are stitched together, carefully remove paper. You may find a small pair of tweezers helpful when removing small pieces of paper from intersections. If you’re sewing a paper pieced block to another piece of fabric, remove the paper first.
When the block is complete and the paper is removed, you may choose to use a very long stitch length to baste around the edges of your block, particularly where there are seams that intersect the outside edge. This will help reinforce weak areas or bias edges.
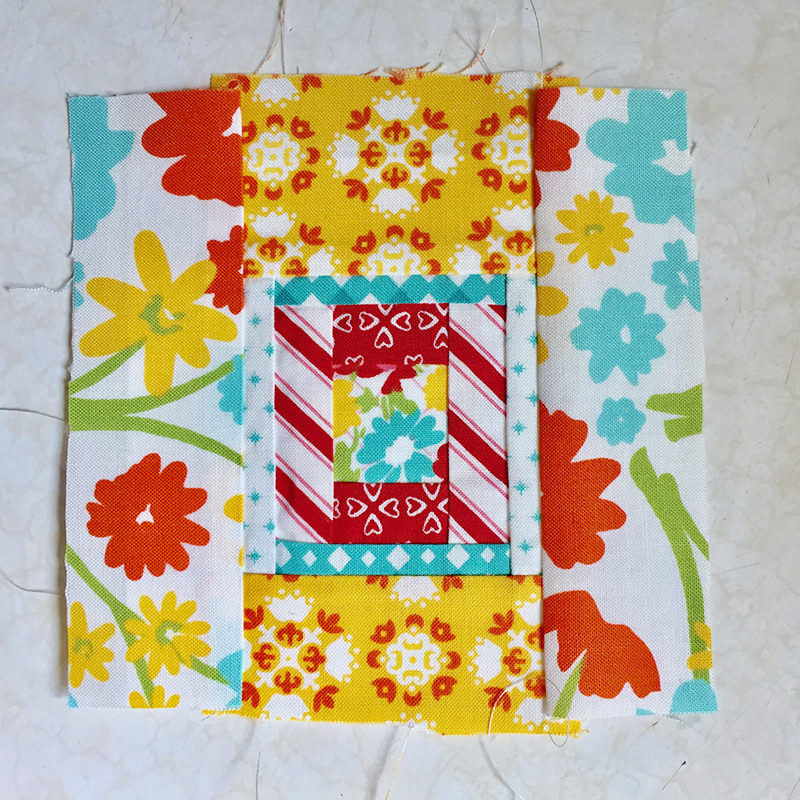
Congratulations! You just made a Foundation Paper Pieced block! See, I told you it wasn’t too bad. Practice makes perfect here. Nowadays, this technique takes very little brain power for me, and is a super mindless and relaxing way to make really precise blocks. I hope you take a chance and try it!
xoxo
April





I’ve always wondered how that worked.
Now you know, my friend.
I am having trouble opening the off file from the picture. Is there something I’m doing incorrectly? I’m so excited to try this. I love this block but have always been afraid to paper piece. I’ll definitely give it a try now.
Link fixed! Thanks for letting me know! xoxo
Thank you for such a good tutorial. I have paper pieced before but never often enough to remember how to do it well. This is great with all the photos!
Until it becomes old hat, pictures help a bunch! xoxo
I love paper piecing. This is a great tutorial!
I’m looking for the printable that is the correct size for the block. Where do I get that?