
 Piecing a perfect four-patch block is just one of those things a quilter should have under their belt, if you know what I mean. Luckily, it’s a quick and easy process (nevermind that it took me about a billion pictures to show how easy it is…). Once you get the hang of it, you can crank these babies out in no time flat, and you’ll want to, they’re in a TON of patterns. I apologize in advance for these colors. They’re pretty much clashing with everything else here…

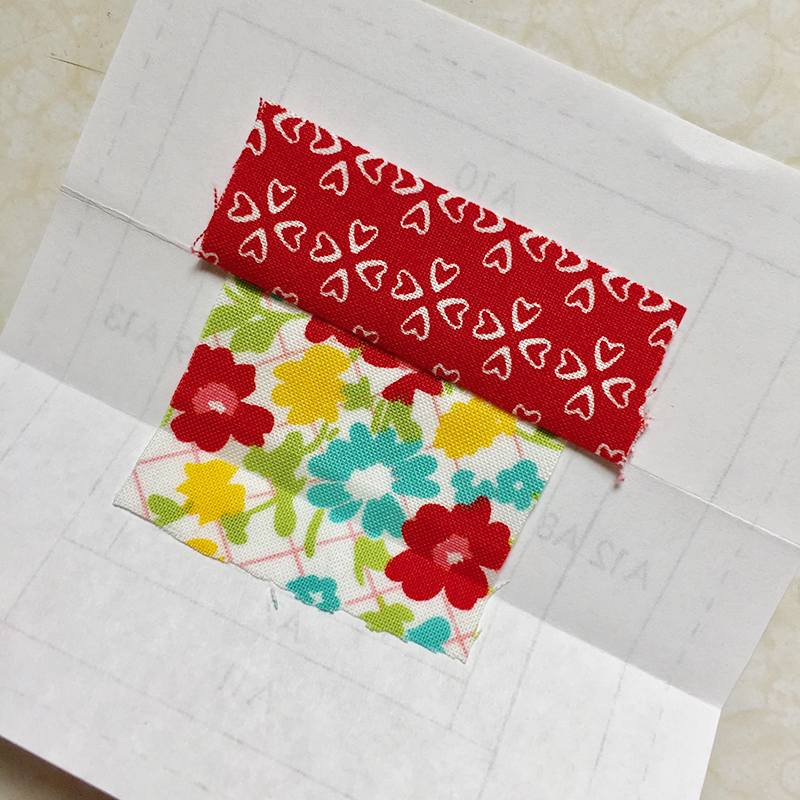
Start with 4 squares of fabric, all the same size.
Take the squares on the left and flip them over so they are face down on top of the fabrics on the right. The “right sides” of the squares should be facing each other. In quilting terms, this is called “right sides together”. I know, we’re a creative bunch. Pin, if necessary. My squares are only 2½” square, so it’s not needed in my case, but if you’re working with squares bigger than about 3″, I suggest pins.

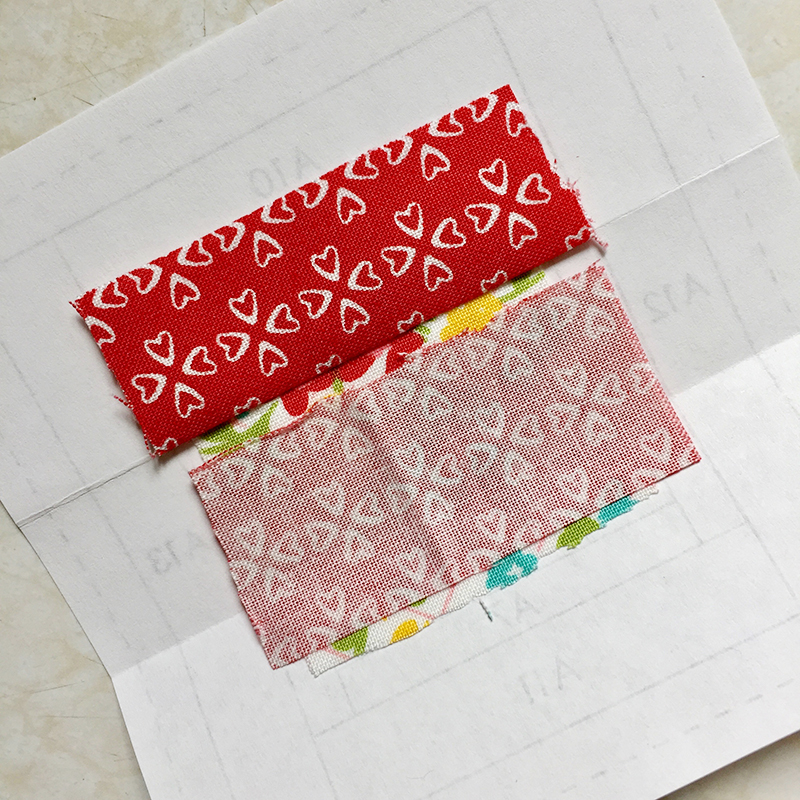
Using a 1/4″ seam allowance, sew both sets of two squares together using a straight stitch. To make things easier later, do NOT take a double stitch or backstitch on the first and last stitches.

They’ll look like this. Only with your fabrics, of course.
 Put your sewn squares on your ironing board without opening them.

Press the seam allowance with a hot iron. I know this seems weird, but it’s called “setting” the seams. It makes the thread lay more flat so that when you open up the block and press it, it lays, well, more flat.

See? Looking flatter already.

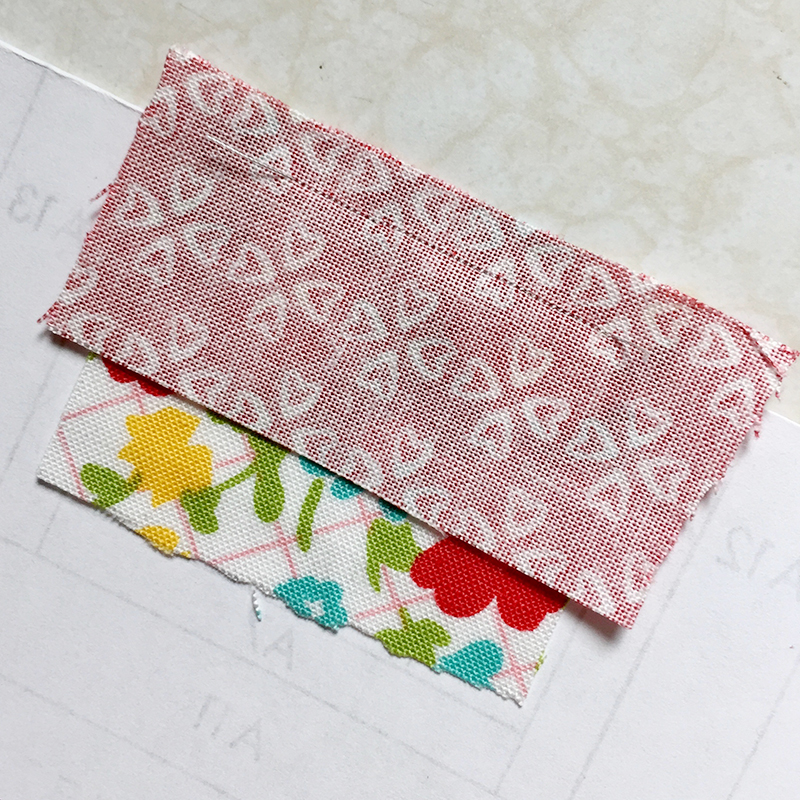
Now, open up your pieces and lay them face down.

Decide which way you will press your seam allowance. Ideally, you will press in opposite directions, toward the darker fabric. So, see how the block on top is being pressed to the left, while the block on the bottom is being pressed to the right? This makes it really easy, later on, to make a perfectly aligned intersection. To make sure you don’t “lose” any fabric in the seam, gently pull both sides of the block away from the seam while using your fingers to press and hold the seam allowance the direction you will press it with the iron. Work slowly and carefully so you don’t skew or stretch your blocks.

Press with hot iron.

Now, place the right sides together again. You will notice that your seam allowances are facing different directions, directly opposite each other. You will also notice, that if you use your fingers to gently slide the blocks against each other, you can feel when the block “clicks” into place. This is usually called “butting” or “nesting” your seams, and is a great way to not only get precise intersections, but also to distribute bulk.

Pin. Usually, I will pin at the top, at each intersection, and at the bottom. If there is more than 3 inches or so between, I will pin there, too.

Using a 1/4″ seam allowance, sew. Be sure to remove your pins before they go under your presser foot.

Lay flat on your ironing board, and set the seam.

Open up the block, face down on your ironing board. Push the seam allowance in opposite directions on the top and bottom.

Since you didn’t take any backstitches before, pushing the seam allowances will loosen those middle stitches, allowing them to come out and open up, like this. Isn’t it cute? Besides being cute, it is also much flatter than pressing your seam allowance all to one side. (There ARE situations where that is a better option, though, so follow your pattern’s instructions.)

Press it. (And when I say press it, I mean pick up your iron, and place it on the block. Straight down. Don’t move it around. That will just stretch and warp your block.)

Now, flip it over, and give it one more press. Voila! A perfect four-patch block!
I knew you could do it.
Any questions? Tips or tricks? Share!

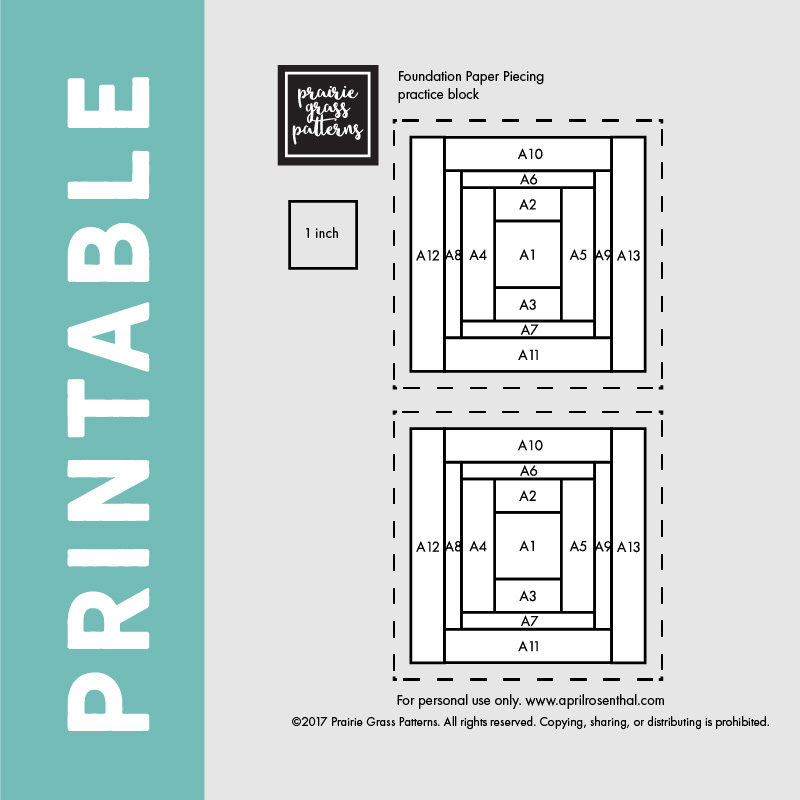
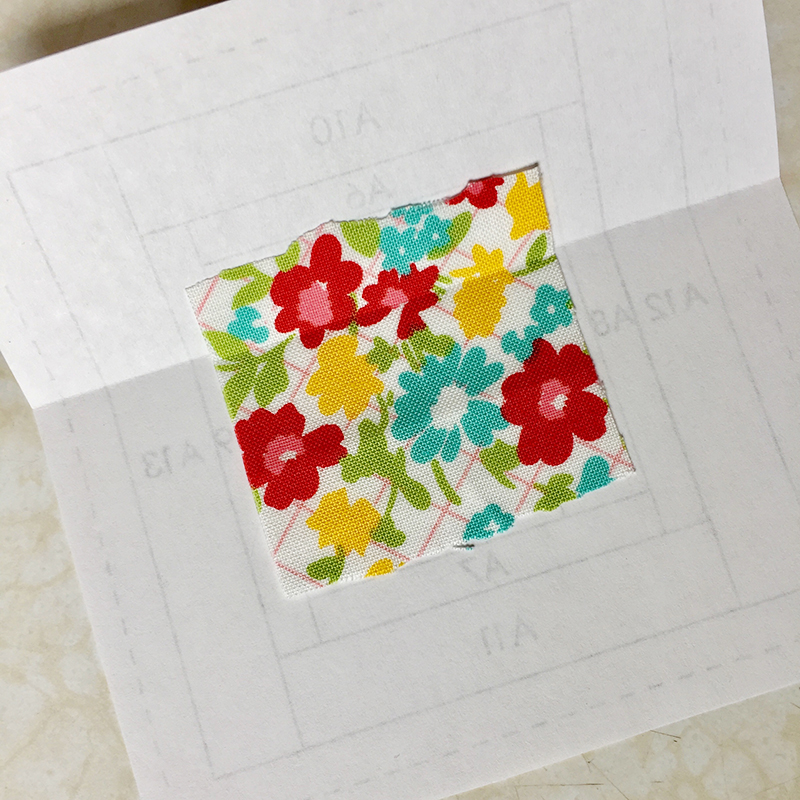
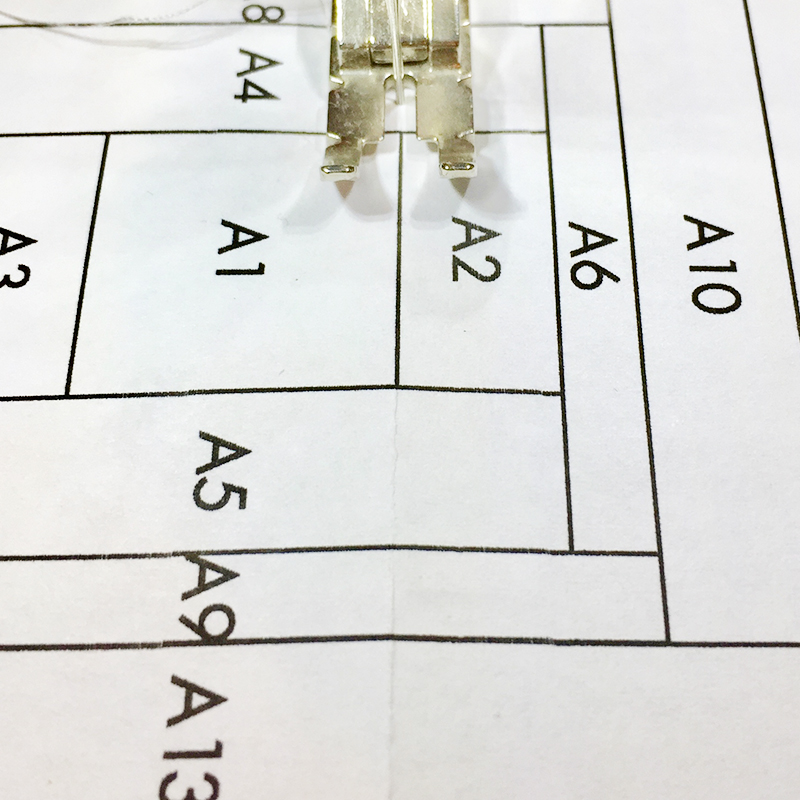
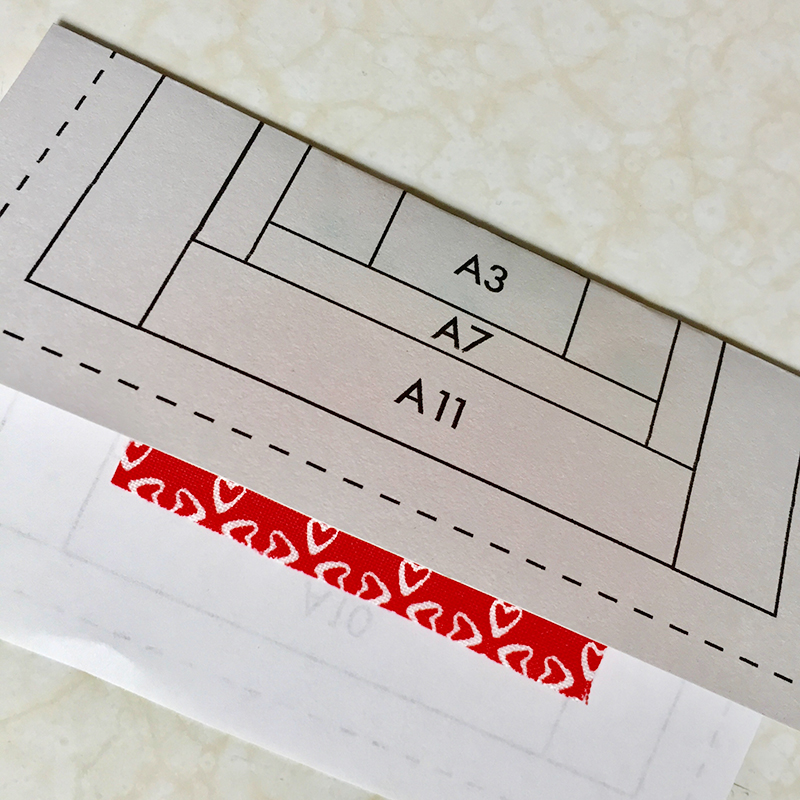
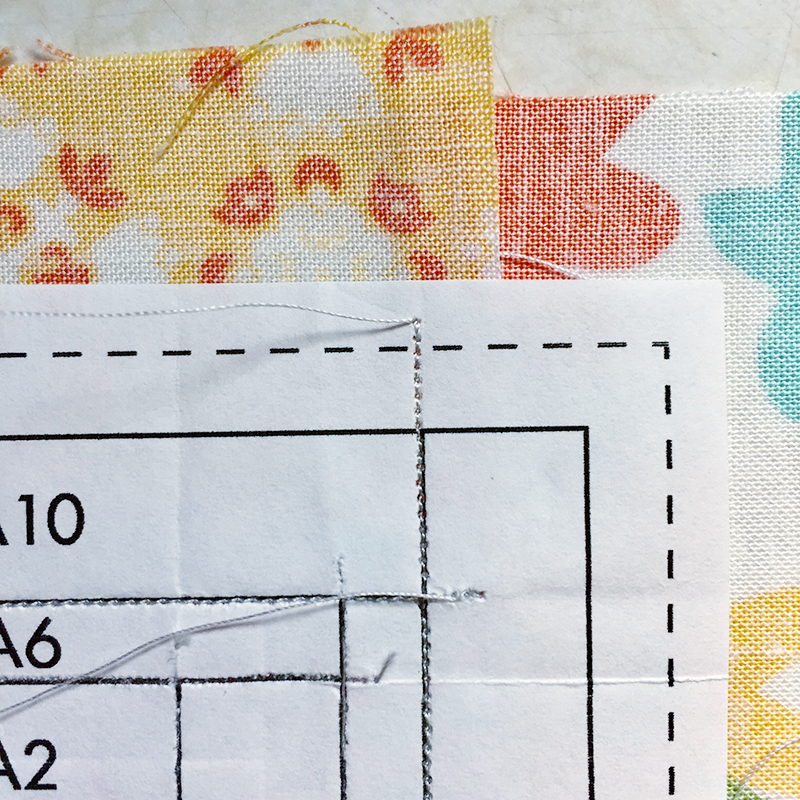
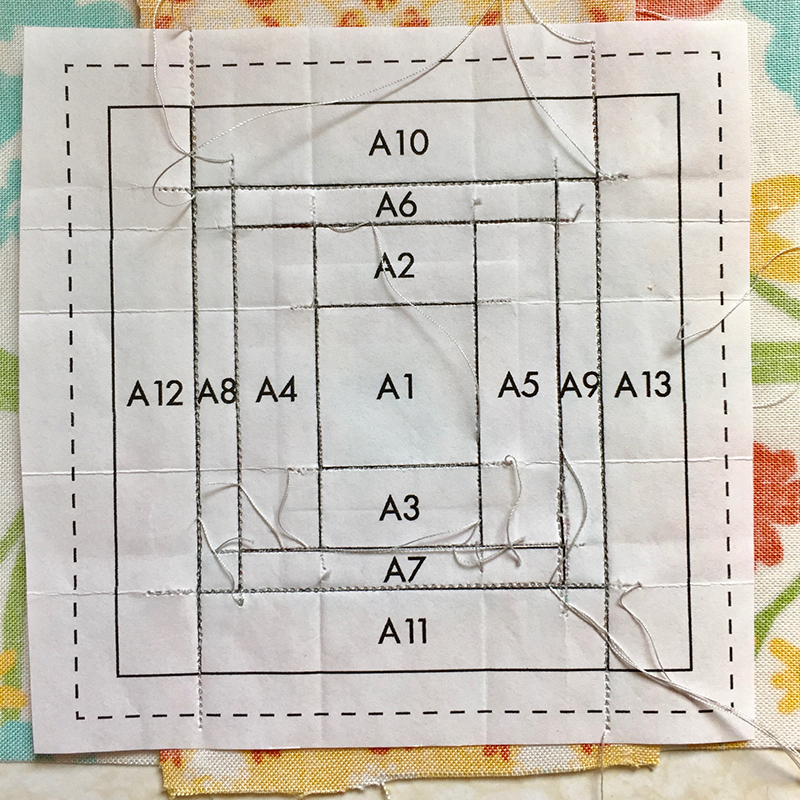
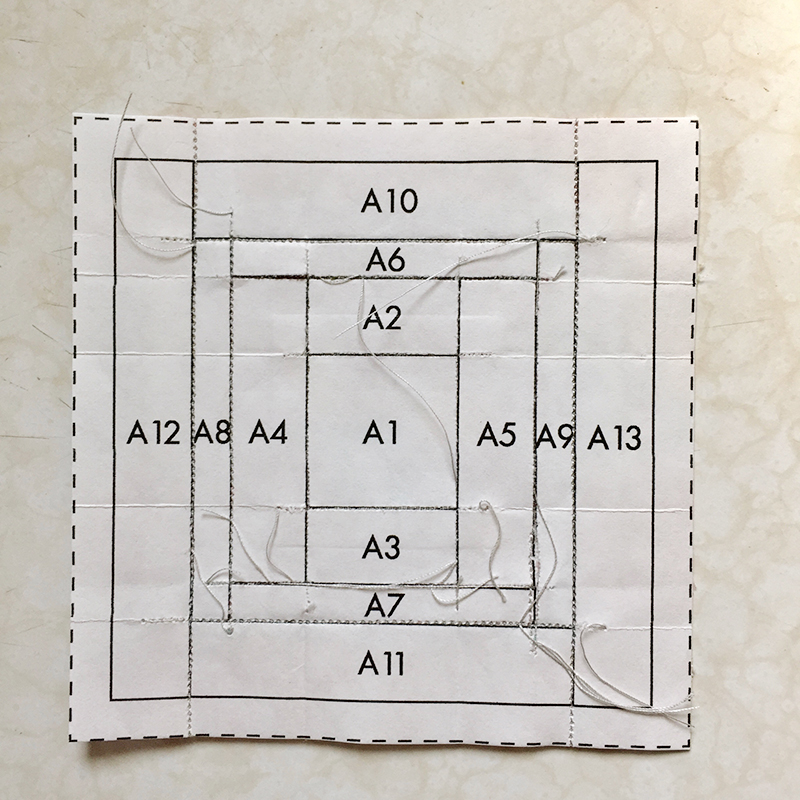
 Here’s a few things you’ll want to remember: The printed side of the paper is the “stitching side”. This means that anytime you sew pieces together, you’ll be doing it with the printed side of the paper facing up and your fabric facing down. Your fabric is always placed on the unprinted side. The numbers on the paper refer to the order you will sew the pieces together. The lines on the paper are where you will sew.


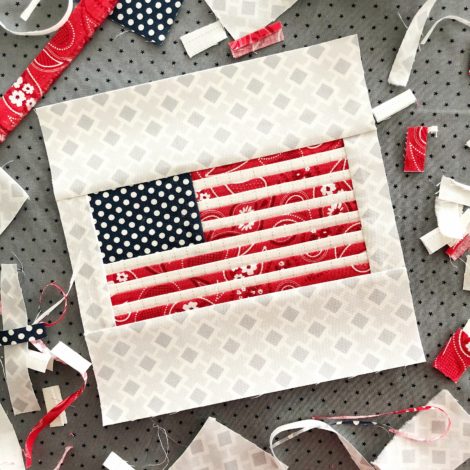
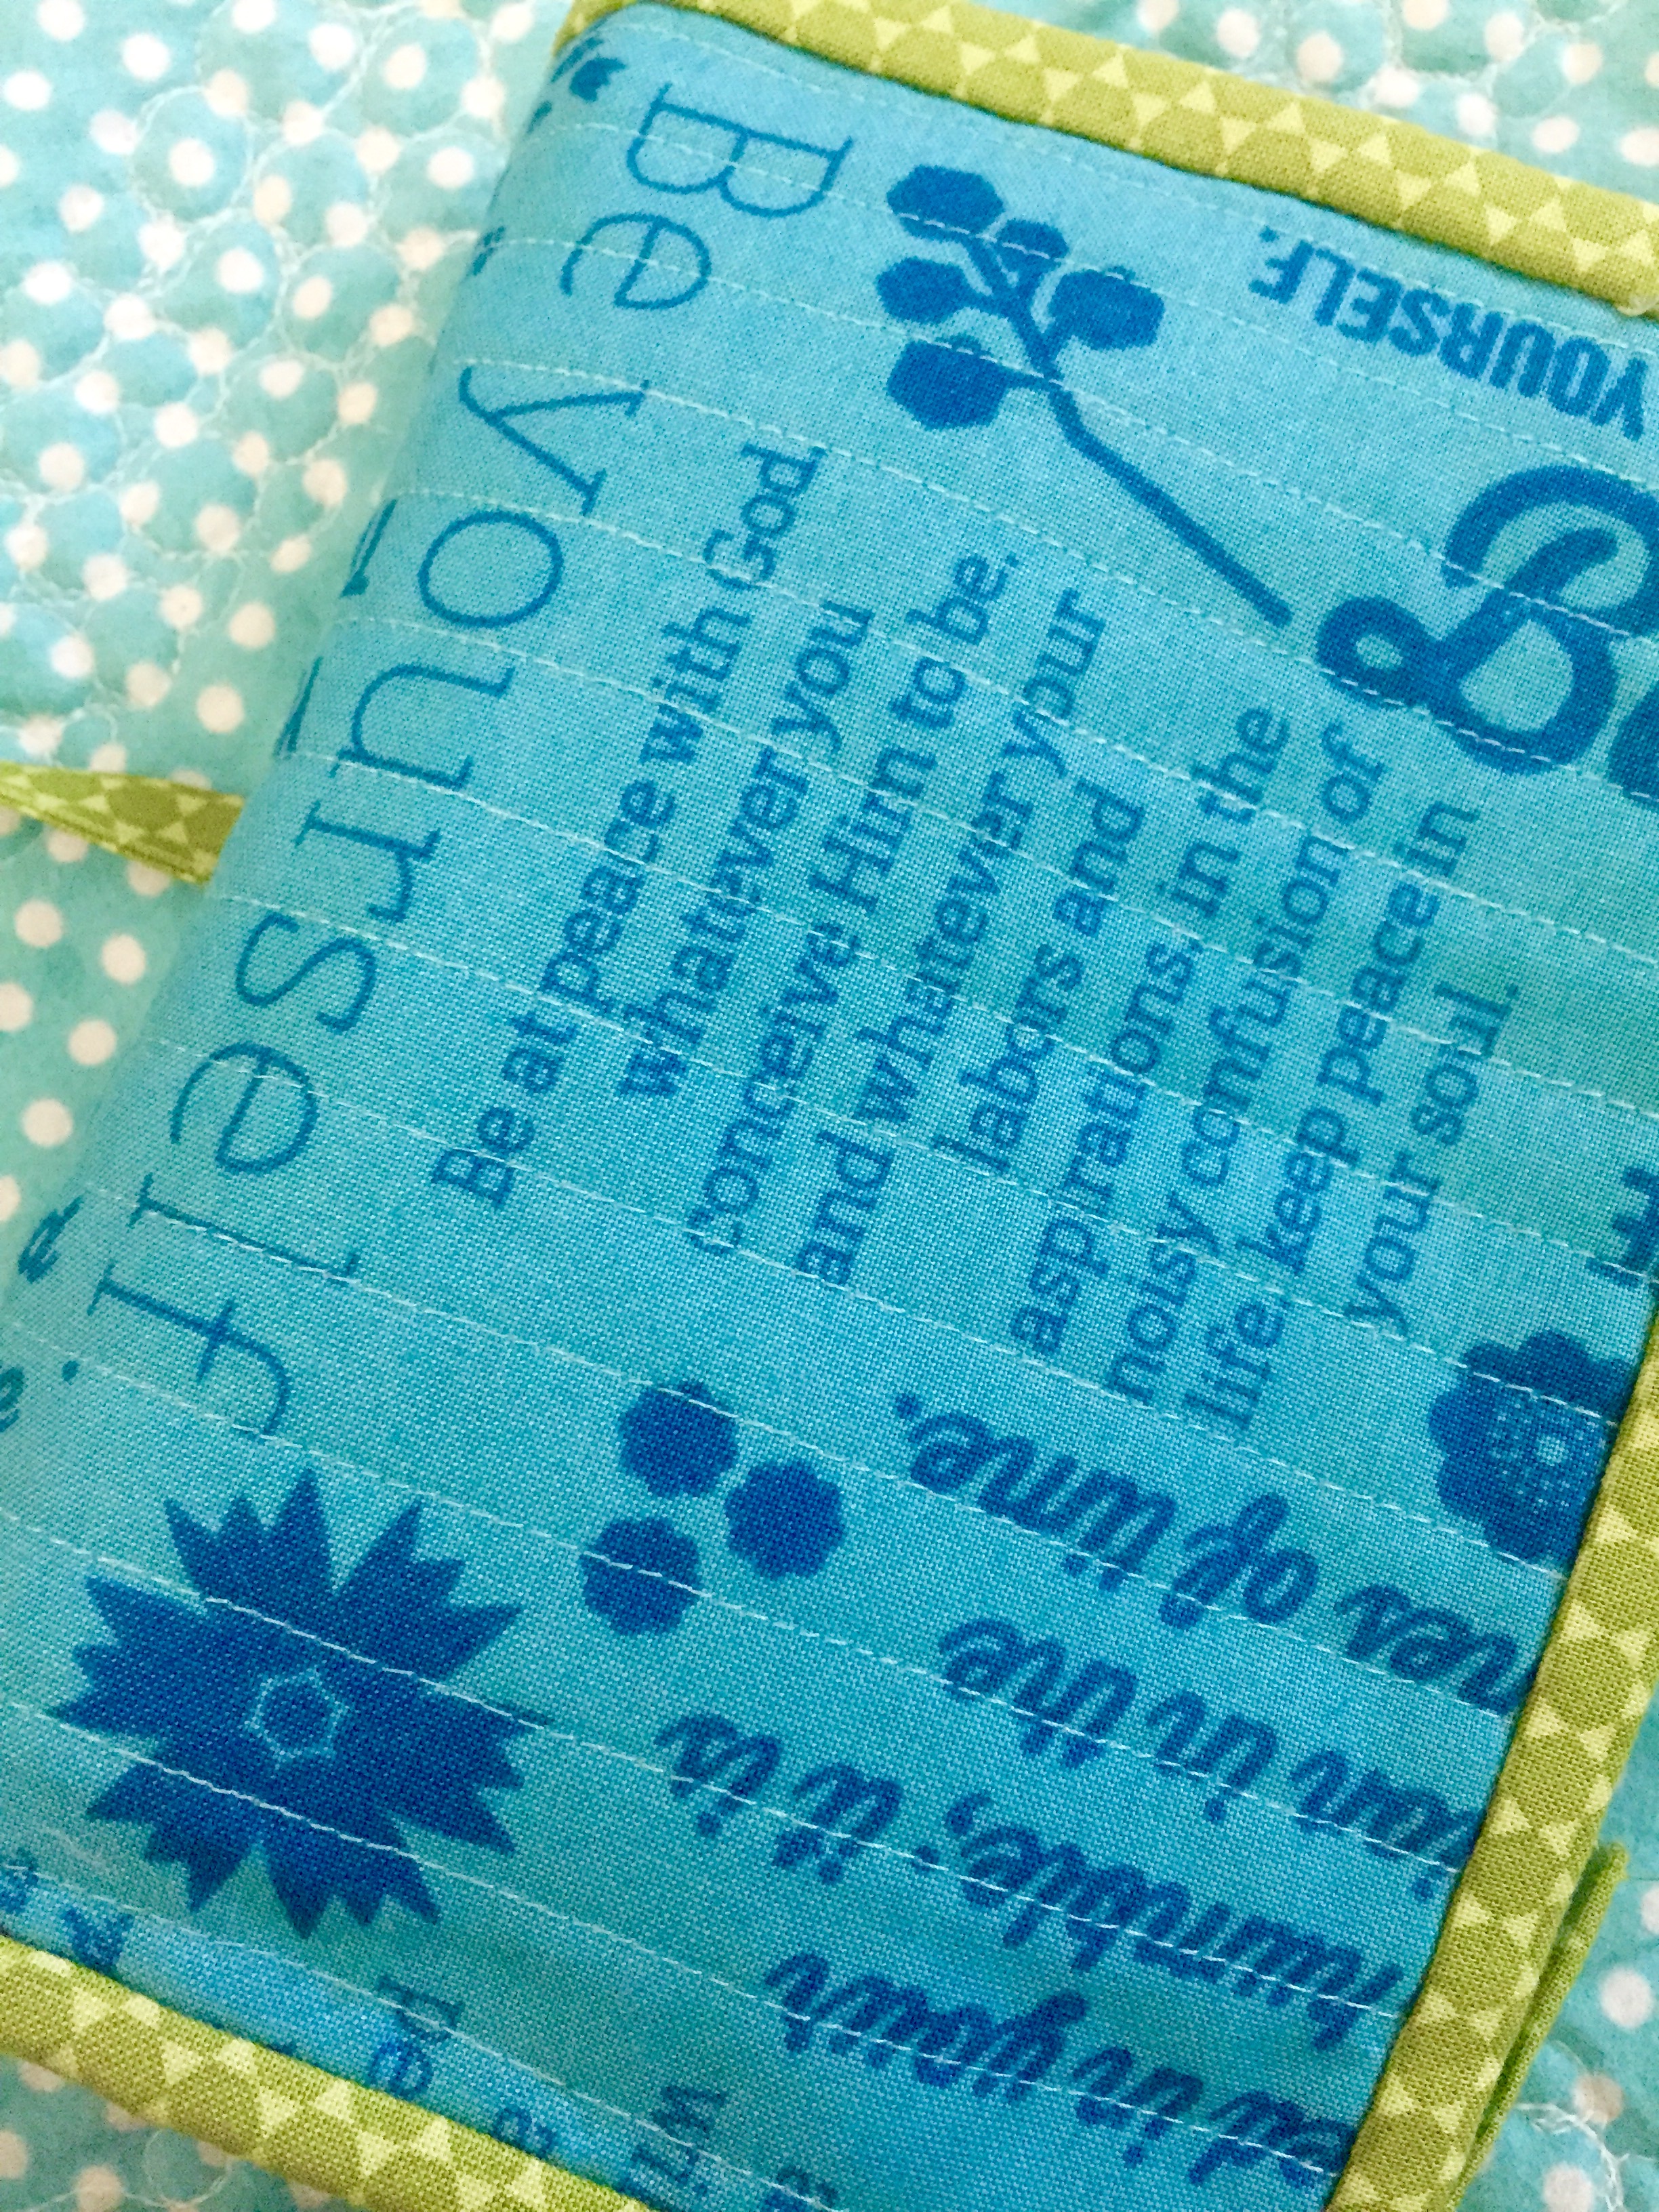 I used Meadowbloom to make it, and I love that I got to use a big enough piece of the text print, that I can actually read the text!
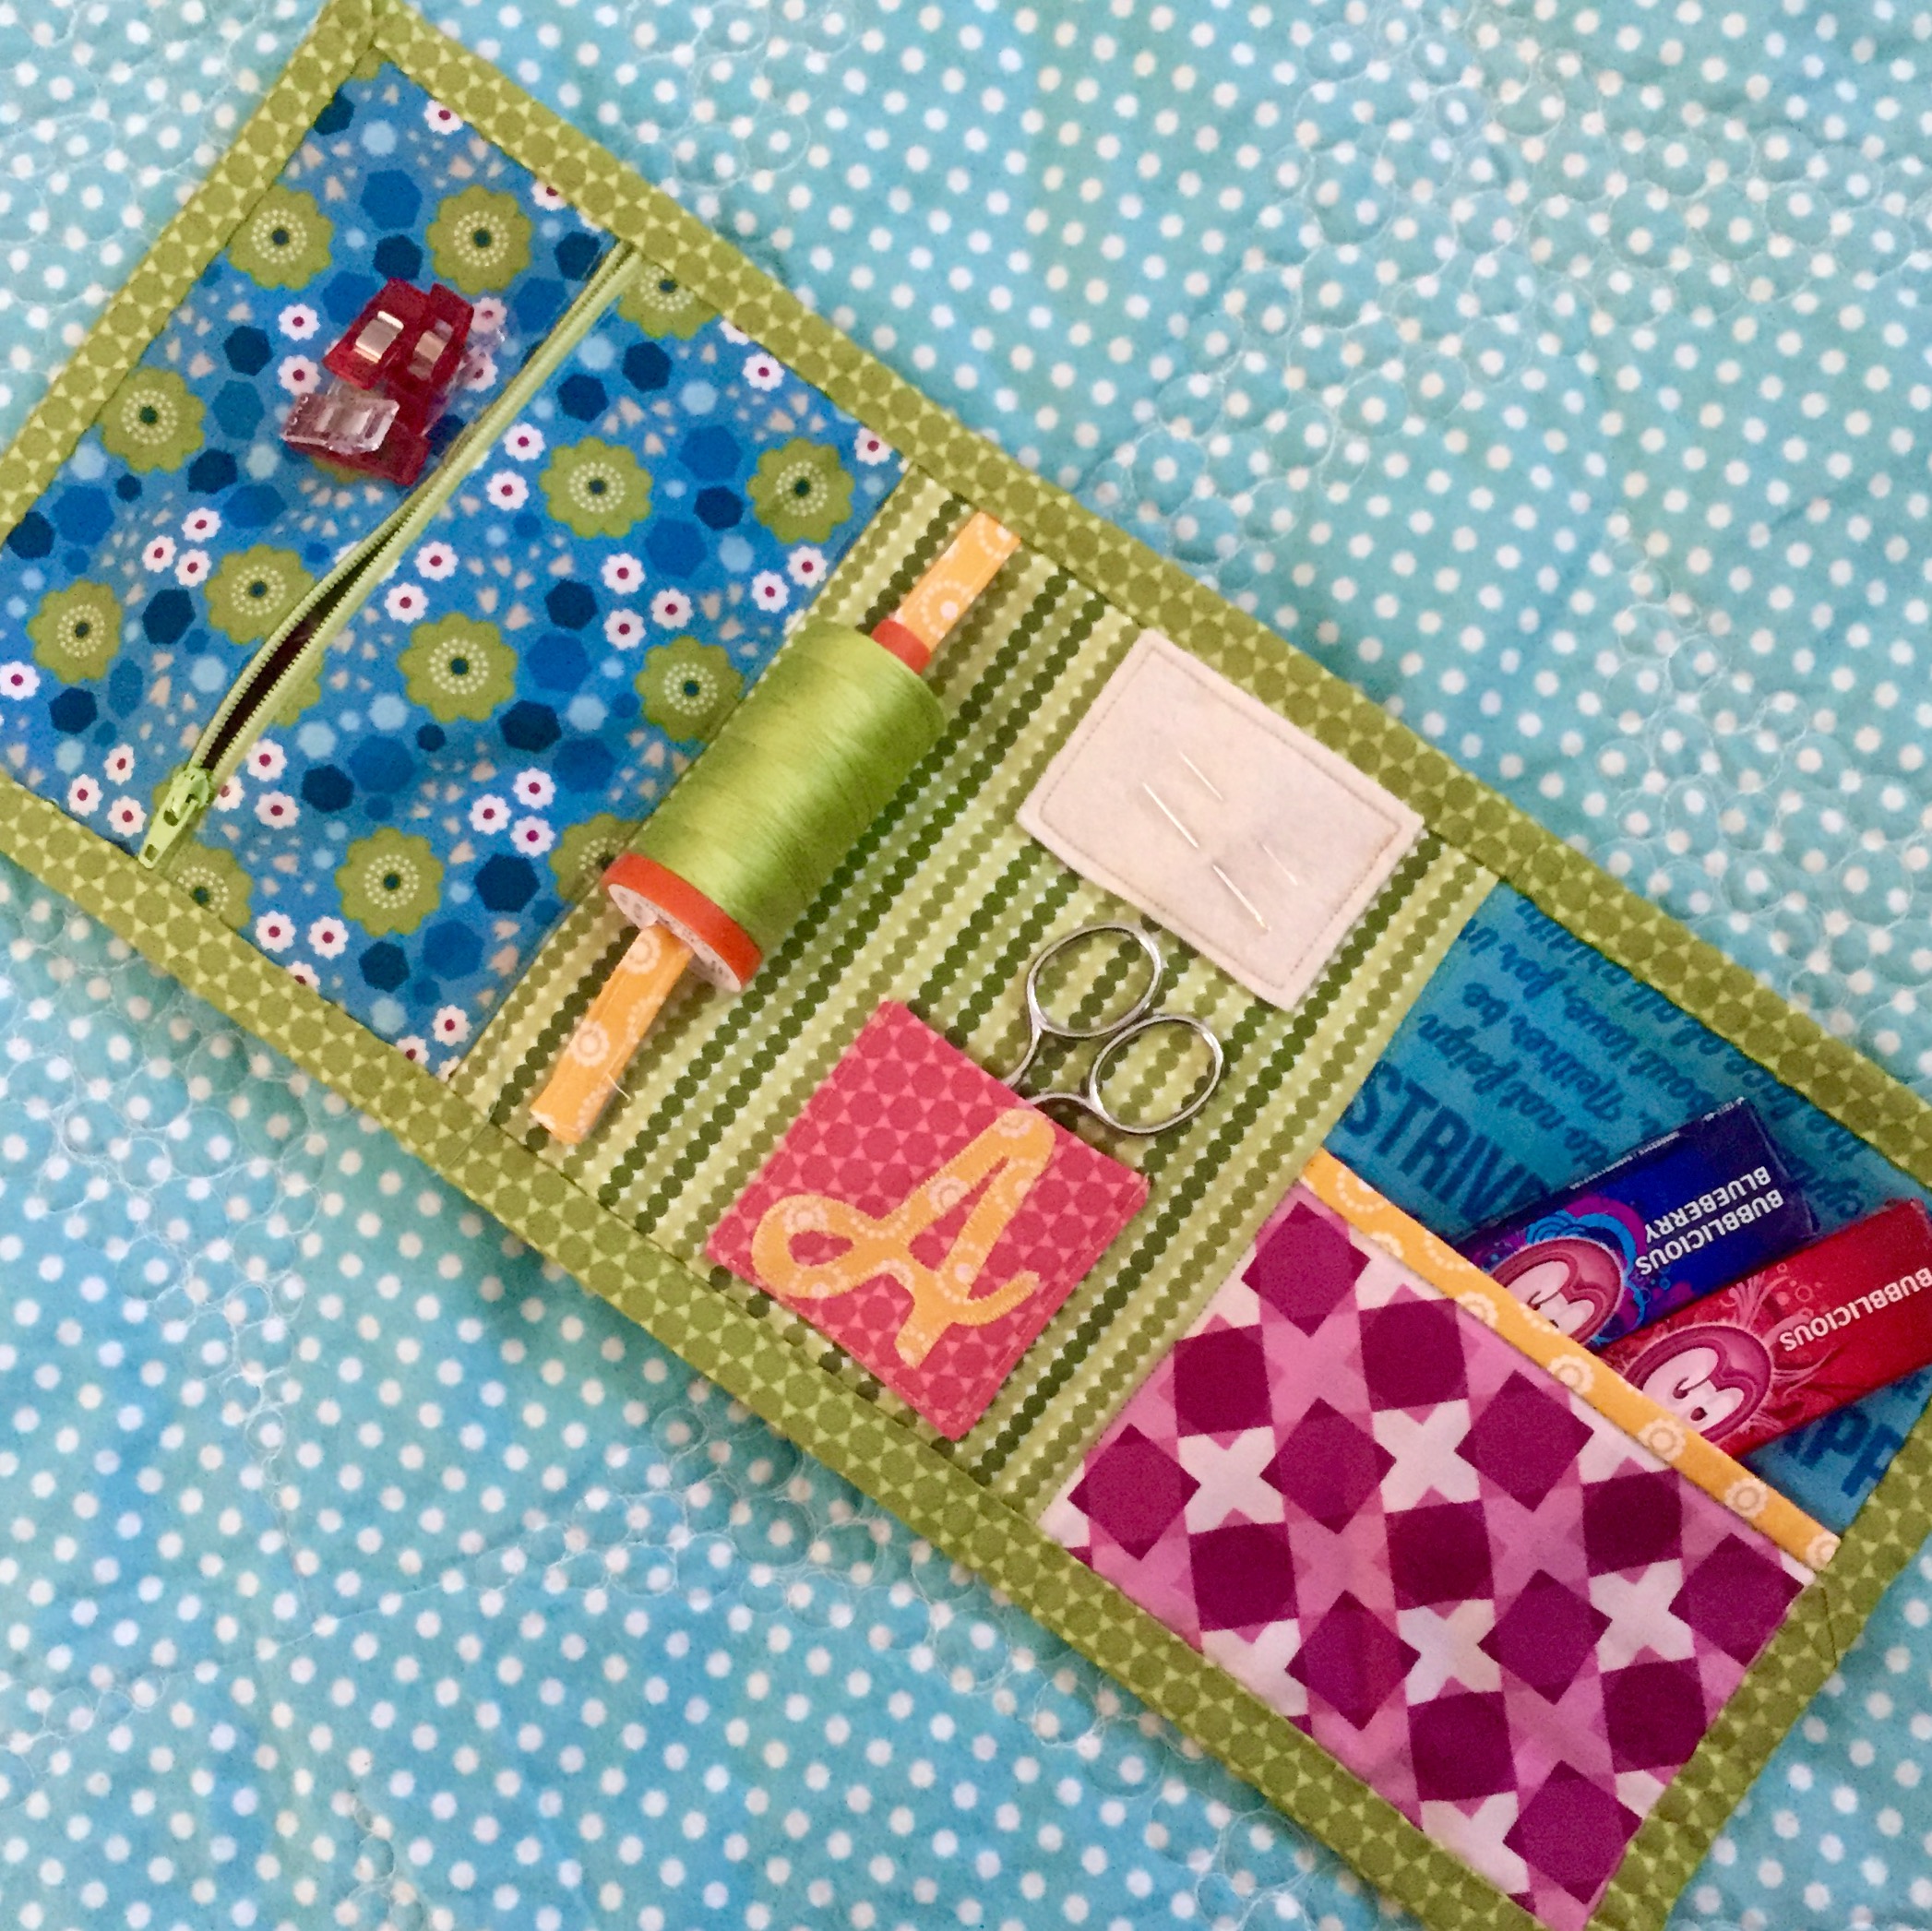
 Let me be clear: this was SUPER EASY. As in, I’ll be making these for basically everyone for Christmas. If you’re my mom, mother-in-law, sisters, craft night ladies, or other sew-y type friends….pretend you didn’t read that.
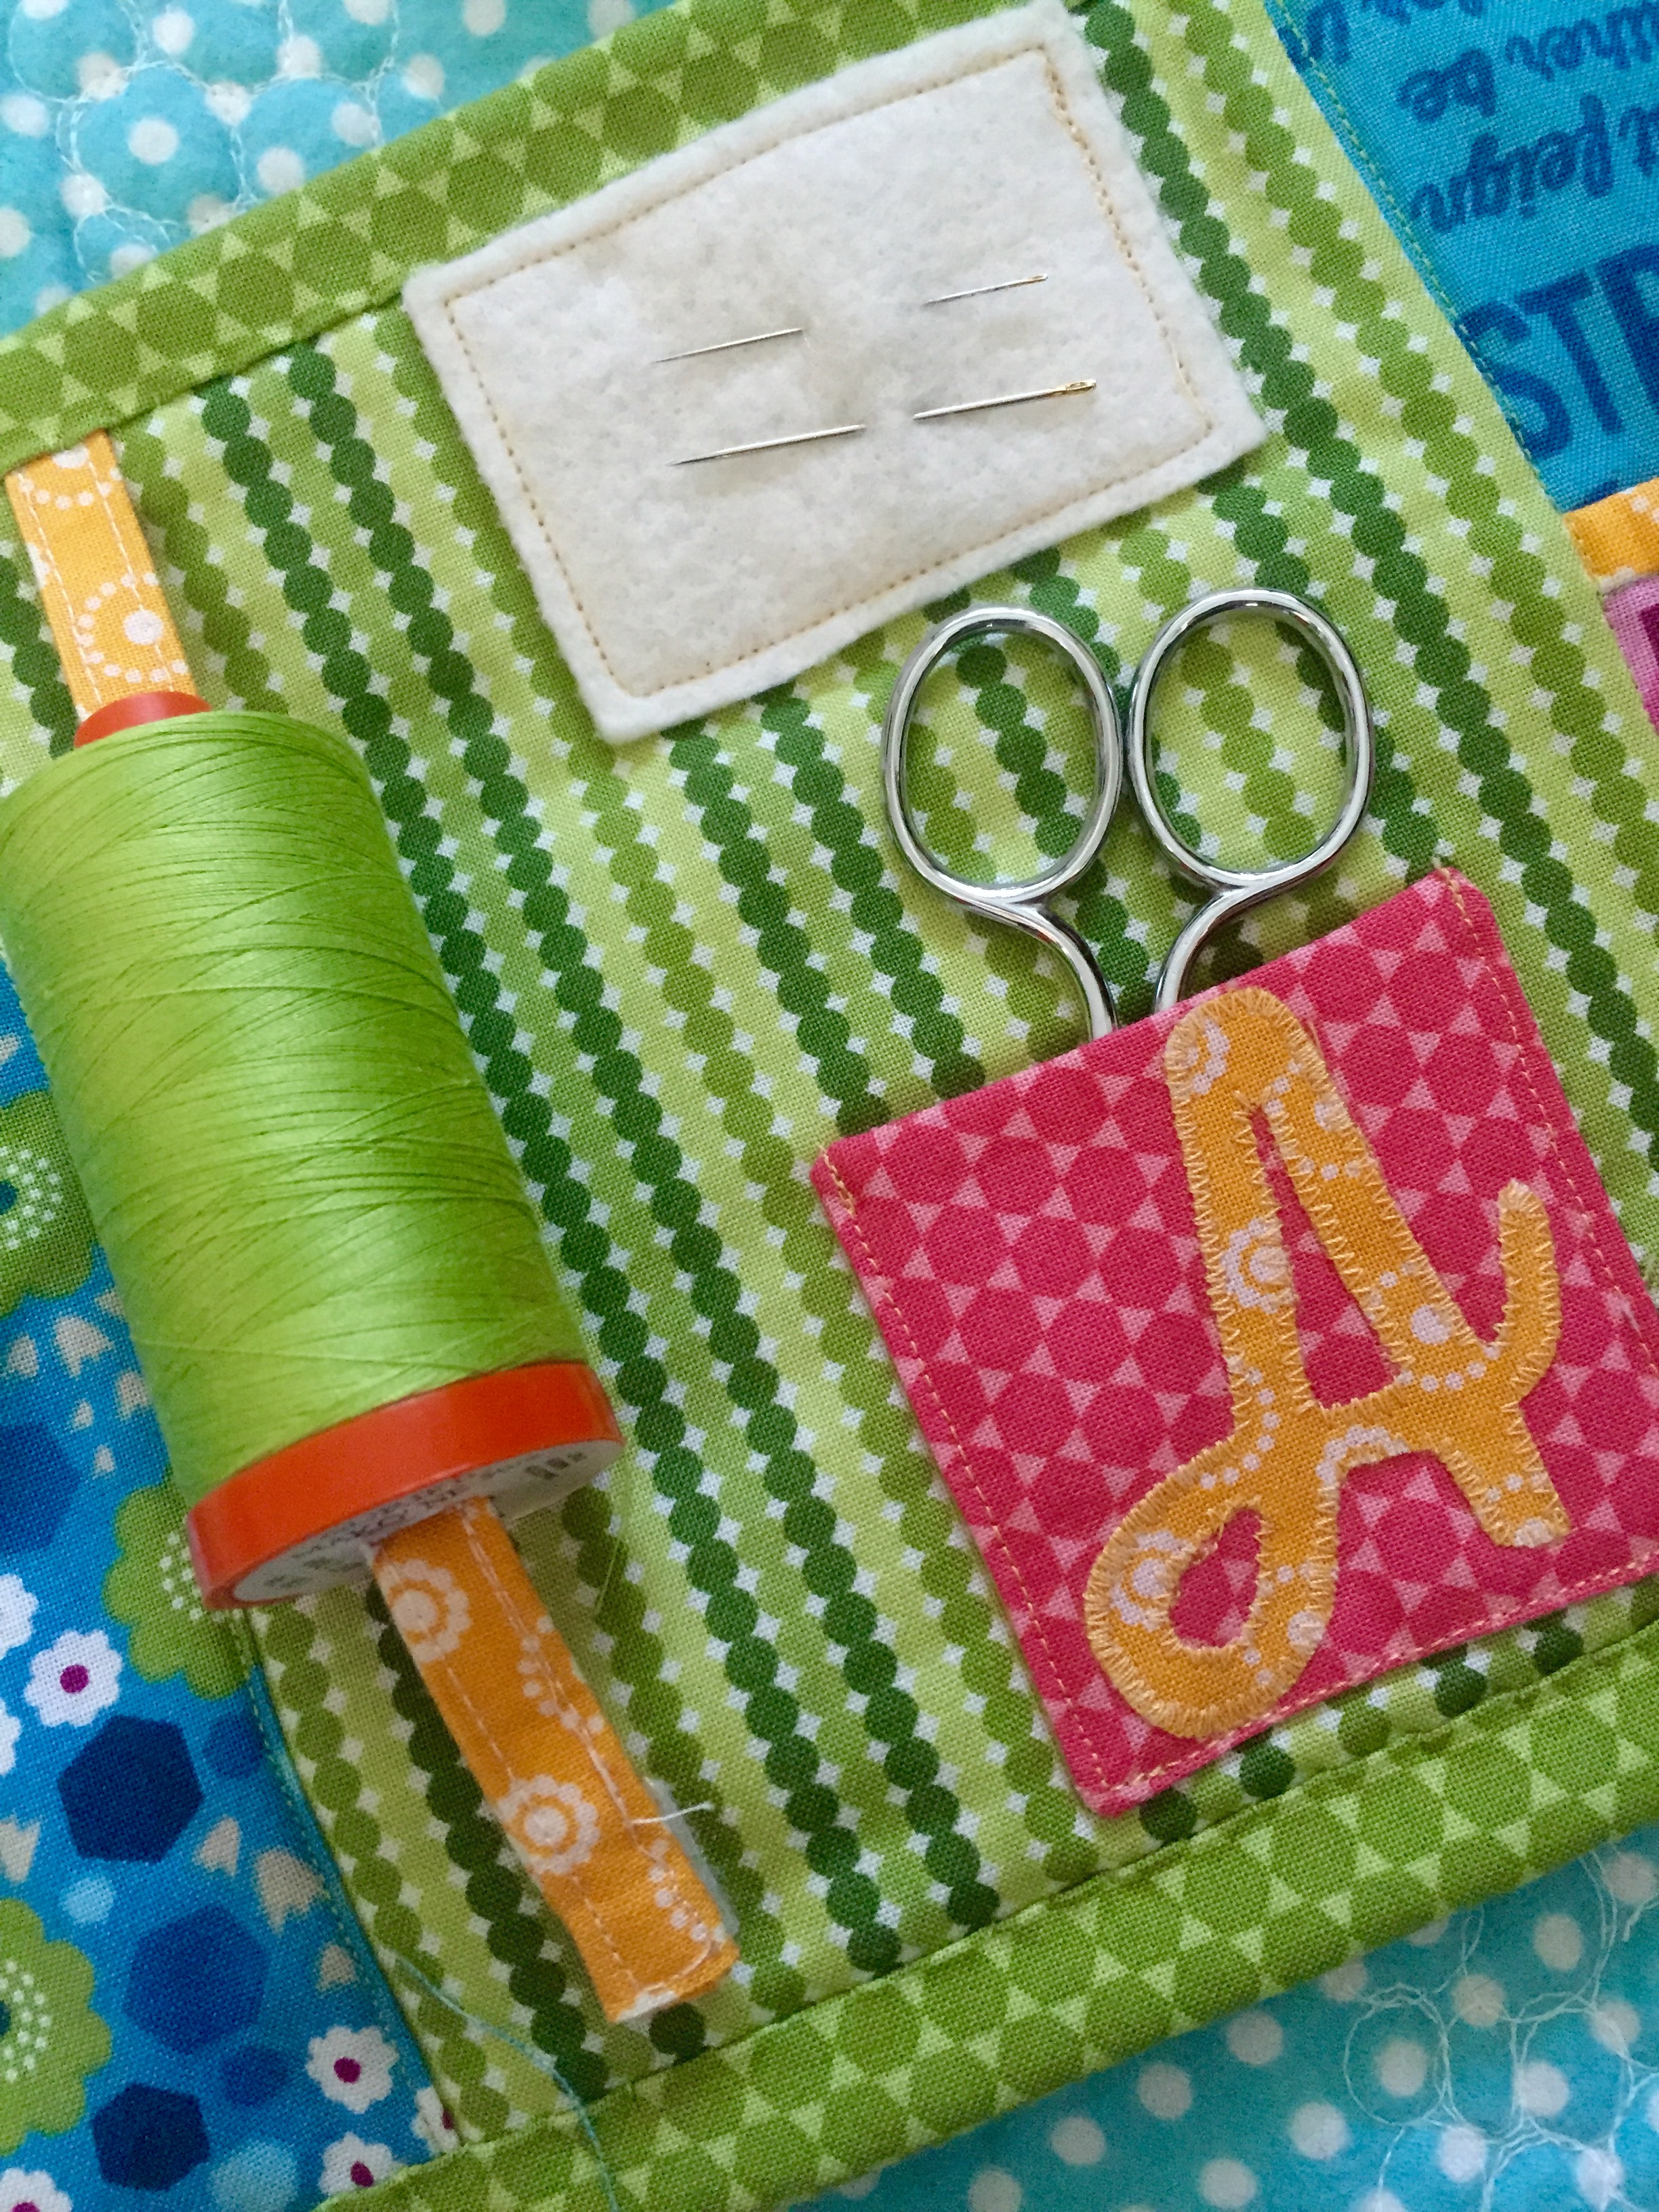
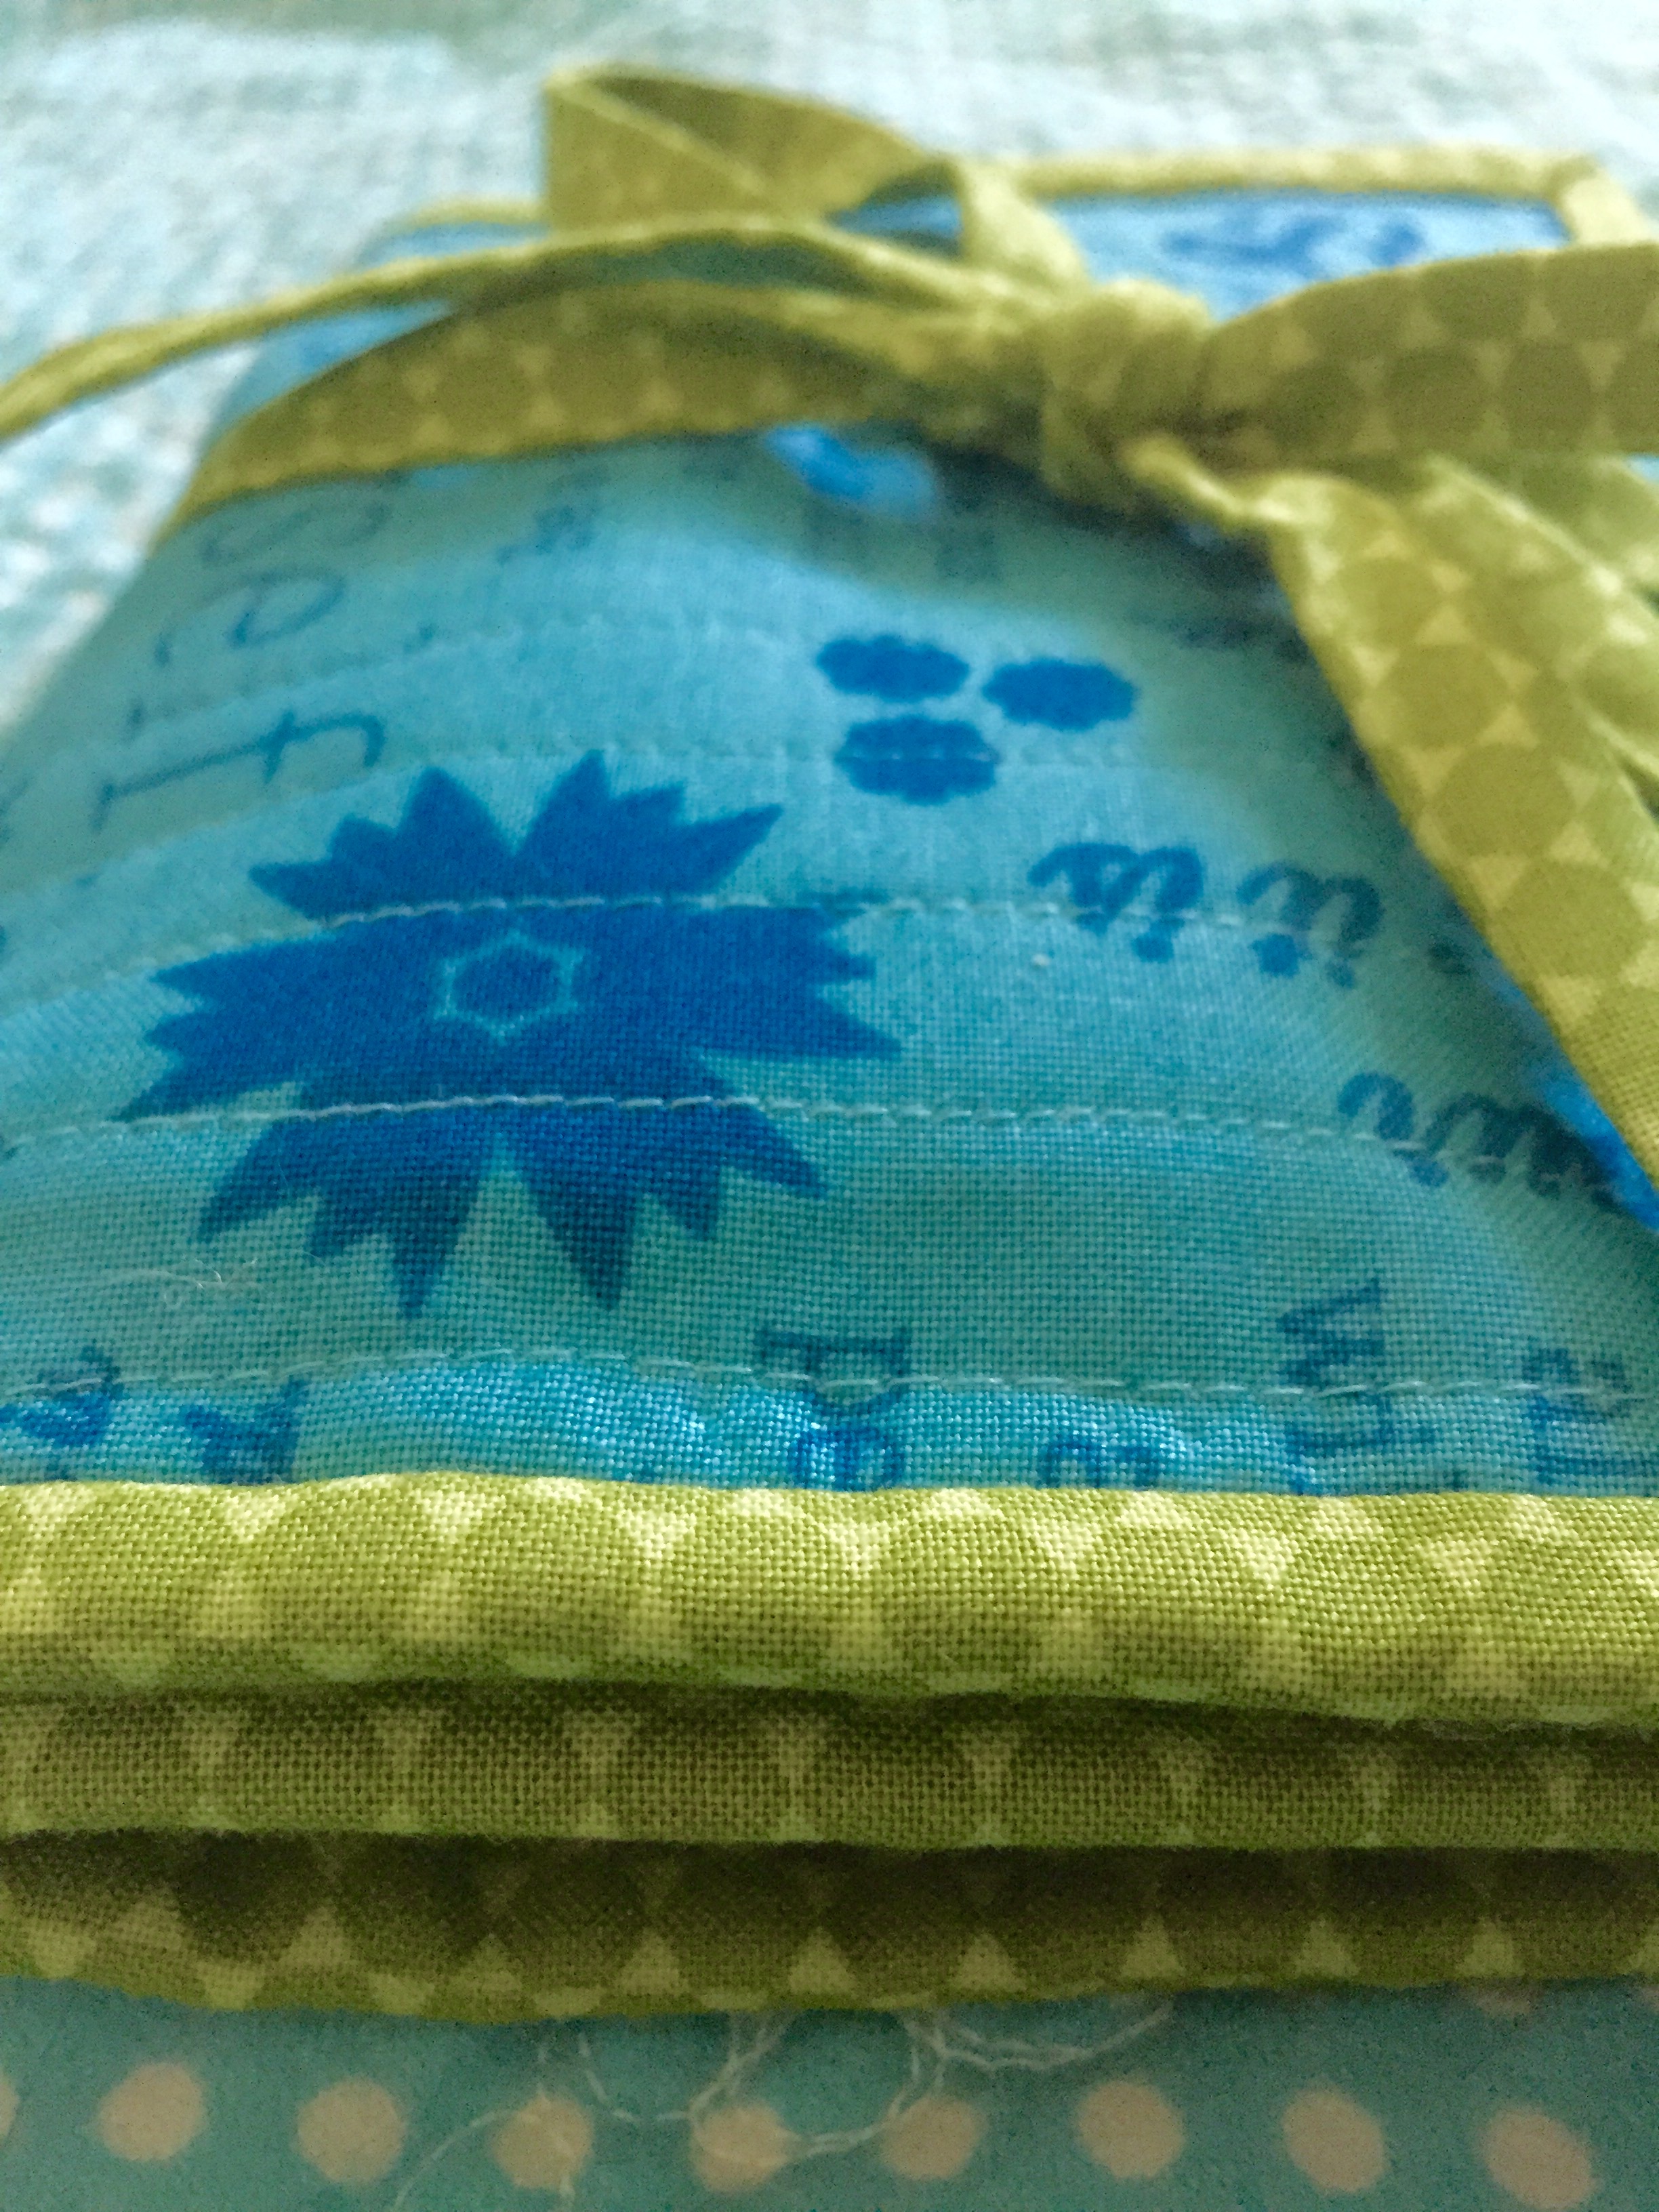 You should make this, because it’s fun, it’s cute, and gosh darn it, you need to sew for yourself sometimes.
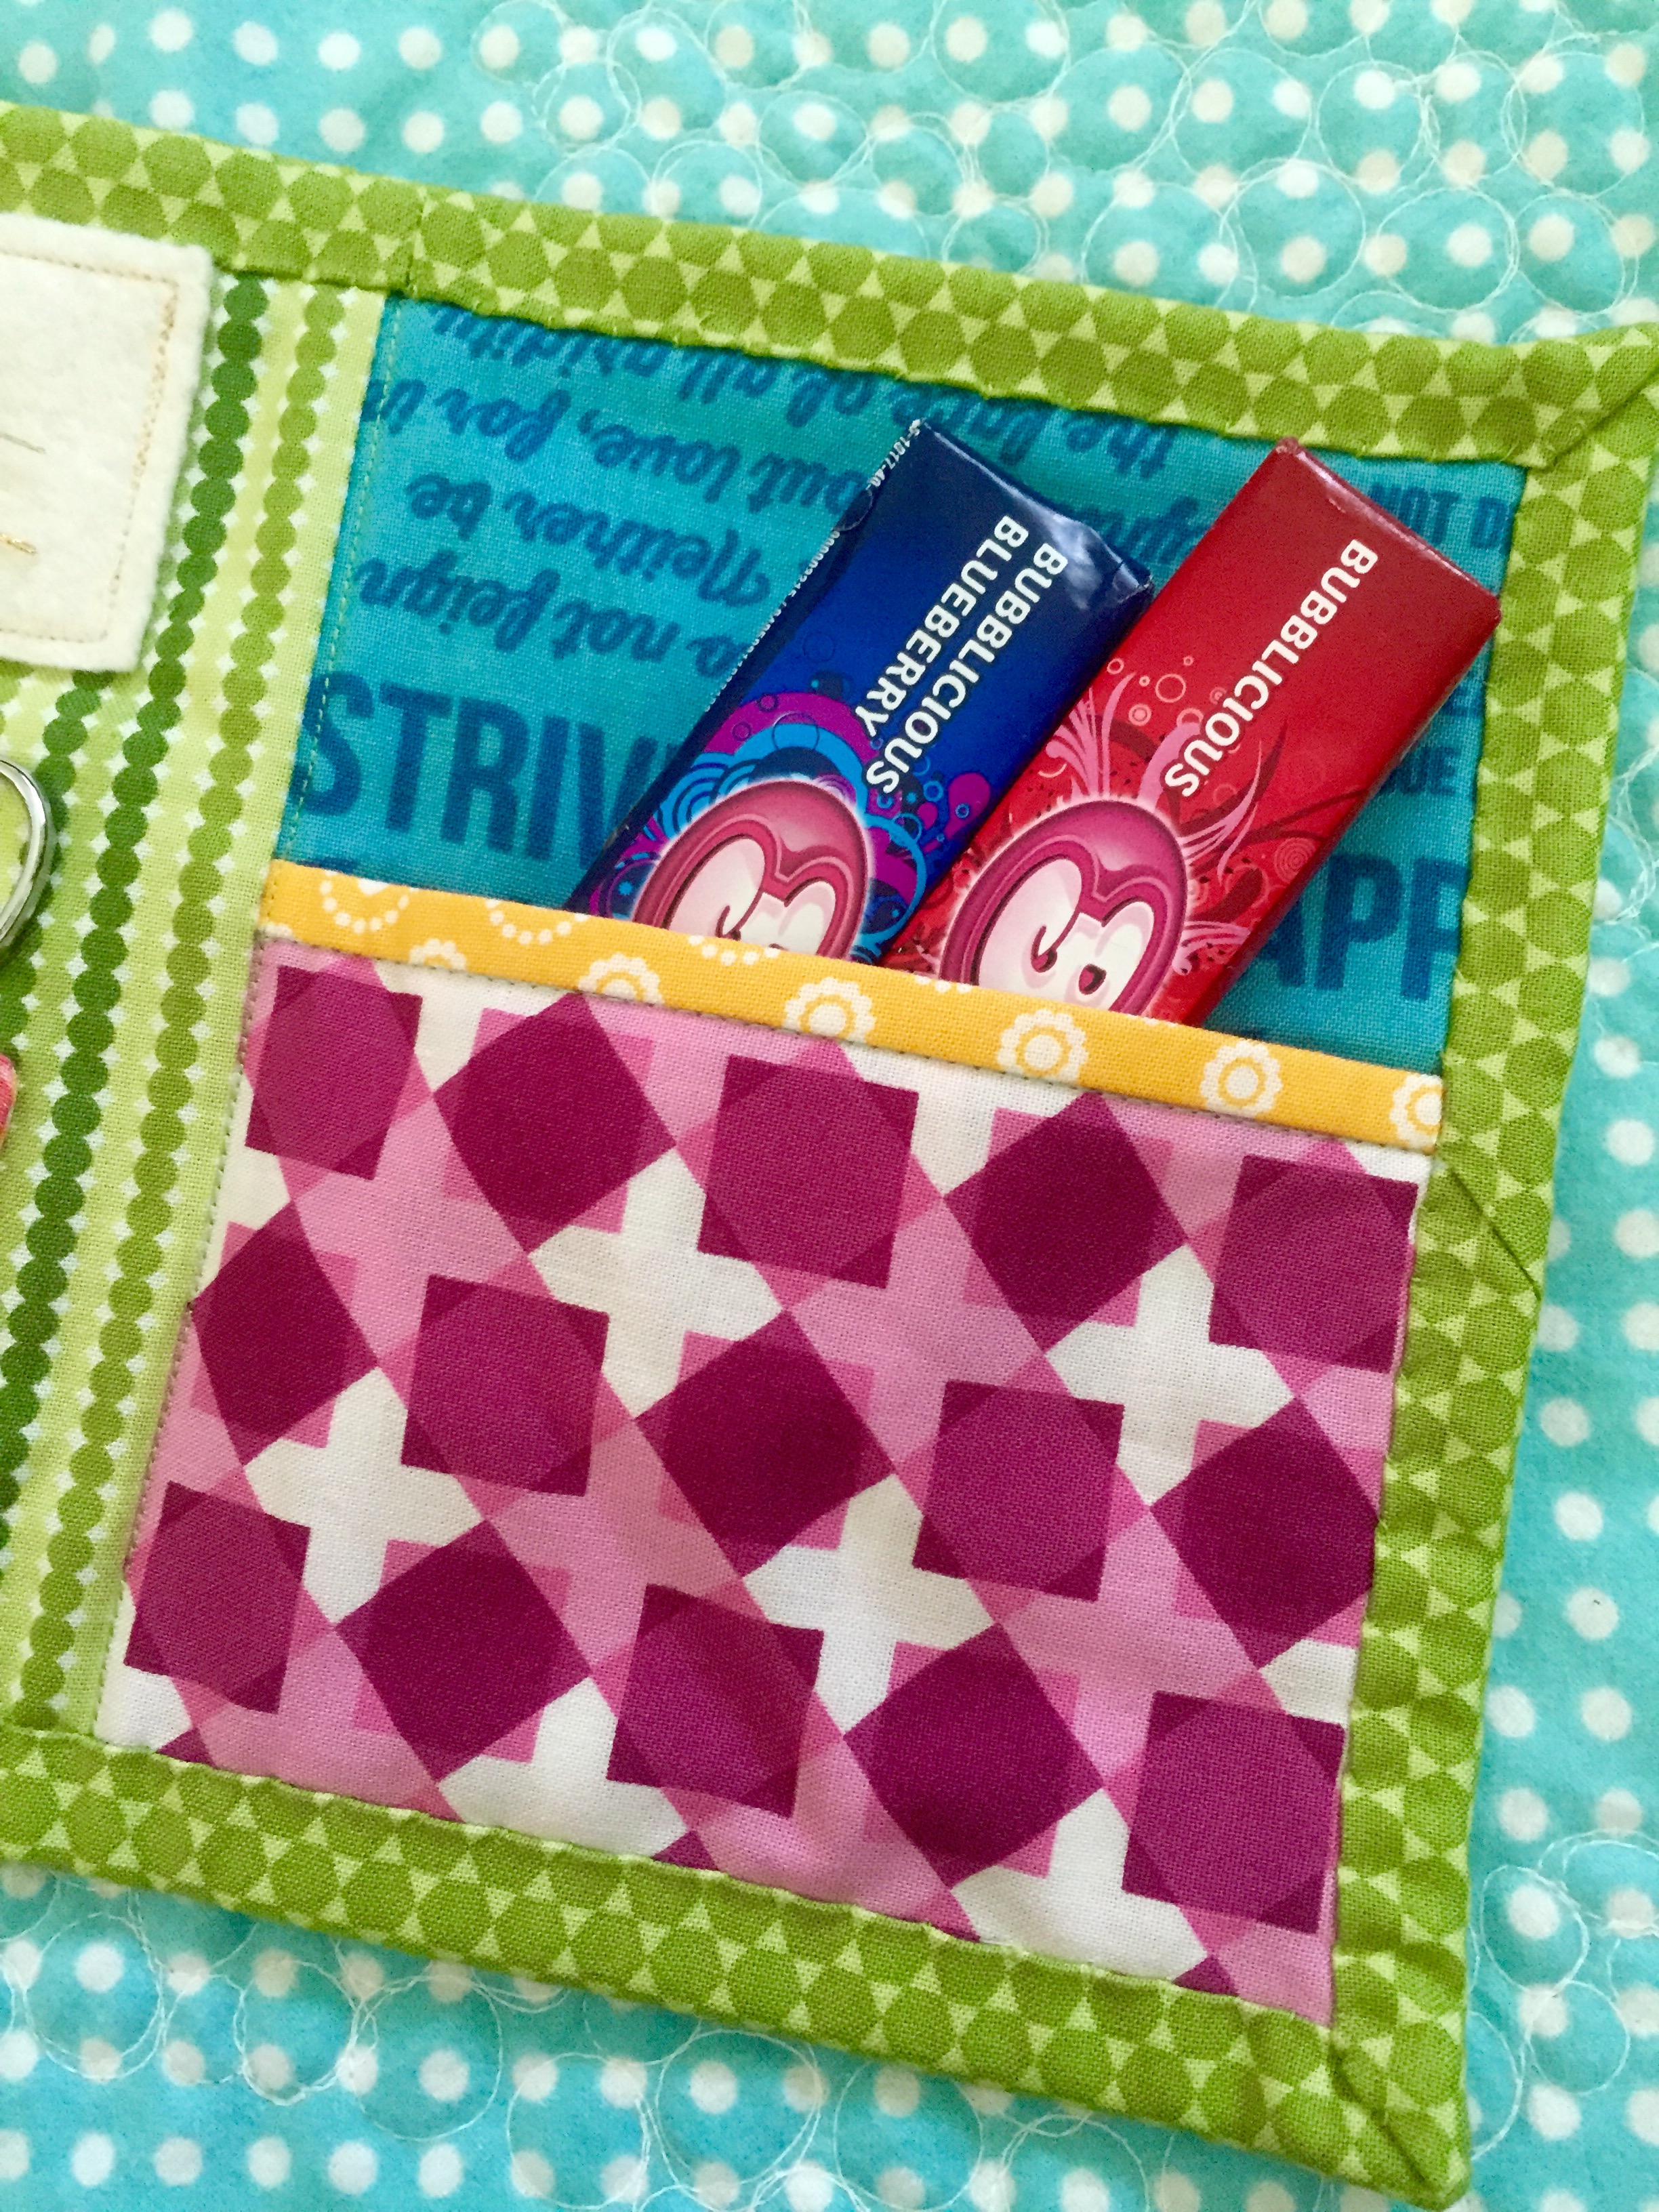
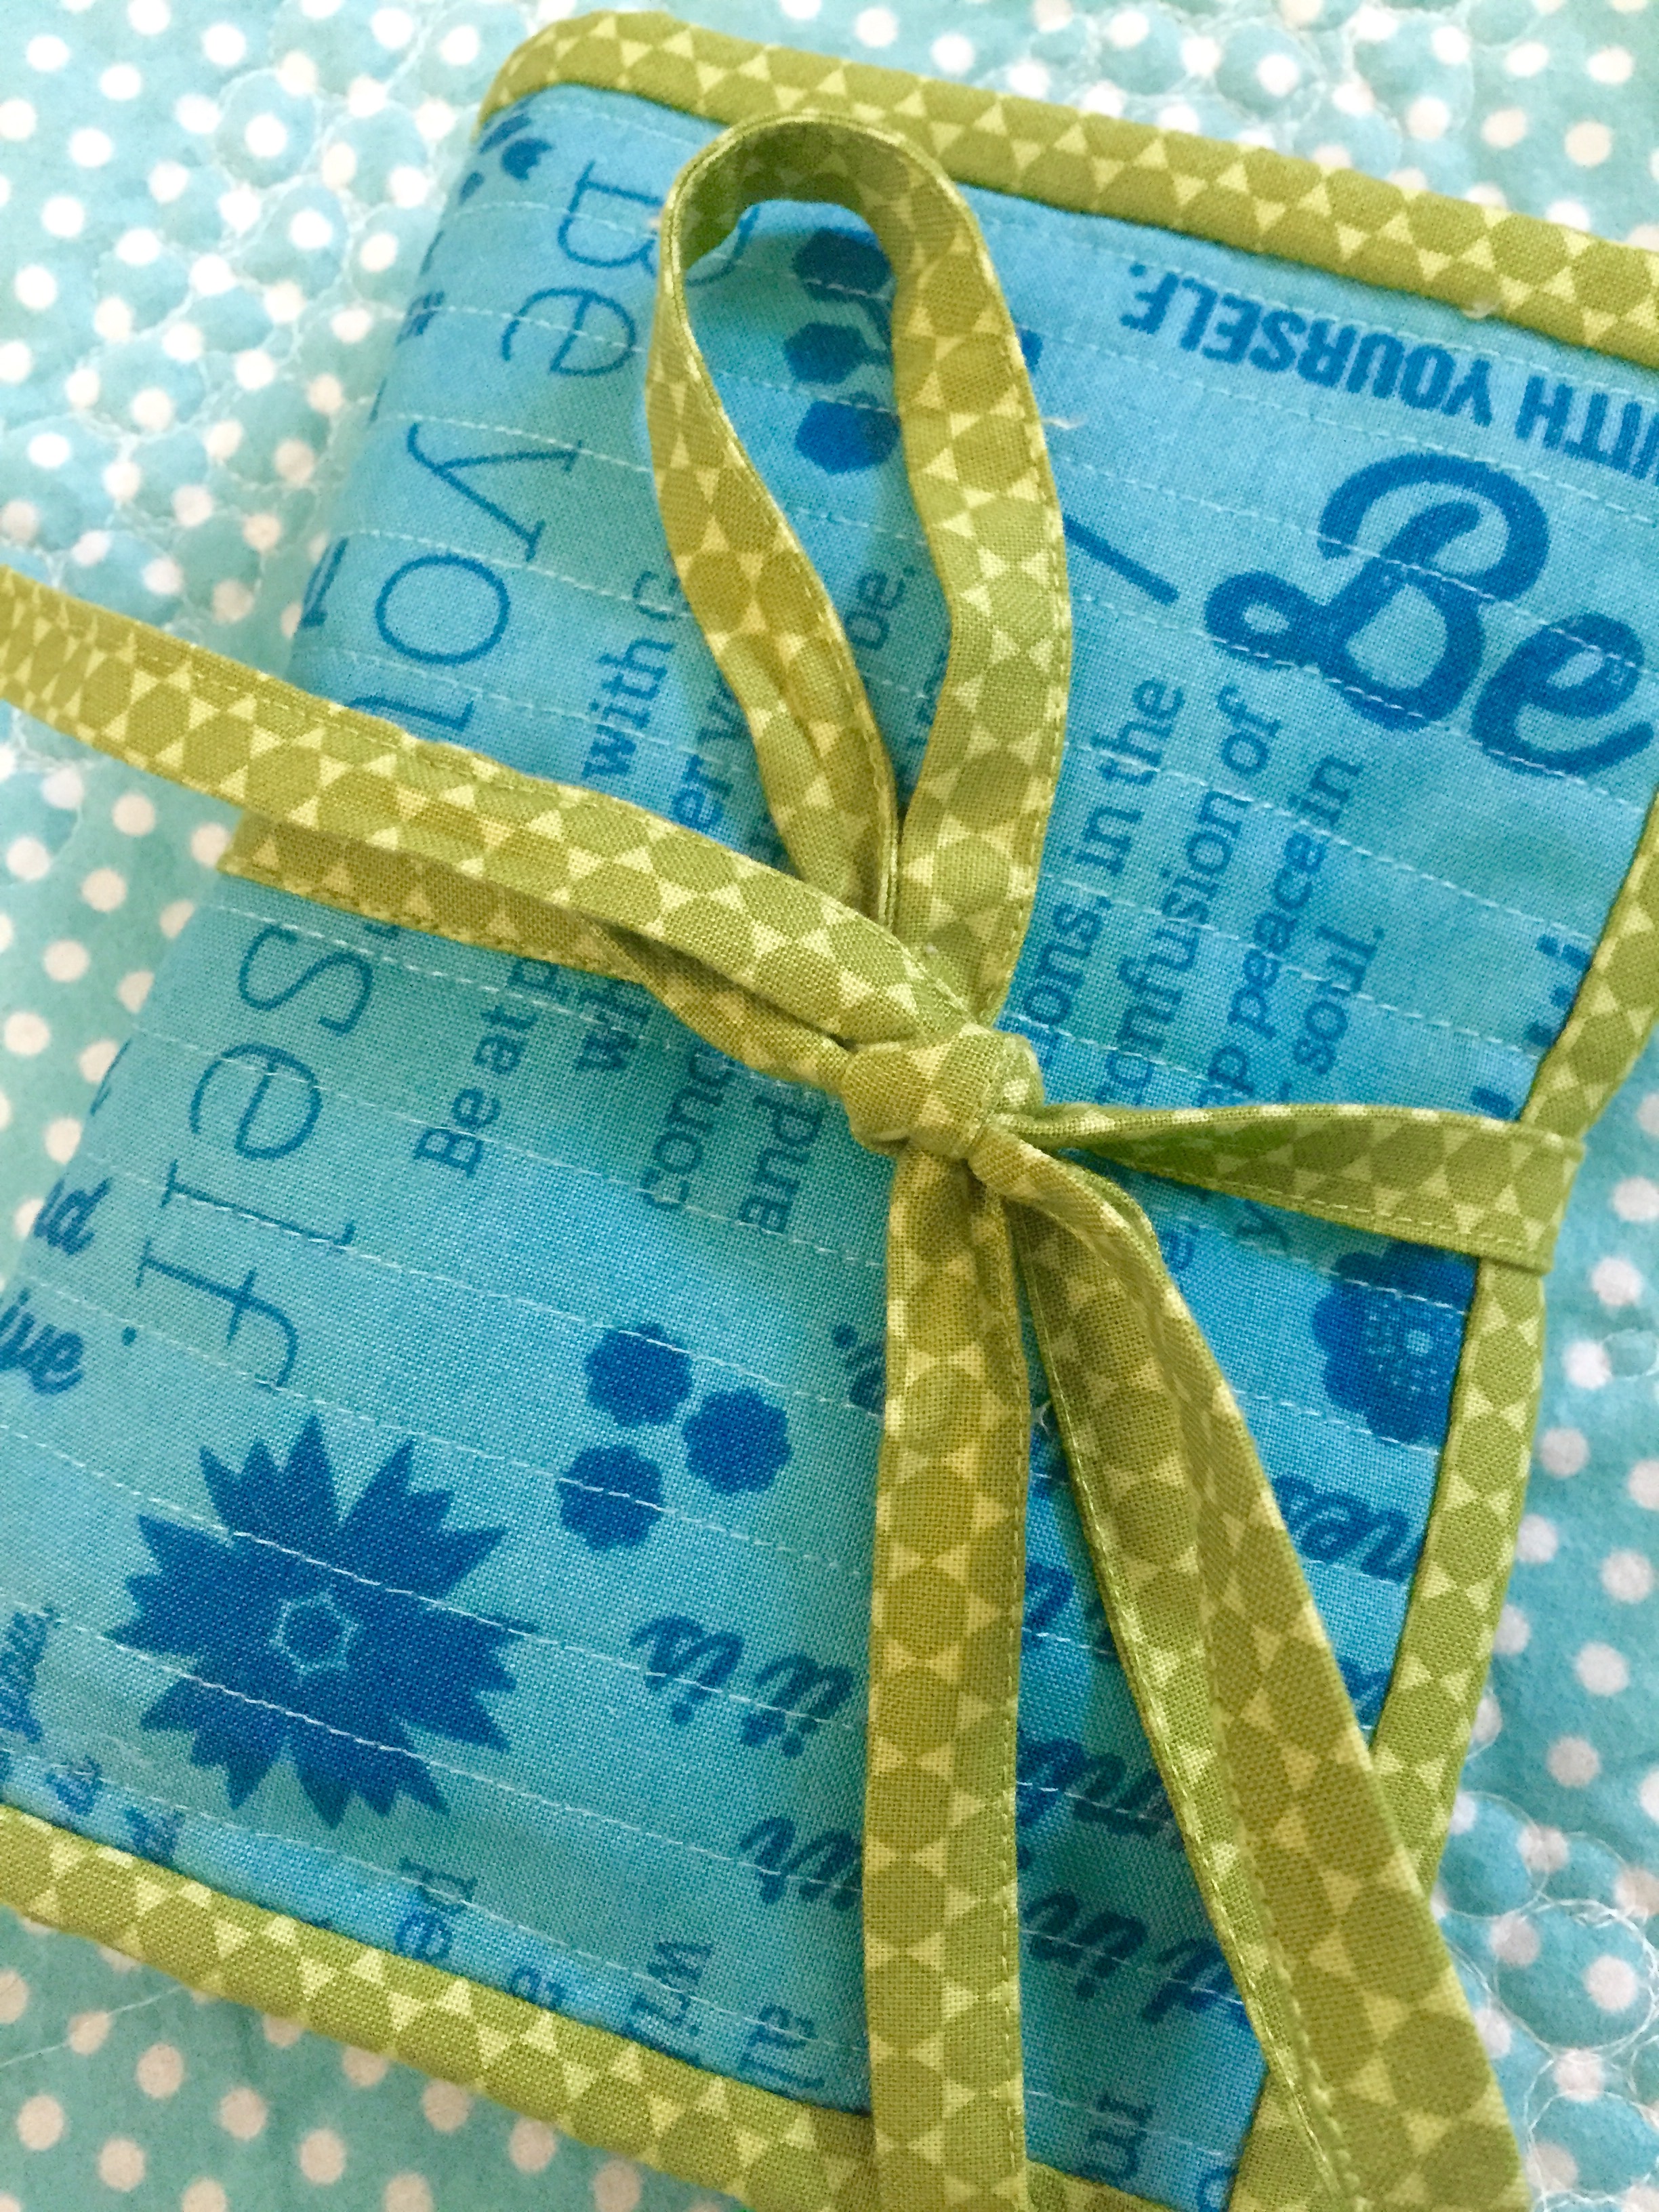 Plus, it has a pocket for treats.
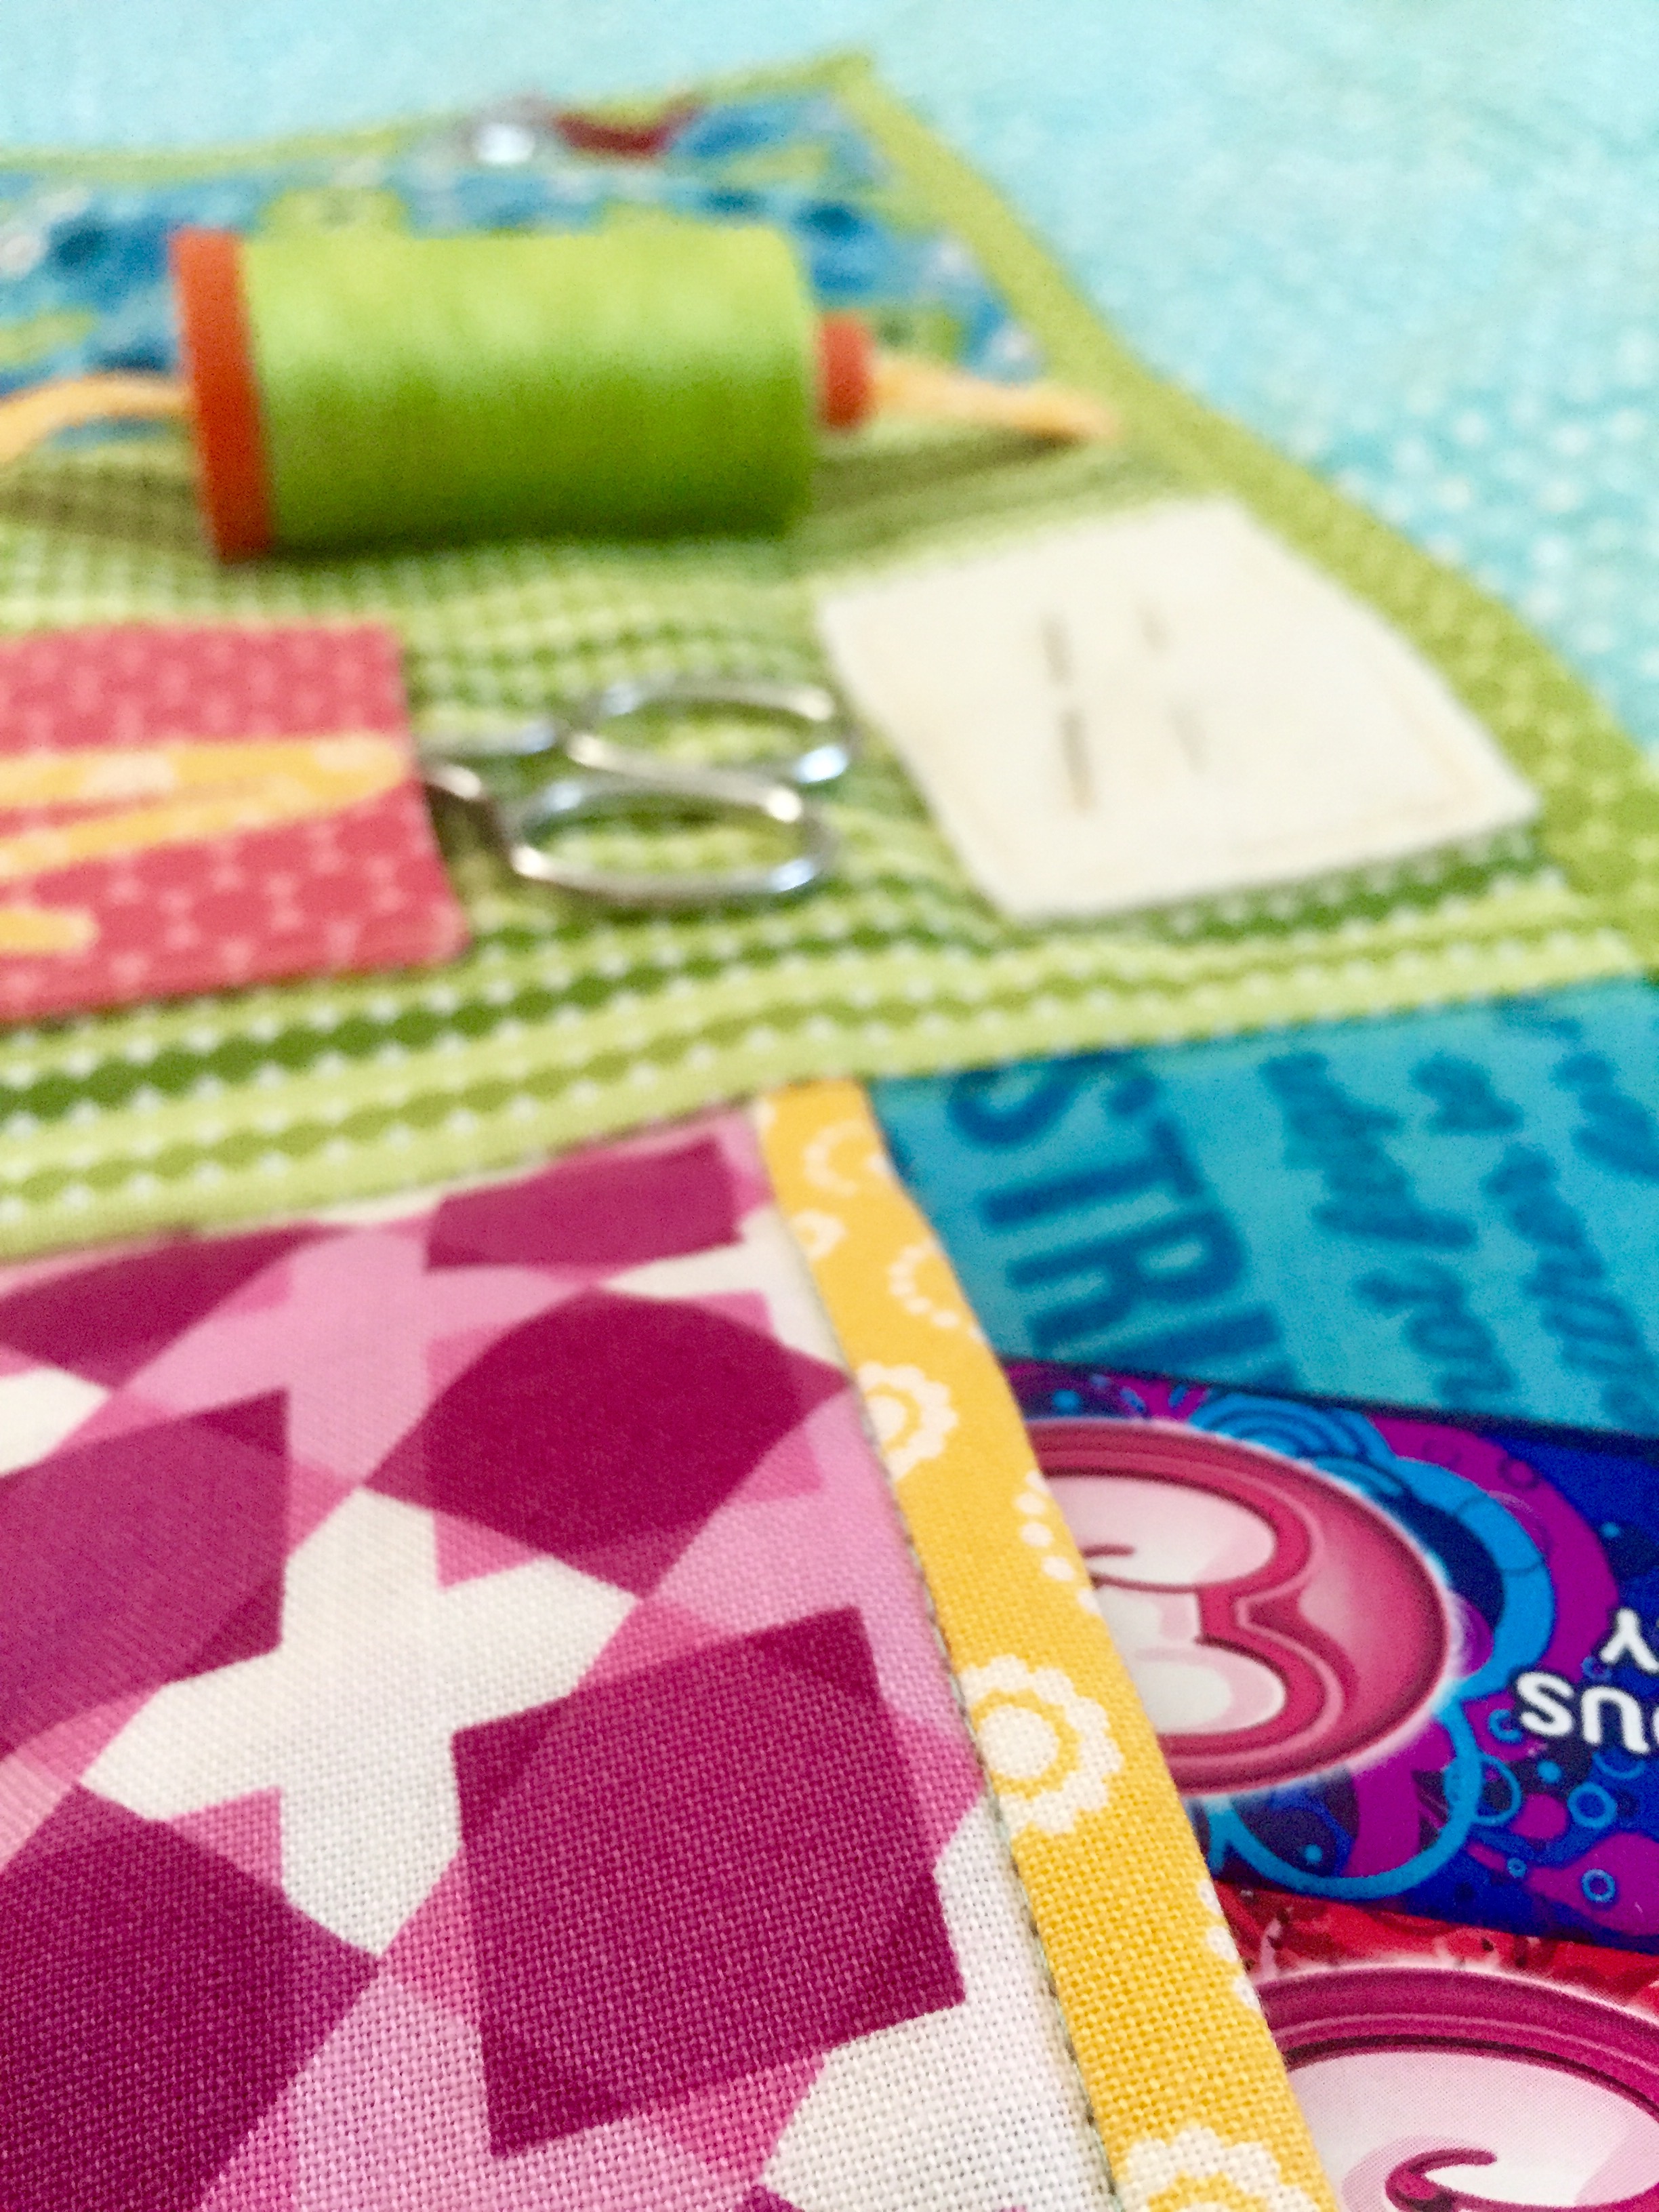 Another thing: how nice is it to have all the supplies for binding in one place, that ISN’T a ziploc bag? (<—Guilty.)
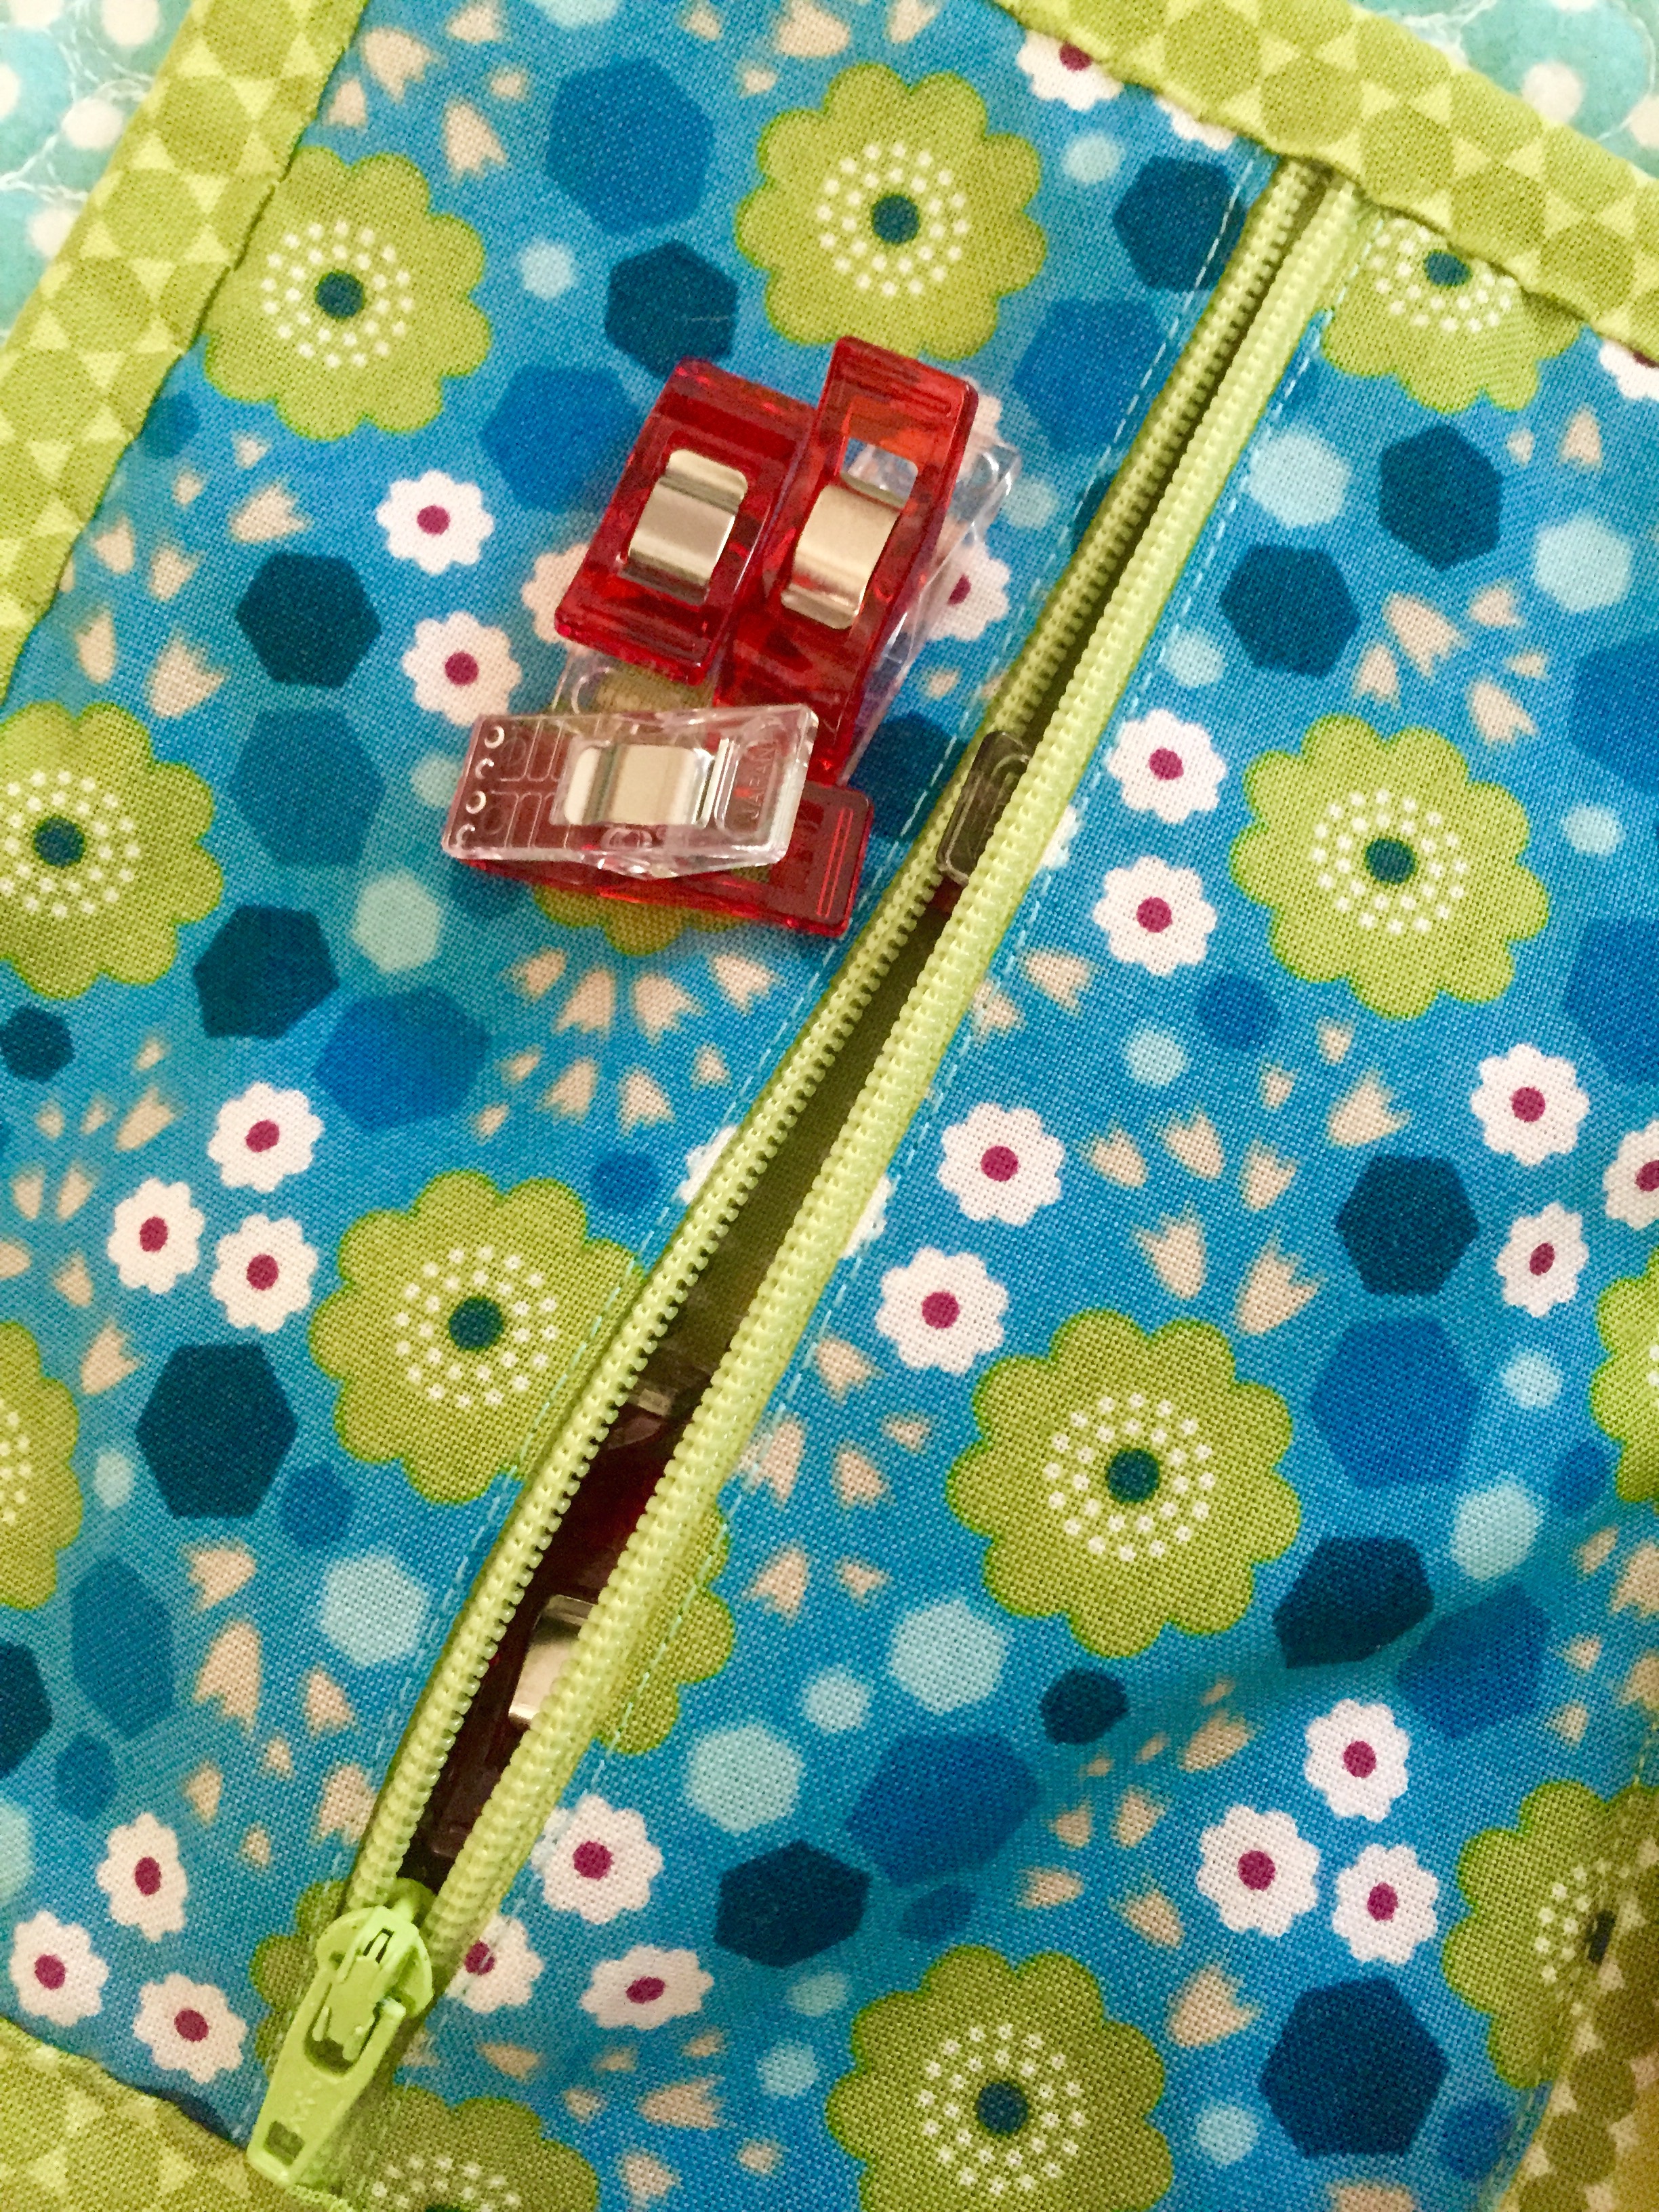 Tutorial is